Oracle APEX is a powerful low-code platform for building scalable and secure enterprise applications. When integrated with Oracle Cloud Infrastructure (OCI), APEX can leverage various OCI services to enhance functionality, including the OCI Document Generator Function. Oracle APEX includes built-in support for using this pre-built function as a remote reporting solution. This lets you easily create pixel-perfect PDF reports including your application data that are based on Microsoft Office templates.
With the latest advancements in OCI, configuring the Document Generator Function for Oracle APEX on Autonomous databases has become much more straightforward. Instead of going through multiple configuration steps, you can now enable it directly from the OCI Console.
Note: If you’re using APEX on-premises or elsewhere, check out this blog post for integration steps: link.
Prerequisites :
Before proceeding, ensure the following:
- You have an APEX Instance on Oracle Autonomous Database.
- The workload type of your Autonomous Database must be one of the following:
- Autonomous Data Warehouse
- Autonomous Transactional Processing
- Autonomous JSON Database
Note: Oracle APEX Application Development (APEX Service) does not support the integration steps mentioned in the blog post, as APEX workloads do not include SQLNet connections, which are required for these steps to work.
Steps to Integrate OCI Document Generator with Oracle APEX
- Create a Document Generator Function
- Create a Connection to Autonomous Database
- Configure the Document Generator for Your APEX Instance
- Validate the Configuration by logging in as Instance Administrator
Create a Document Generator Function
To create an OCI Function, follow the steps outlined in this documentation. You can also refer to the high-level steps below.
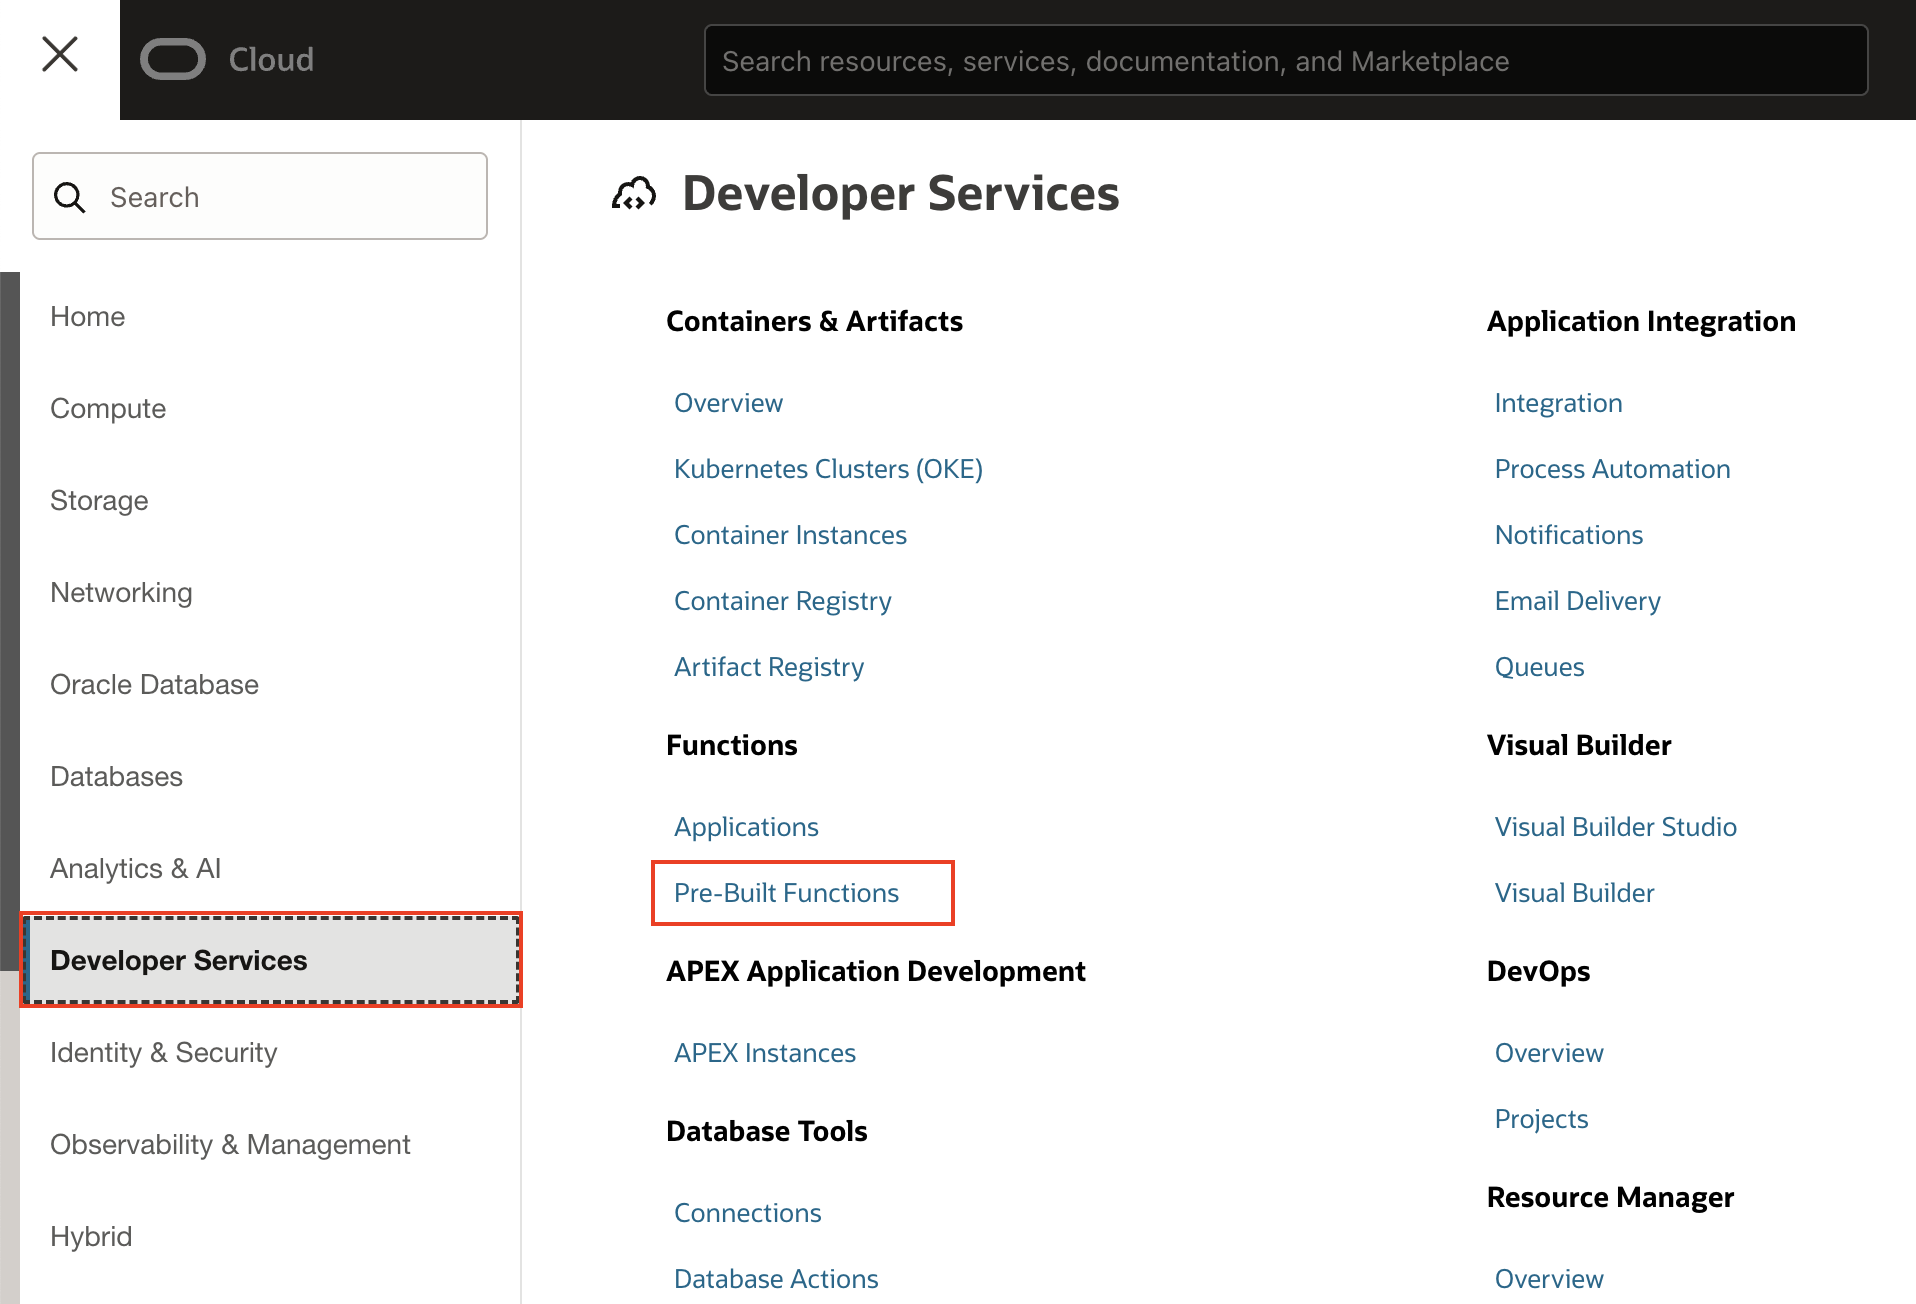
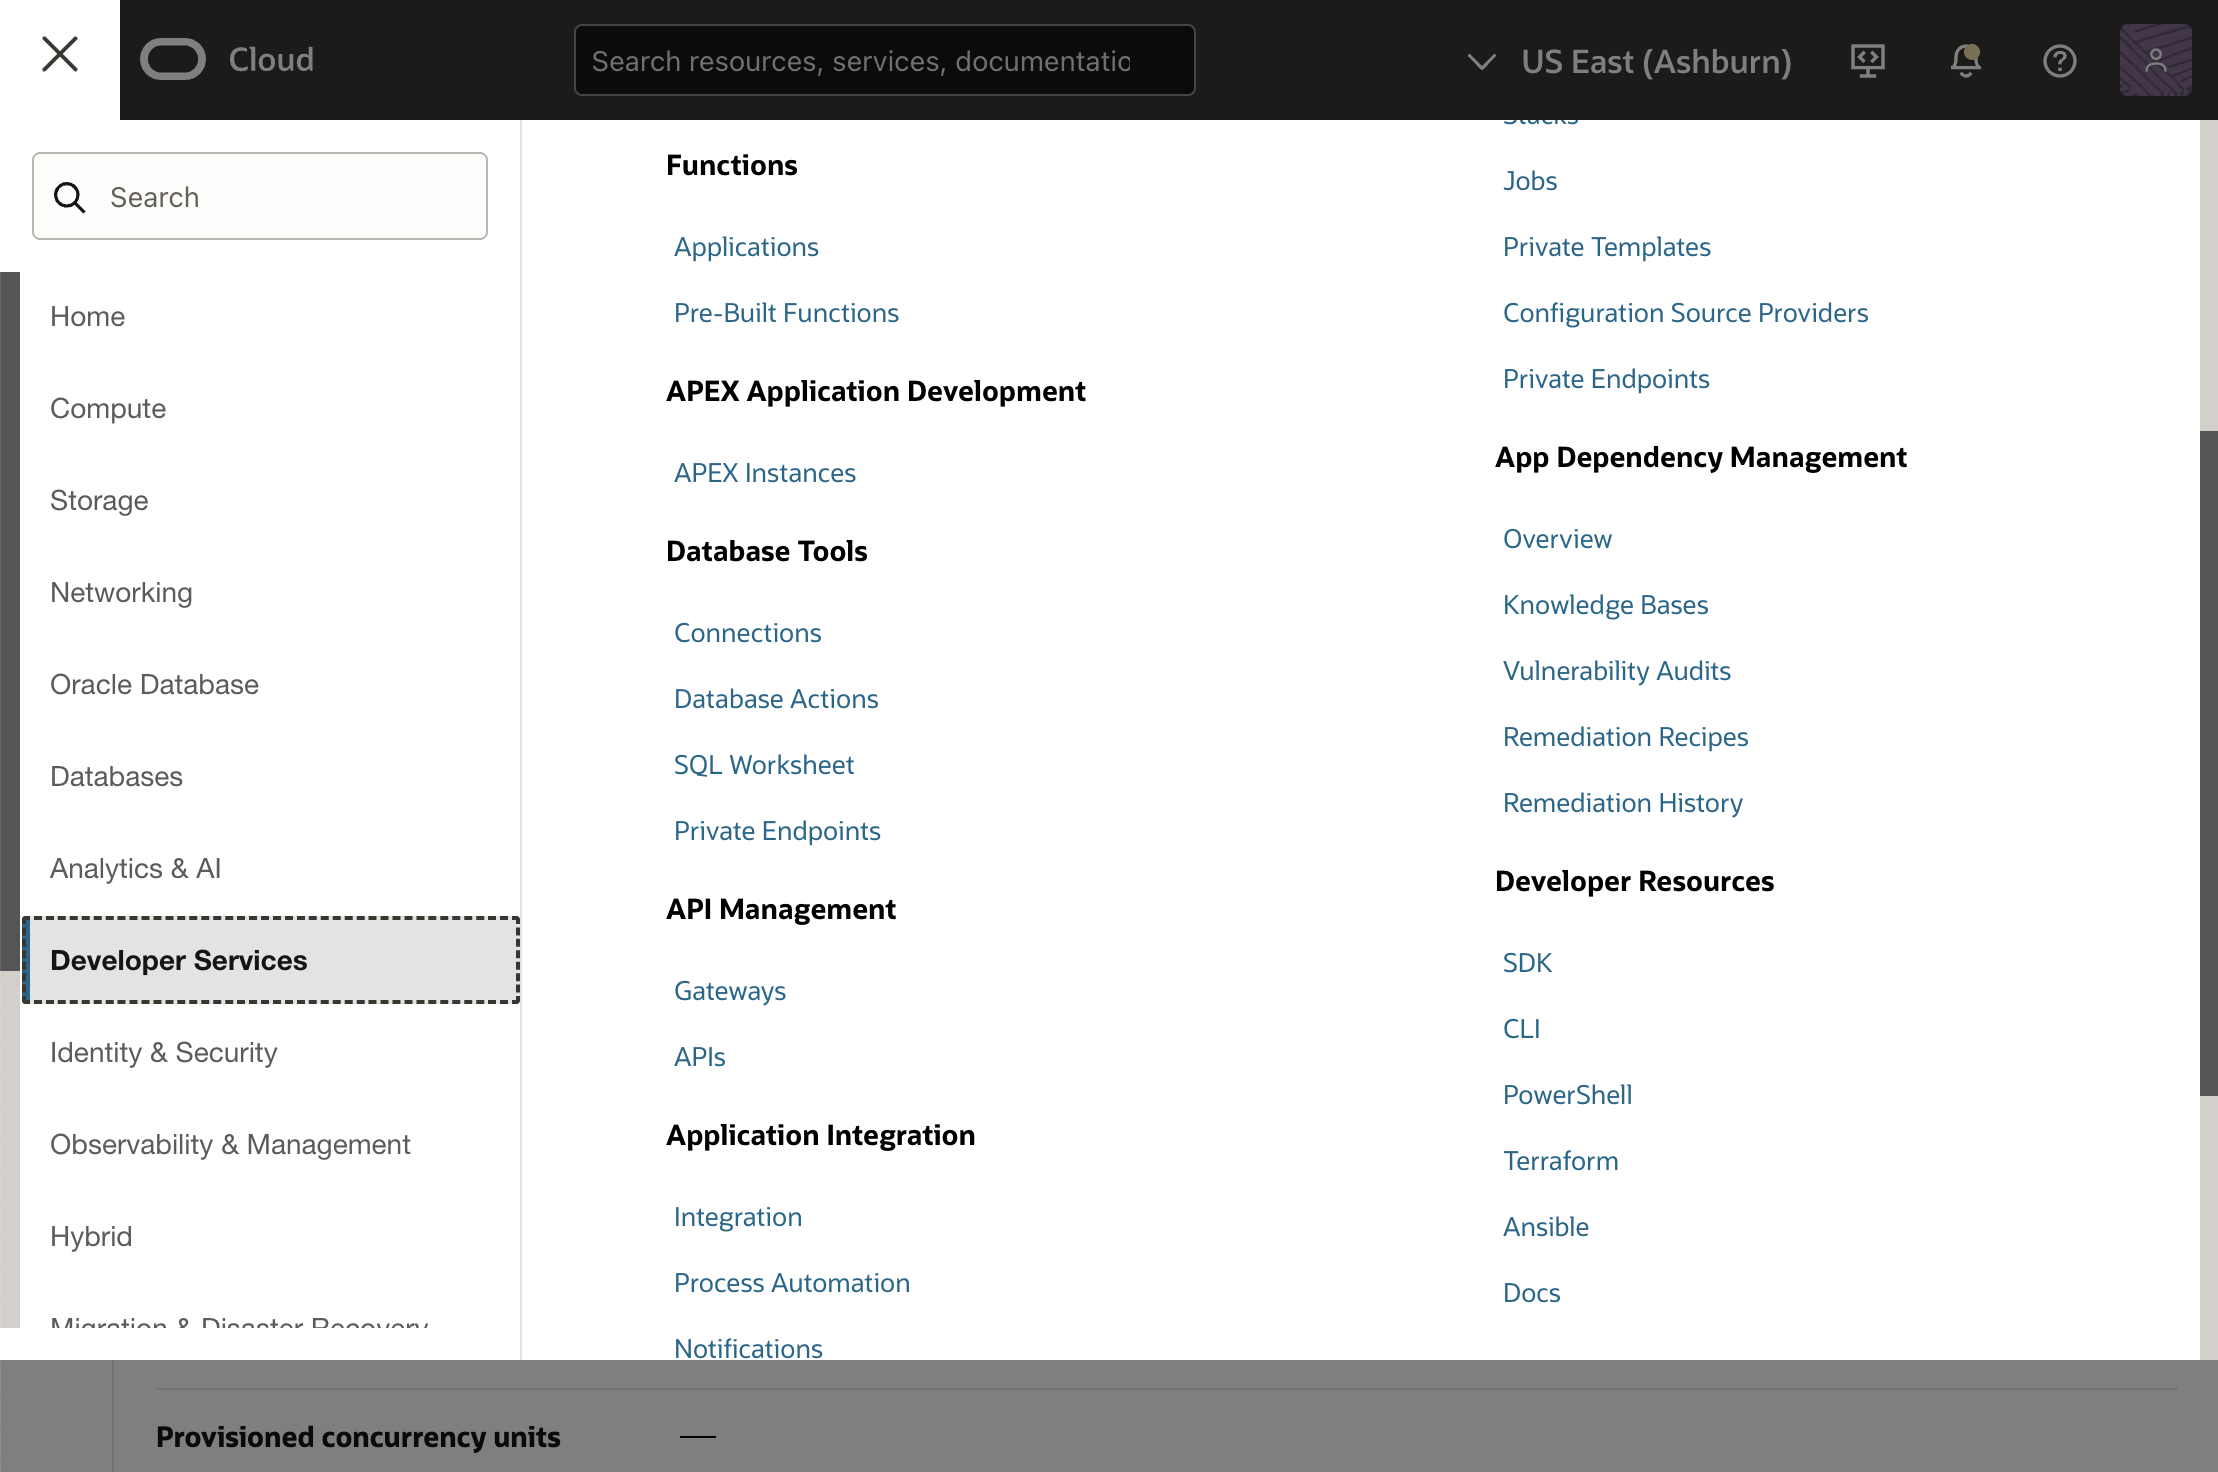
- From the OCI console, click the navigation menu and select Developer Services > Pre-Built Functions.
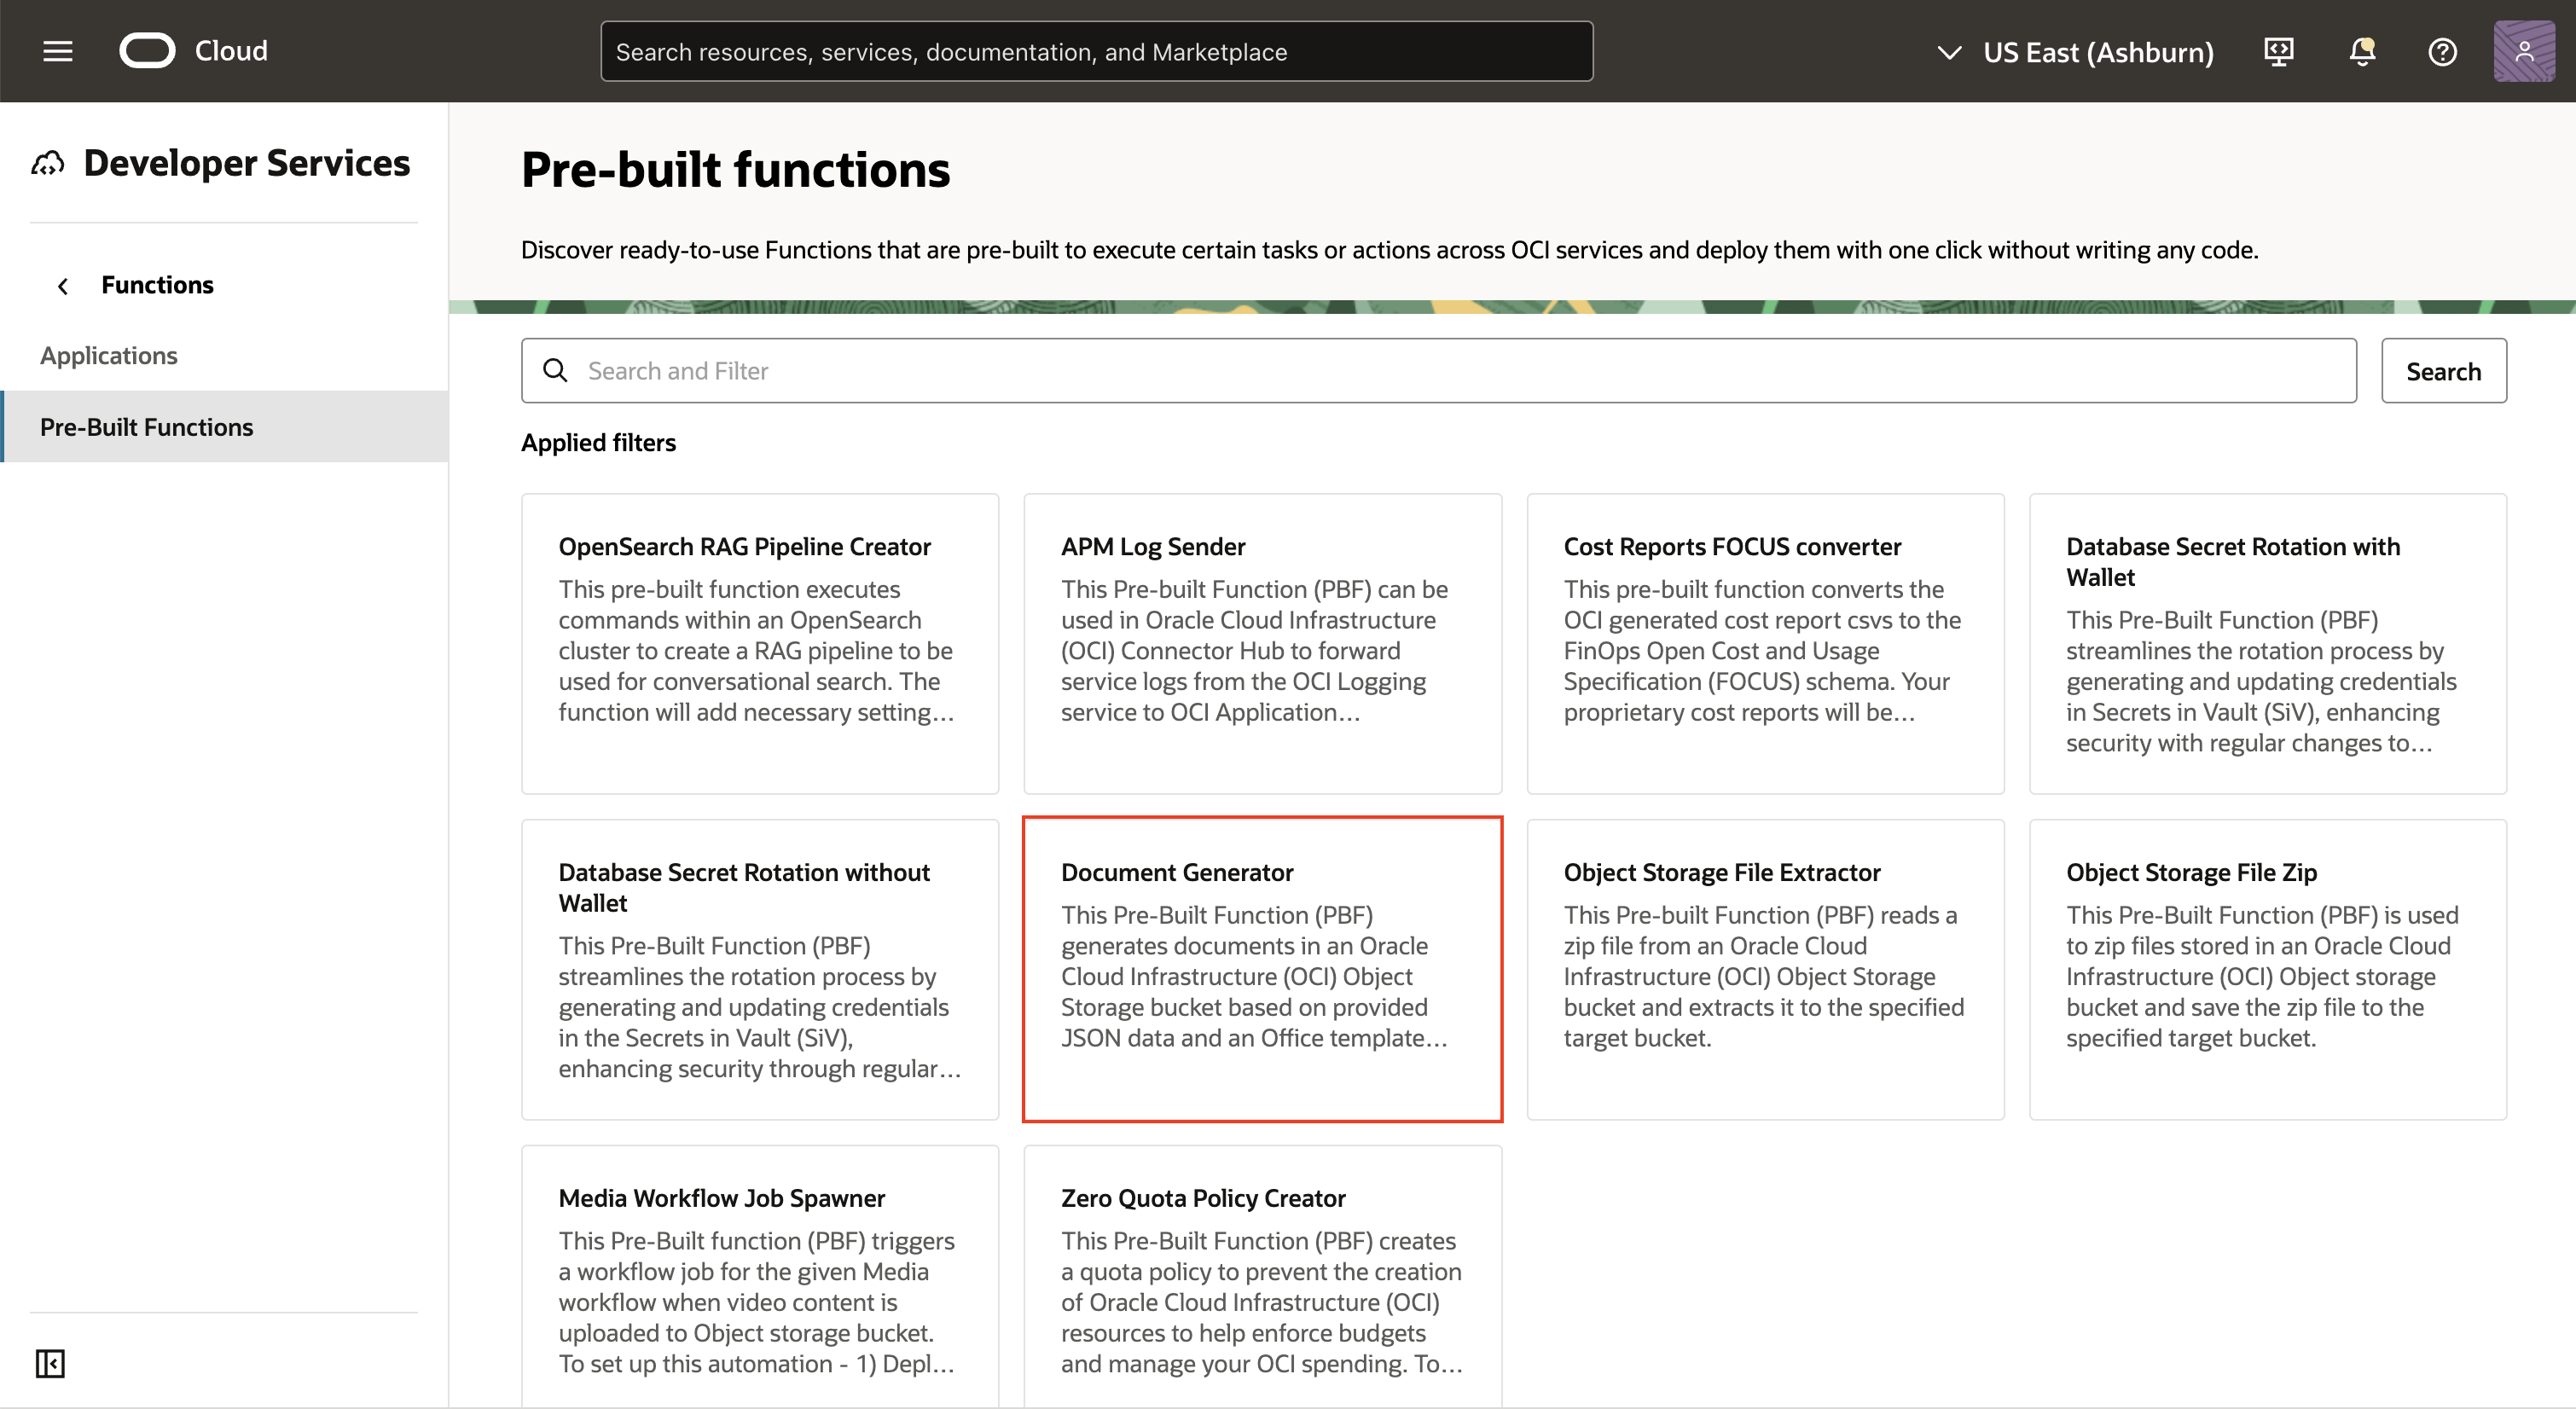
- In the Pre-Built Functions page, click on Document Generator, and then click Create function.
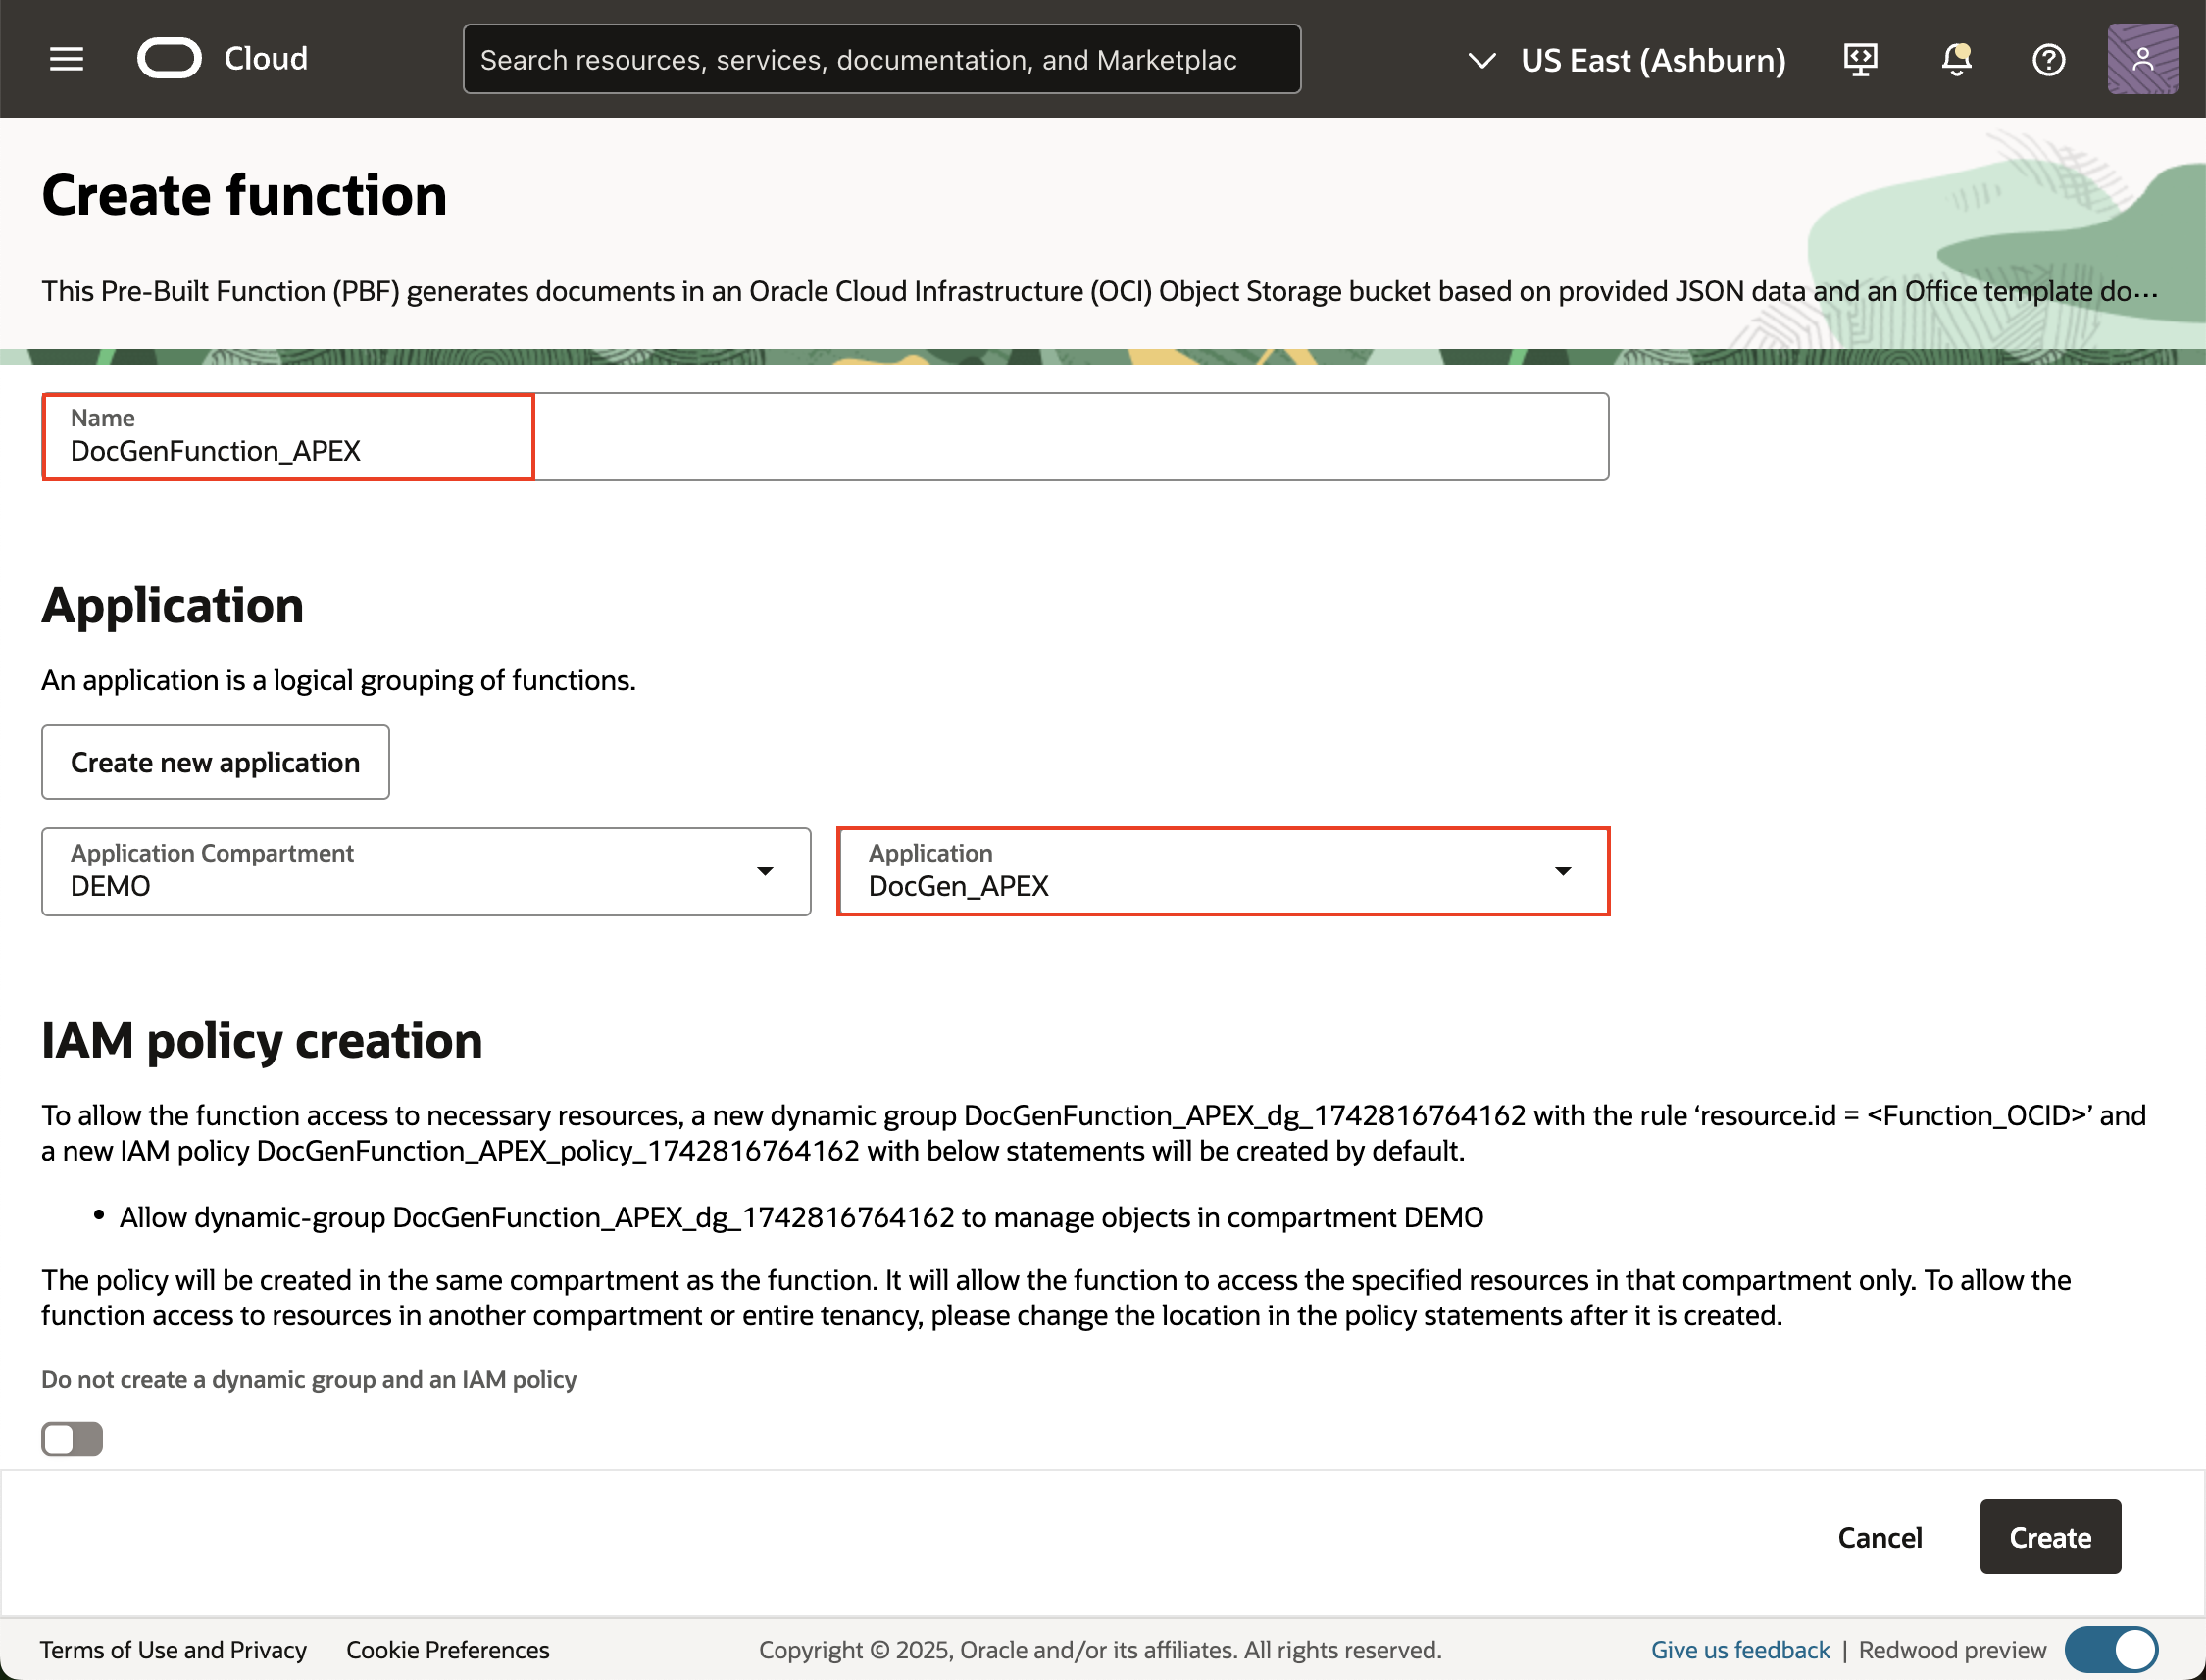
- Enter details for Name and Pre-Built Function Application. If there isn’t a suitable application in the current compartment, click Create new application. Finally, click Create.
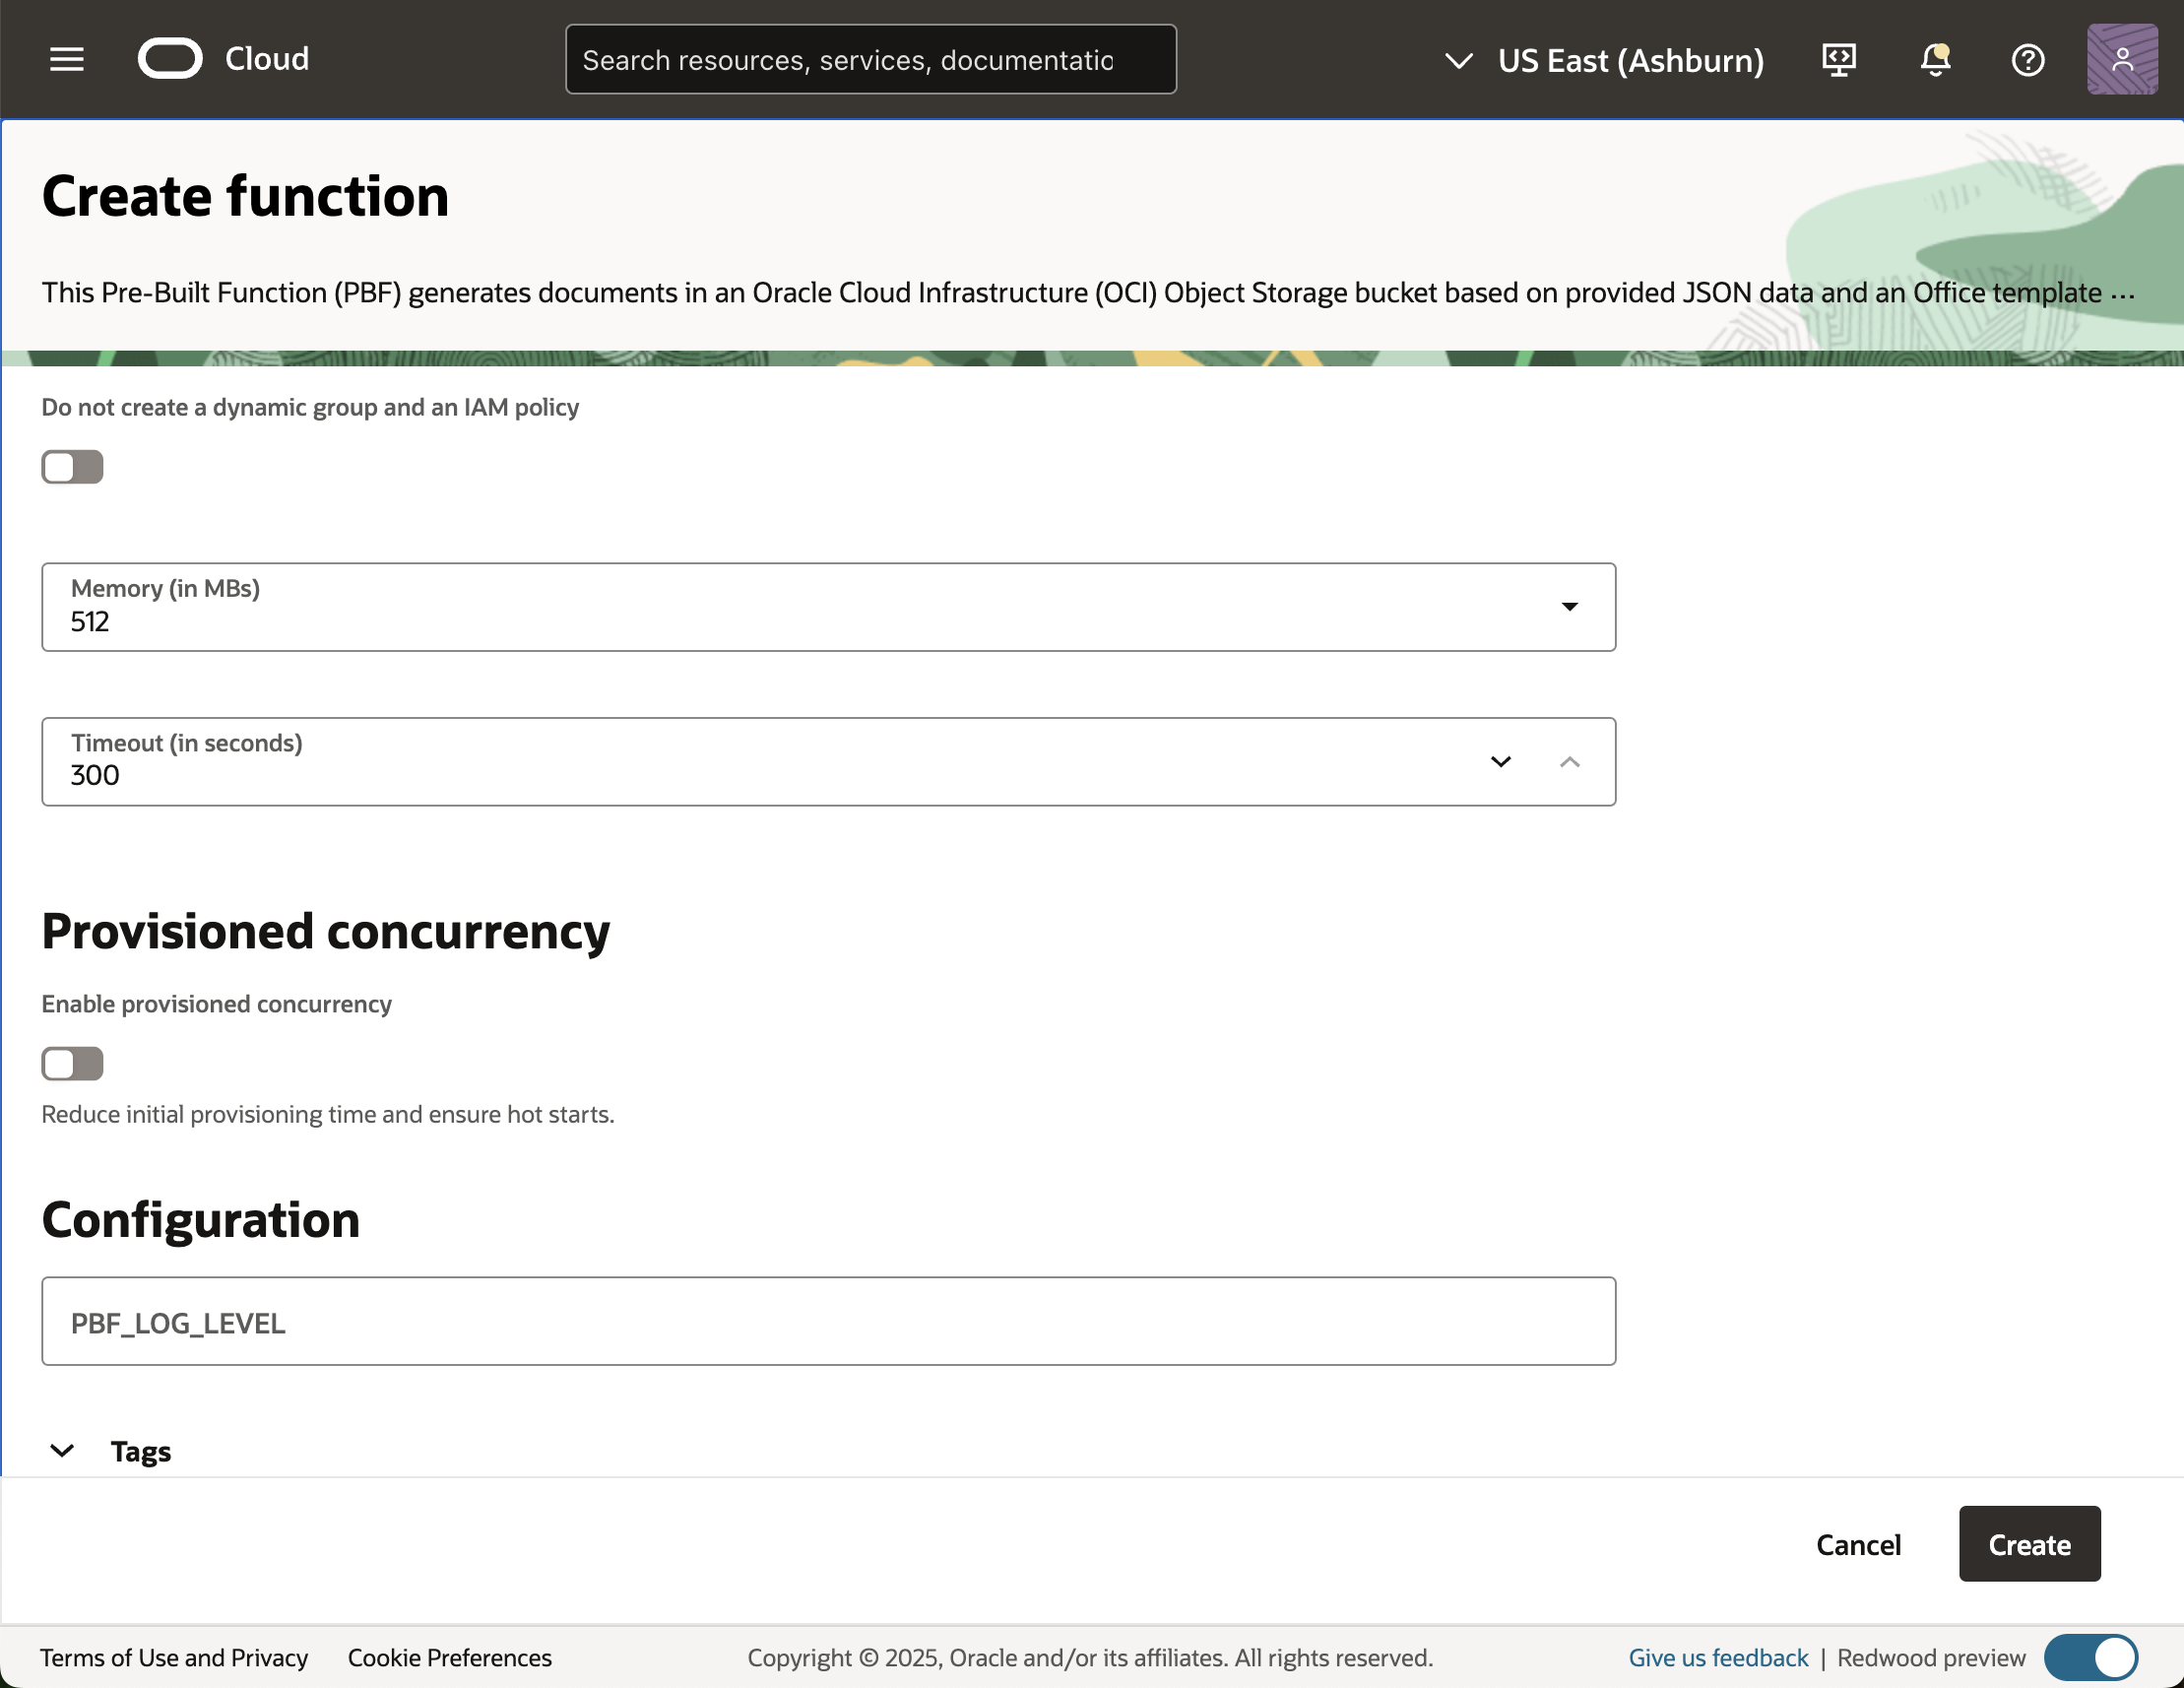
Tip: When using Document Generator in production, you can enable provisioned concurrency to minimize any initial delays when invoking the function by specifying a minimum number of concurrent function invocations for which you want to have execution infrastructure constantly available.
- Make sure that the document Generator Function is created successfully.

Create a Connection to an Autonomous Database
Managing database connections efficiently is essential for seamless operations in the cloud. Oracle Cloud Infrastructure (OCI) Database Tools makes this easier by providing a managed service to create reusable connections to Oracle Autonomous databases. These connections enable direct SQL access via the SQL Worksheet, while credentials and sensitive data are securely stored in the OCI Vault.
The guided connection builder makes setting up a connection straightforward. Choose the database type – Autonomous Database, DB system, MySQL, or Exadata VM cluster – and the tool automatically detects available databases, helping you configure access effortlessly. Each connection stores essential details, including the database role (e.g., SYSDBA) and whether it uses a private endpoint. Credentials are retrieved only when needed and can be updated in the vault anytime, ensuring minimal disruptions.
Note:
When working with an Autonomous Database, you can choose between a manual upload or one of two automated wallet retrieval options, depending on your deployment and Data Guard setup:
- Retrieve regional auto-login wallet – Available for Autonomous Databases on shared Exadata infrastructure without Cross-Region Data Guard.
- Retrieve instance auto-login wallet – Available for dedicated Exadata infrastructure or shared Exadata infrastructure with Cross-Region Data Guard.
If you prefer manual upload, use the Upload auto-login wallet option. Drag and drop the cwallet.sso or ewallet.p12 file into the Wallet field, or click Select a file to browse and upload it.
Prerequisites for Creating a Connection
- Use an Oracle Cloud Infrastructure vault with an encryption key for security. To learn more about how to create a vault, refer to this Documentation.
- To secure private access from your database’s VCN, create a private endpoint in the Database Tools service. This is a private access between the Database connection that we will be creating now and your Autonomous Database. To learn how to use Private Endpoints with Database links, refer to this link.
- For proxy user authentication in Oracle databases, please review the documentation for Creating Proxy User Accounts.
Creating a Database Connection in Oracle Cloud Infrastructure
- Navigate to the Developer Services menu and select Connections under Database Tools.
- Click Create Connection, provide a name, and select a compartment.
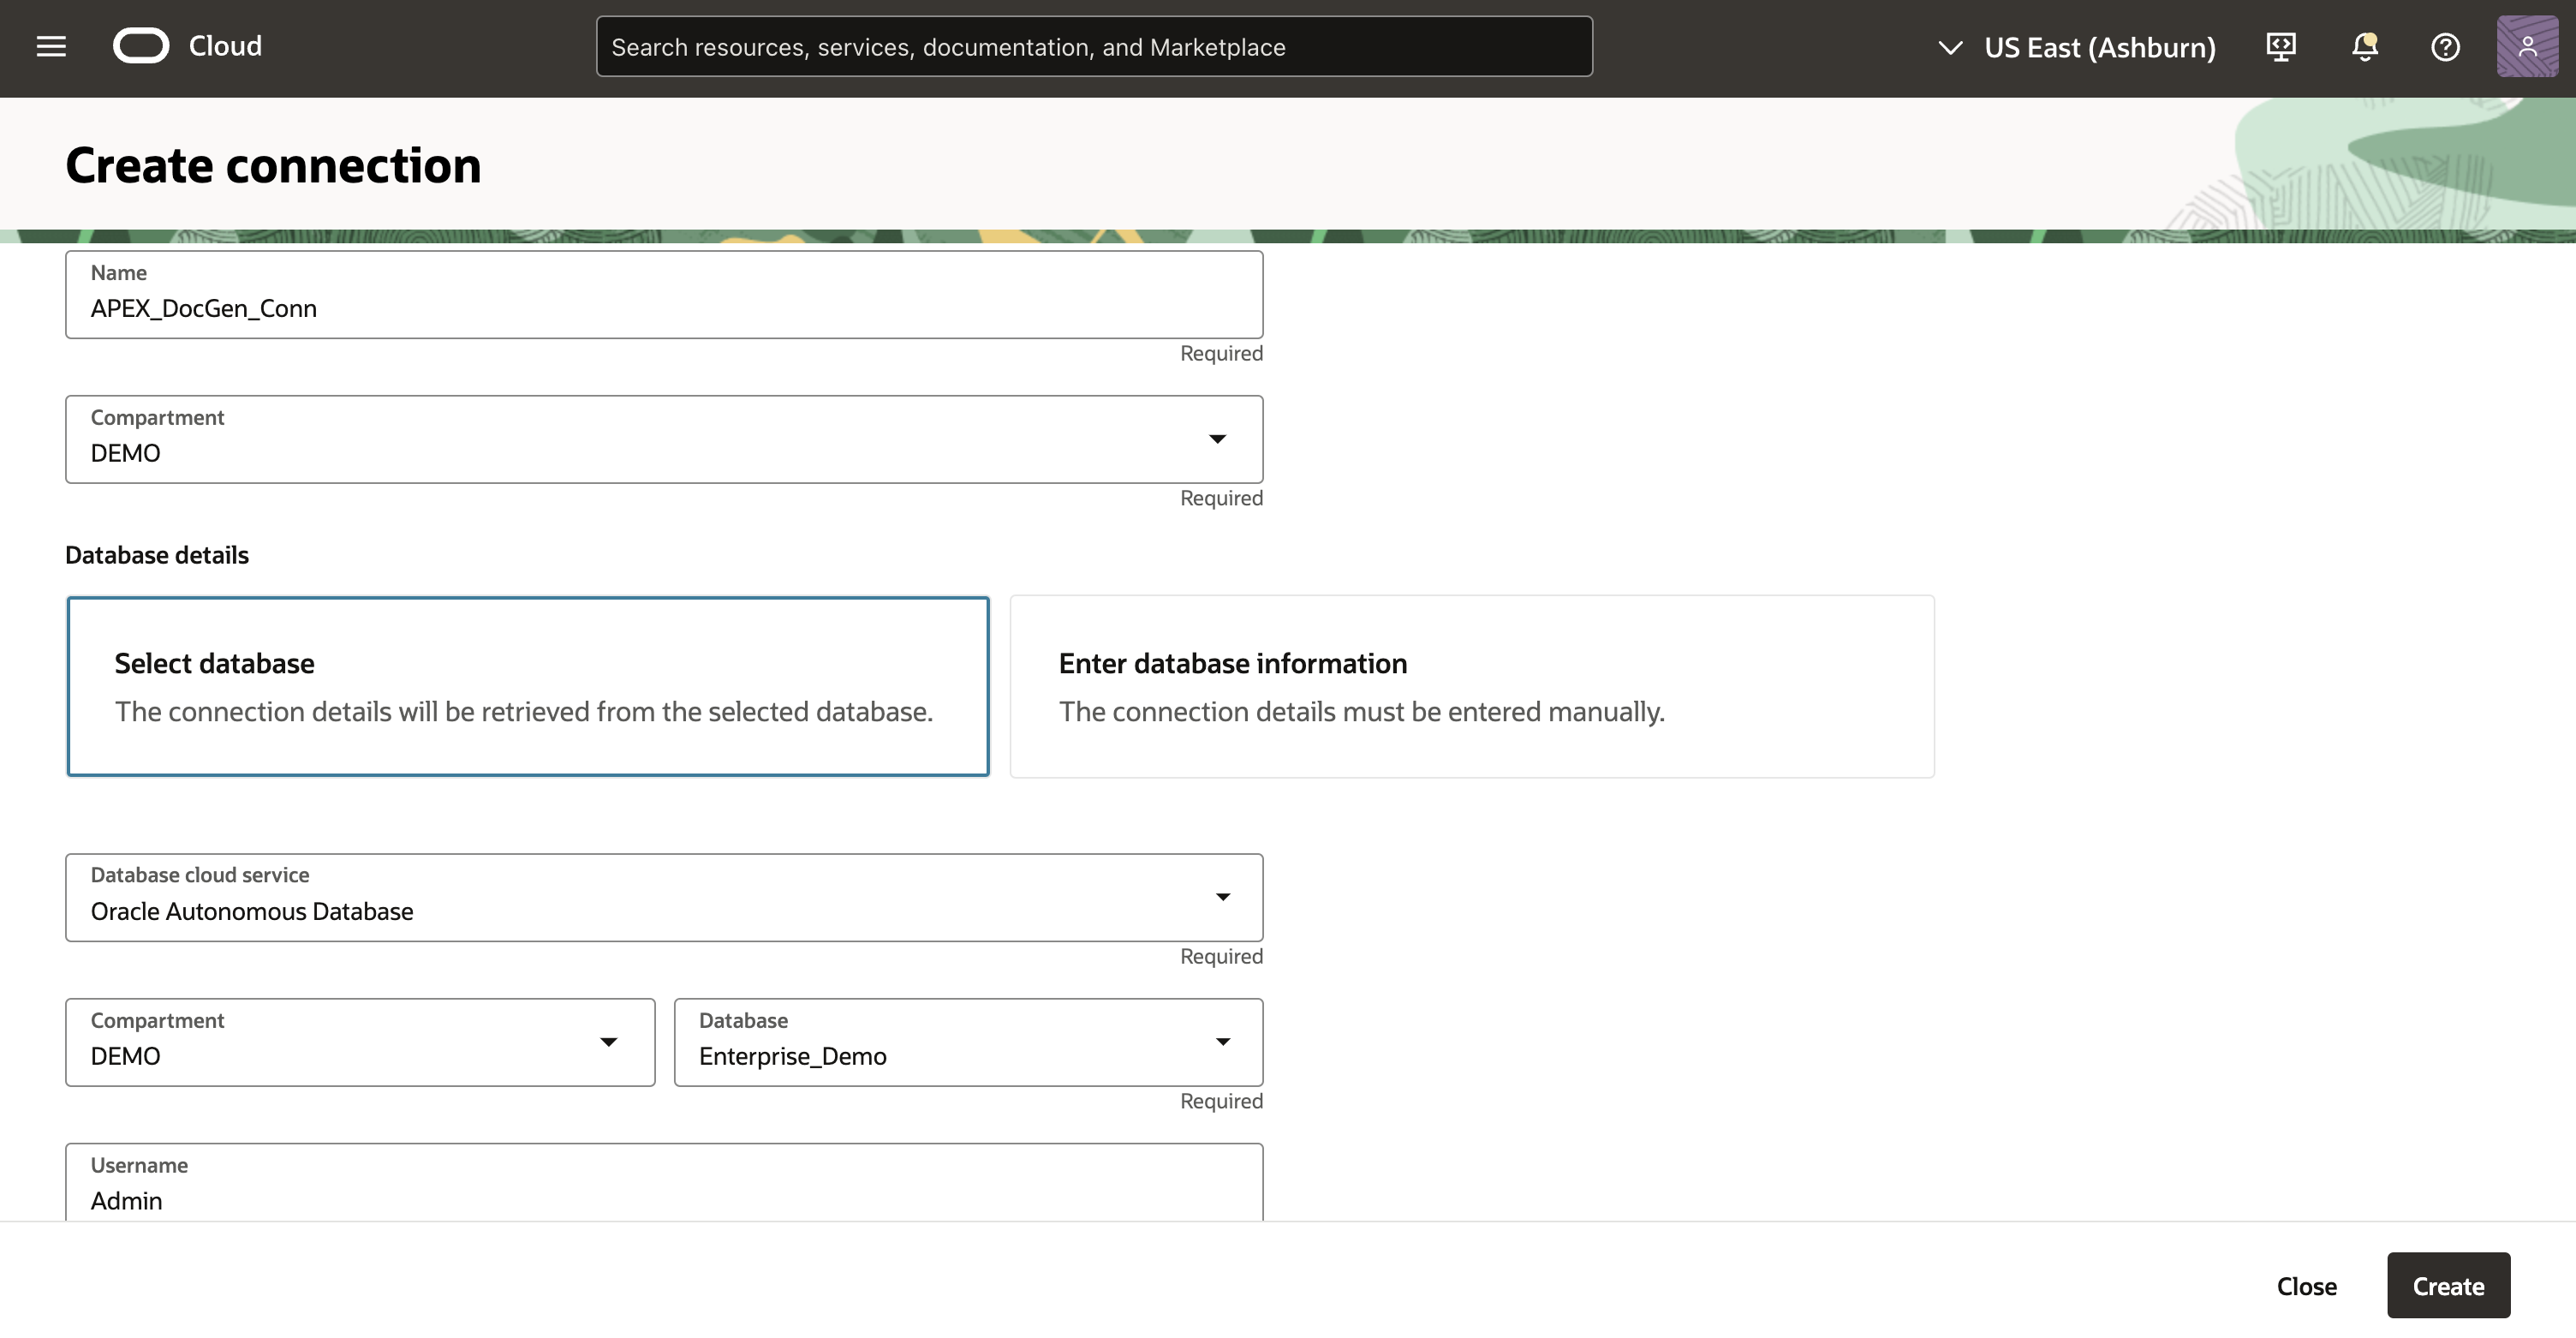
- Choose Select Database or Enter Database Information to connect to your database. For this demo, we will use the option Select Database. We will select the Database Cloud Service type for Integrating Oracle APEX with Document generator as an Oracle Autonomous Database.
- Enter user credentials and configure proxy authentication if needed.
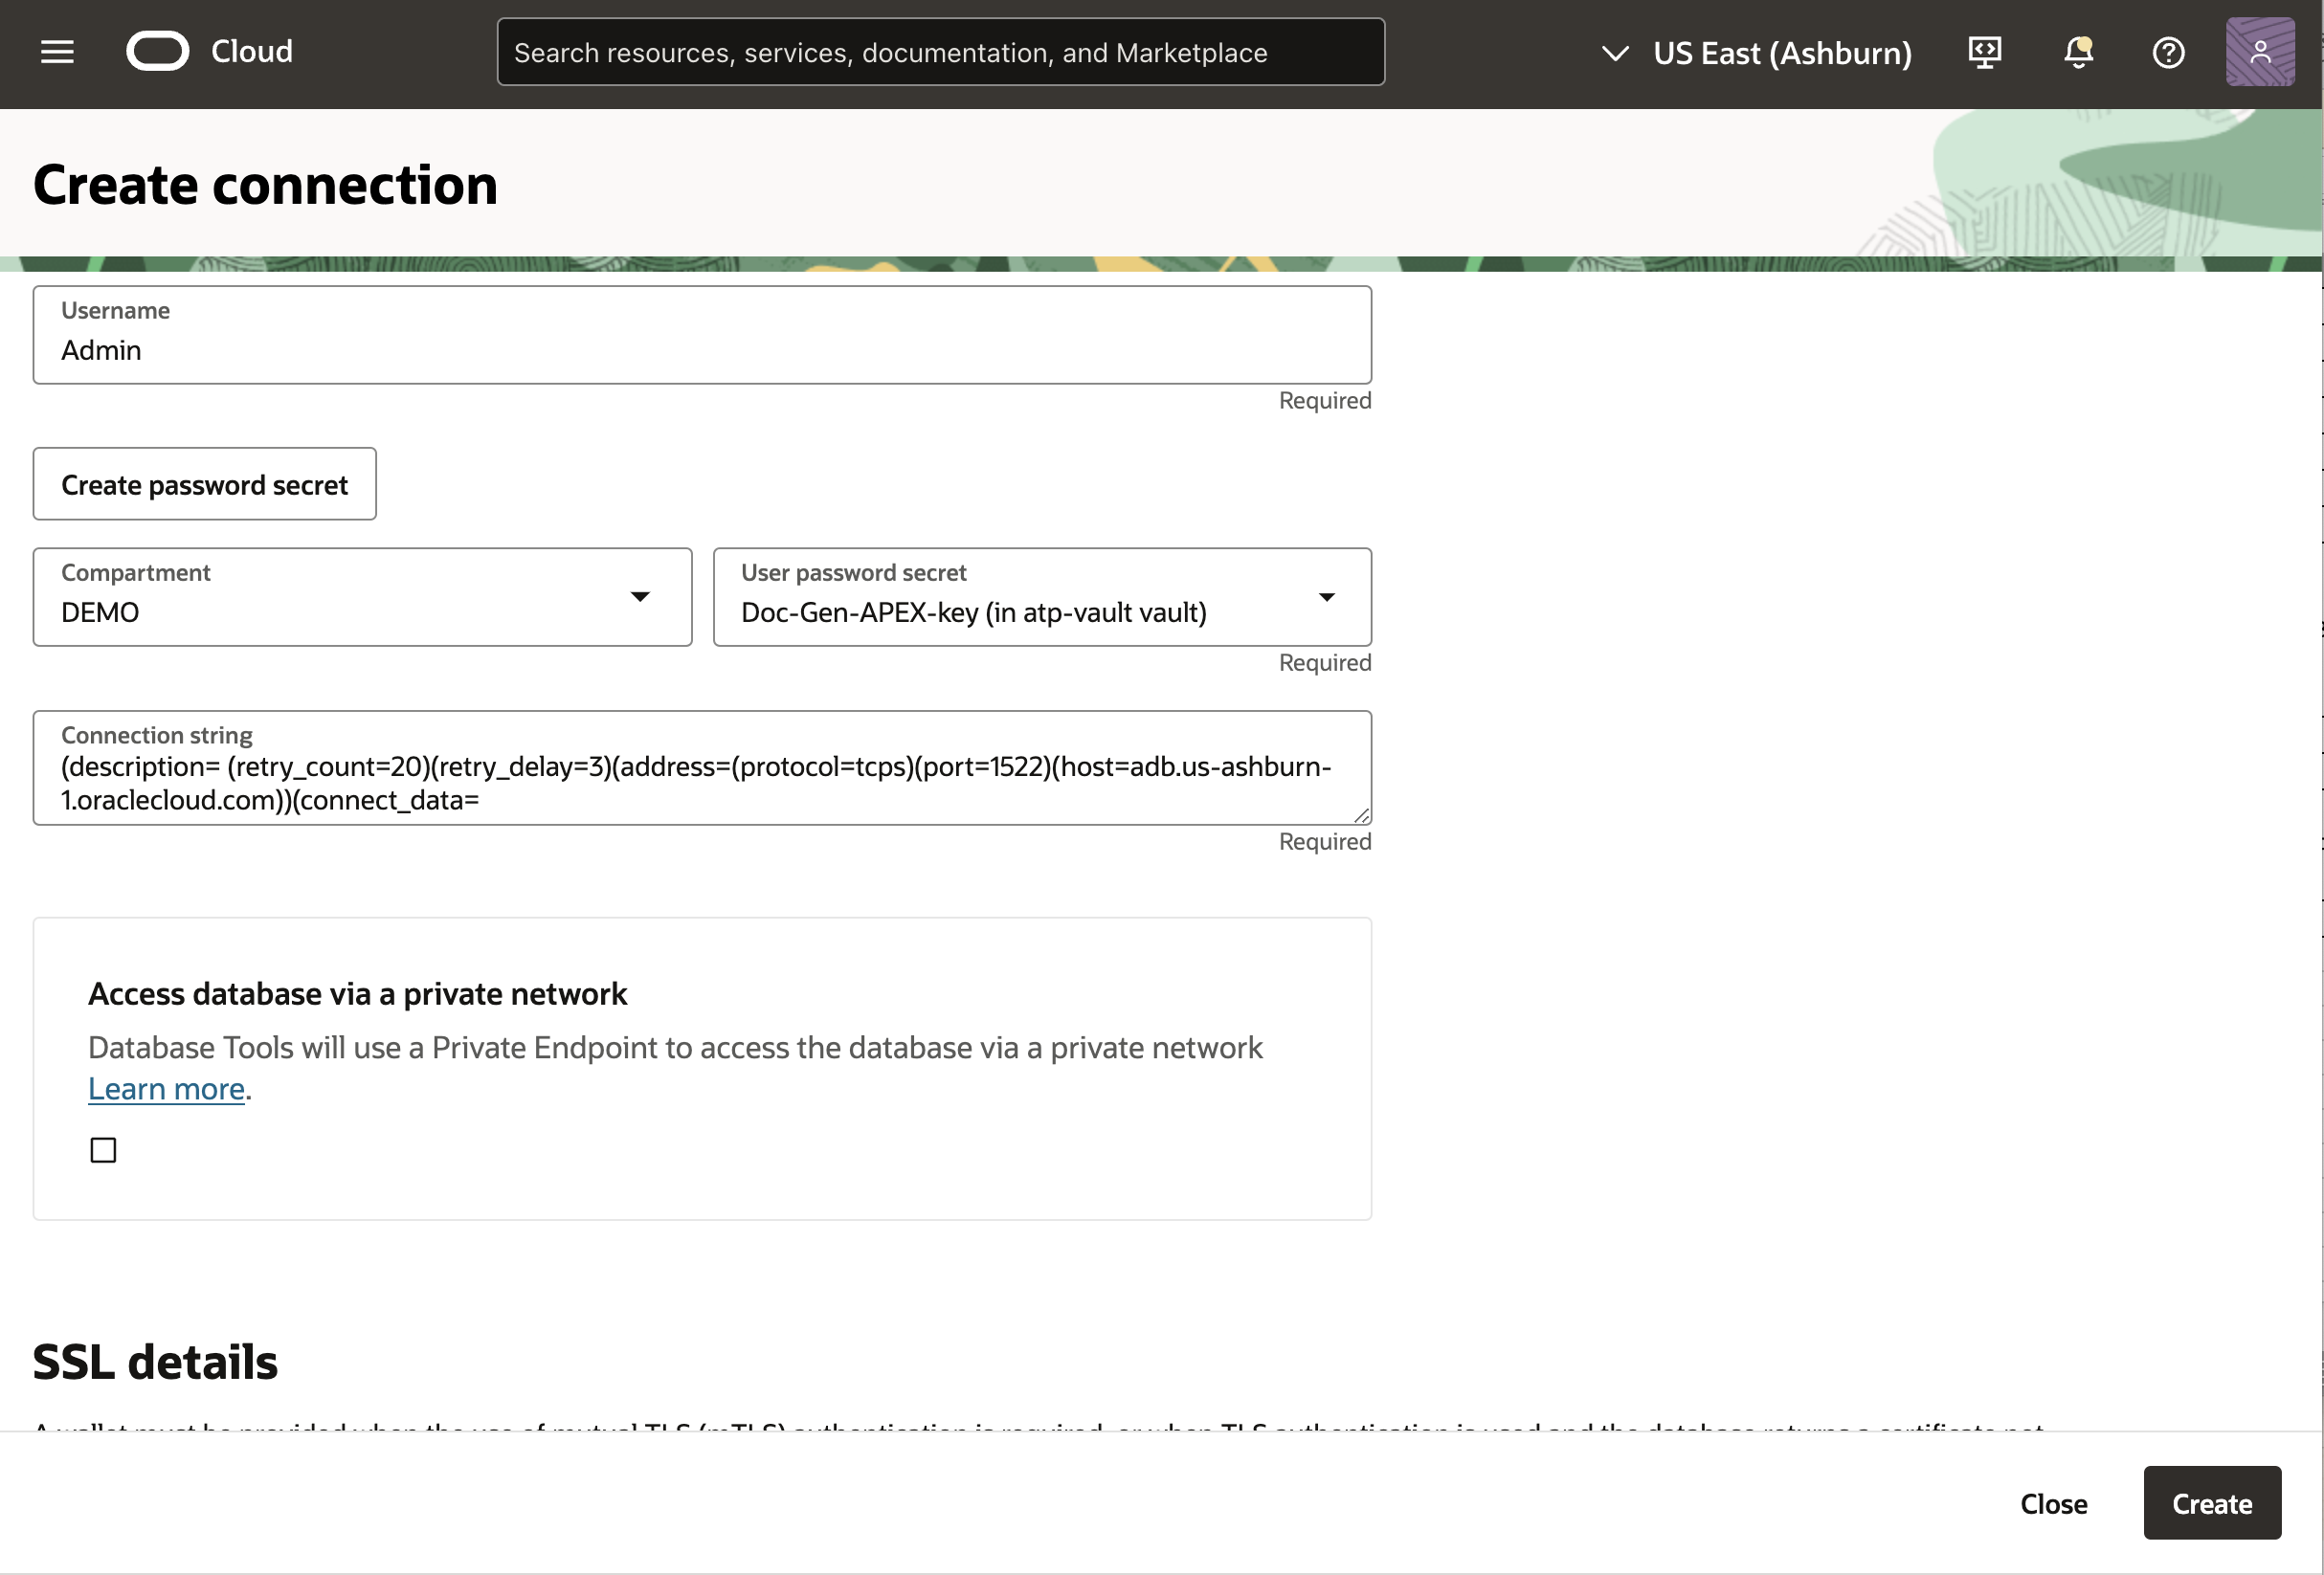
- If required, set up secure connection settings like TLS/mTLS and enable a private endpoint for secure network access.
- Review all details and click Create to finalize the connection.
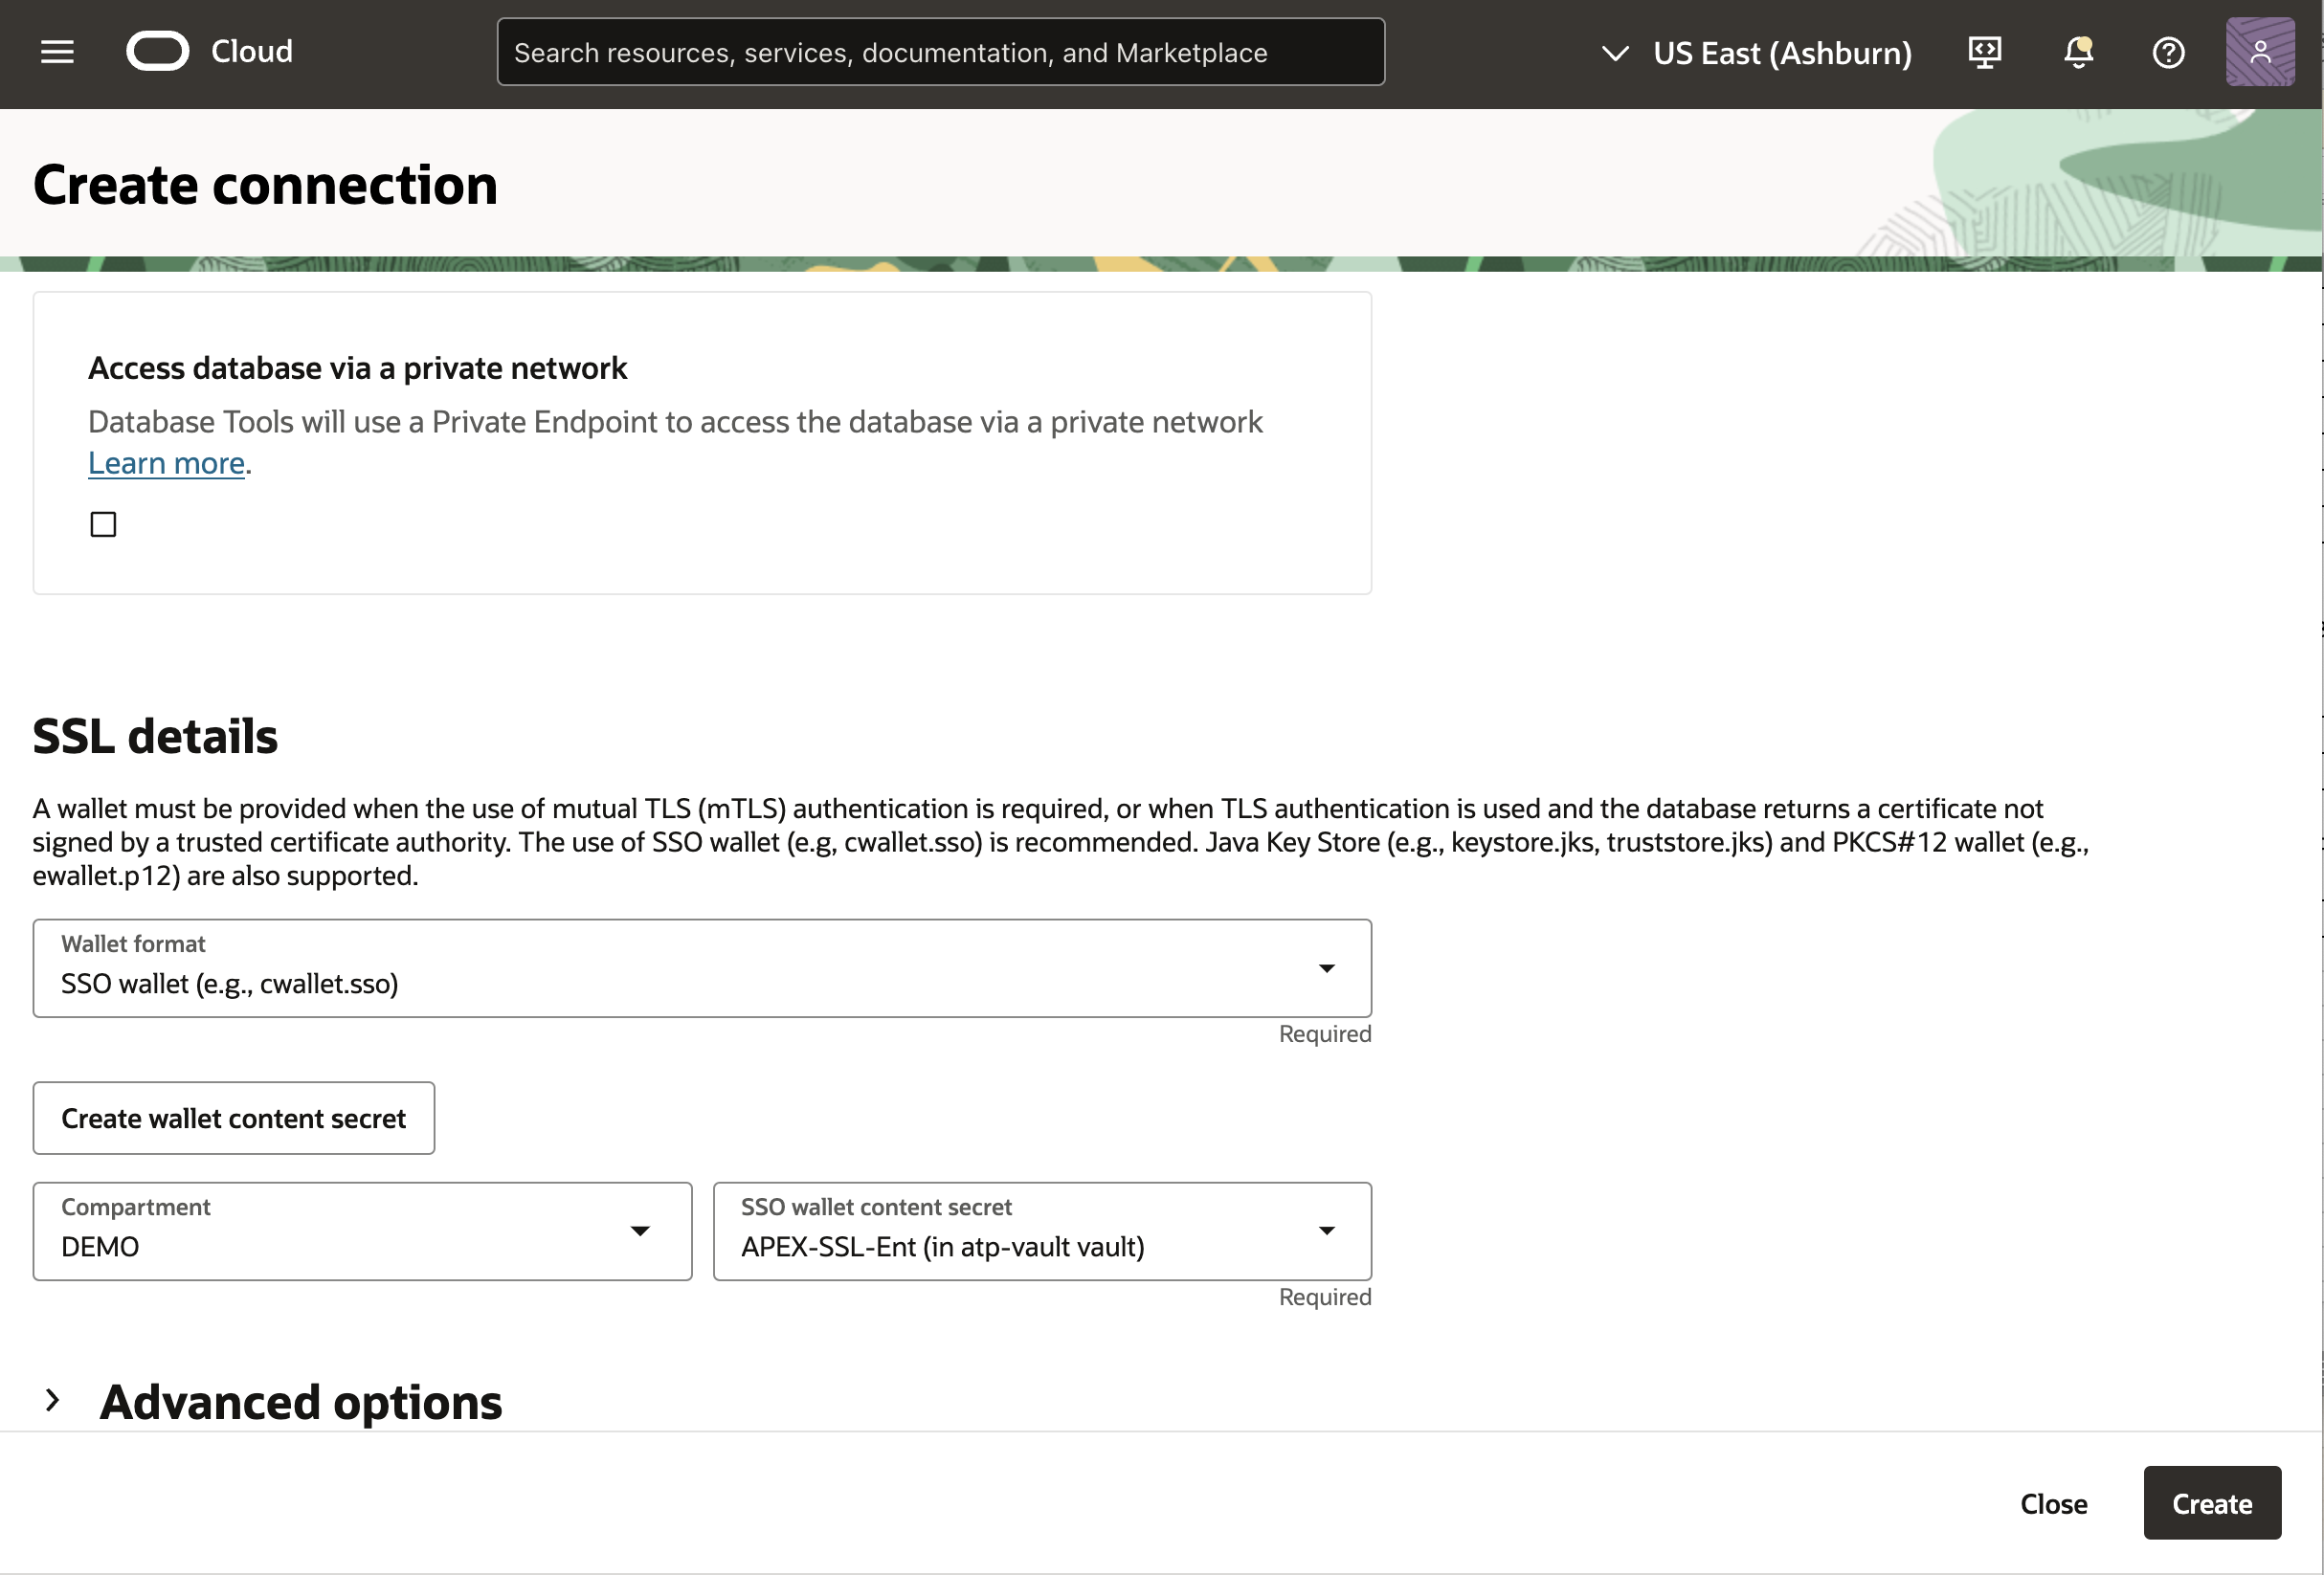
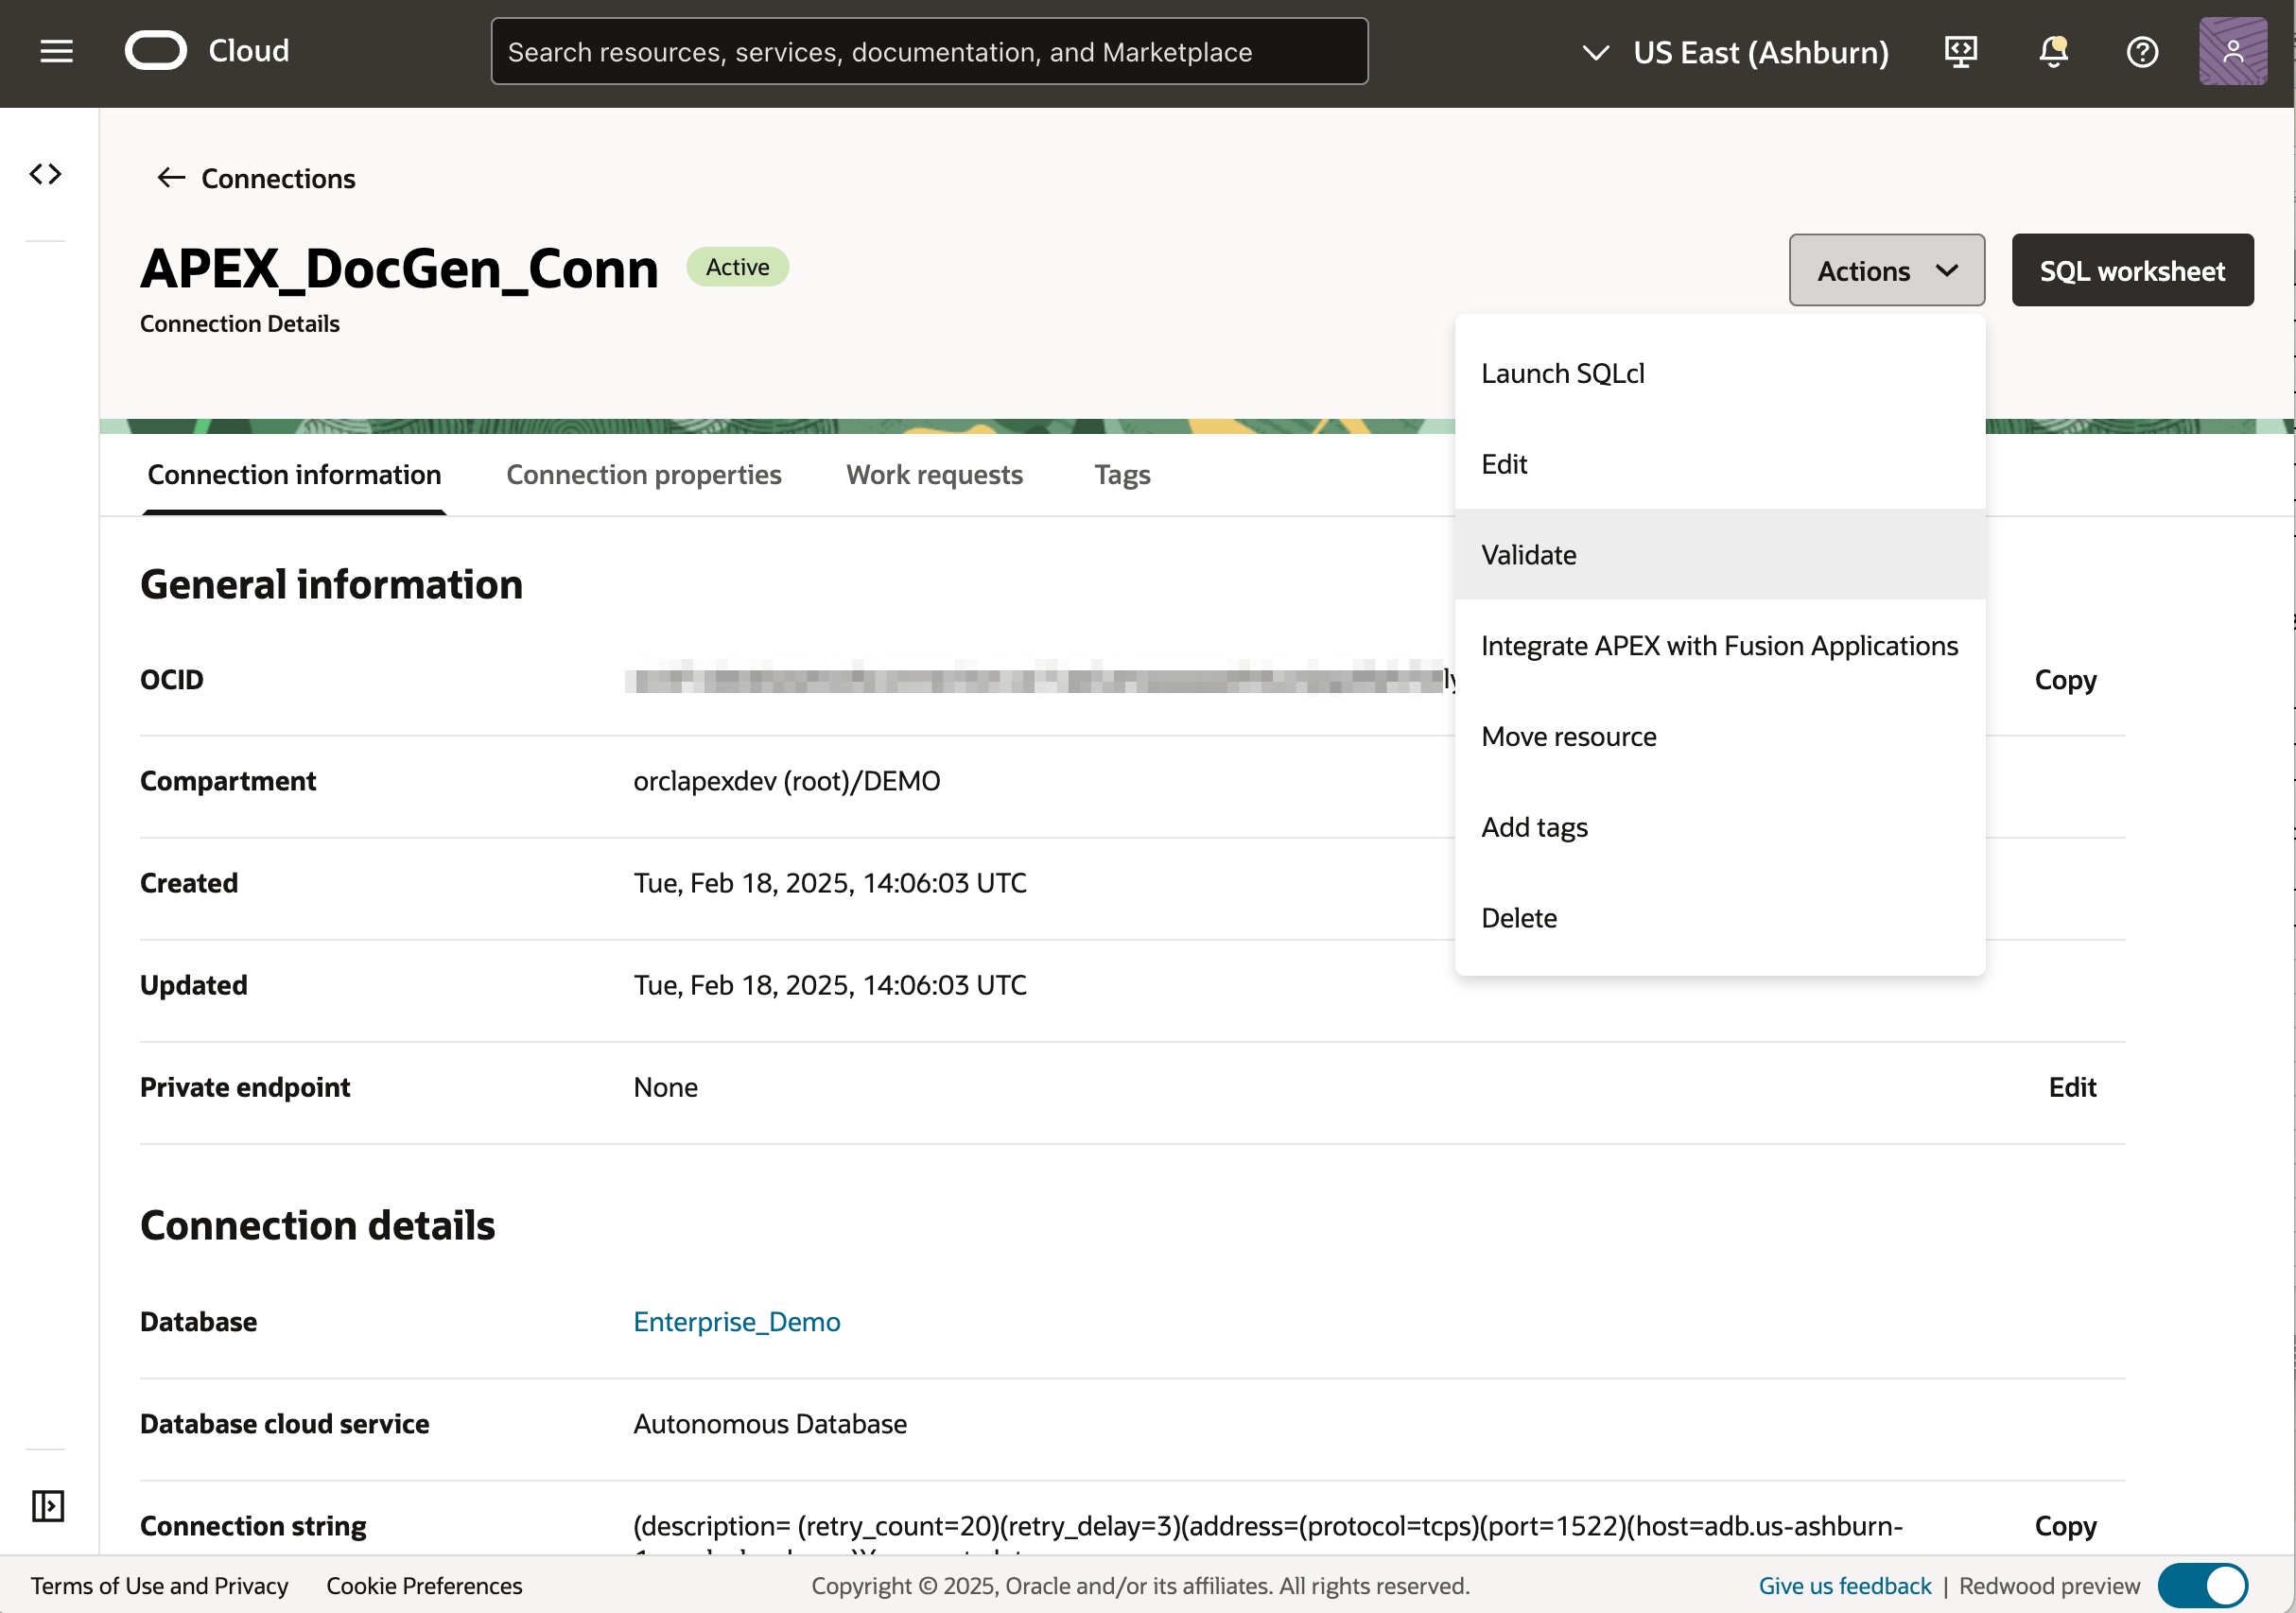
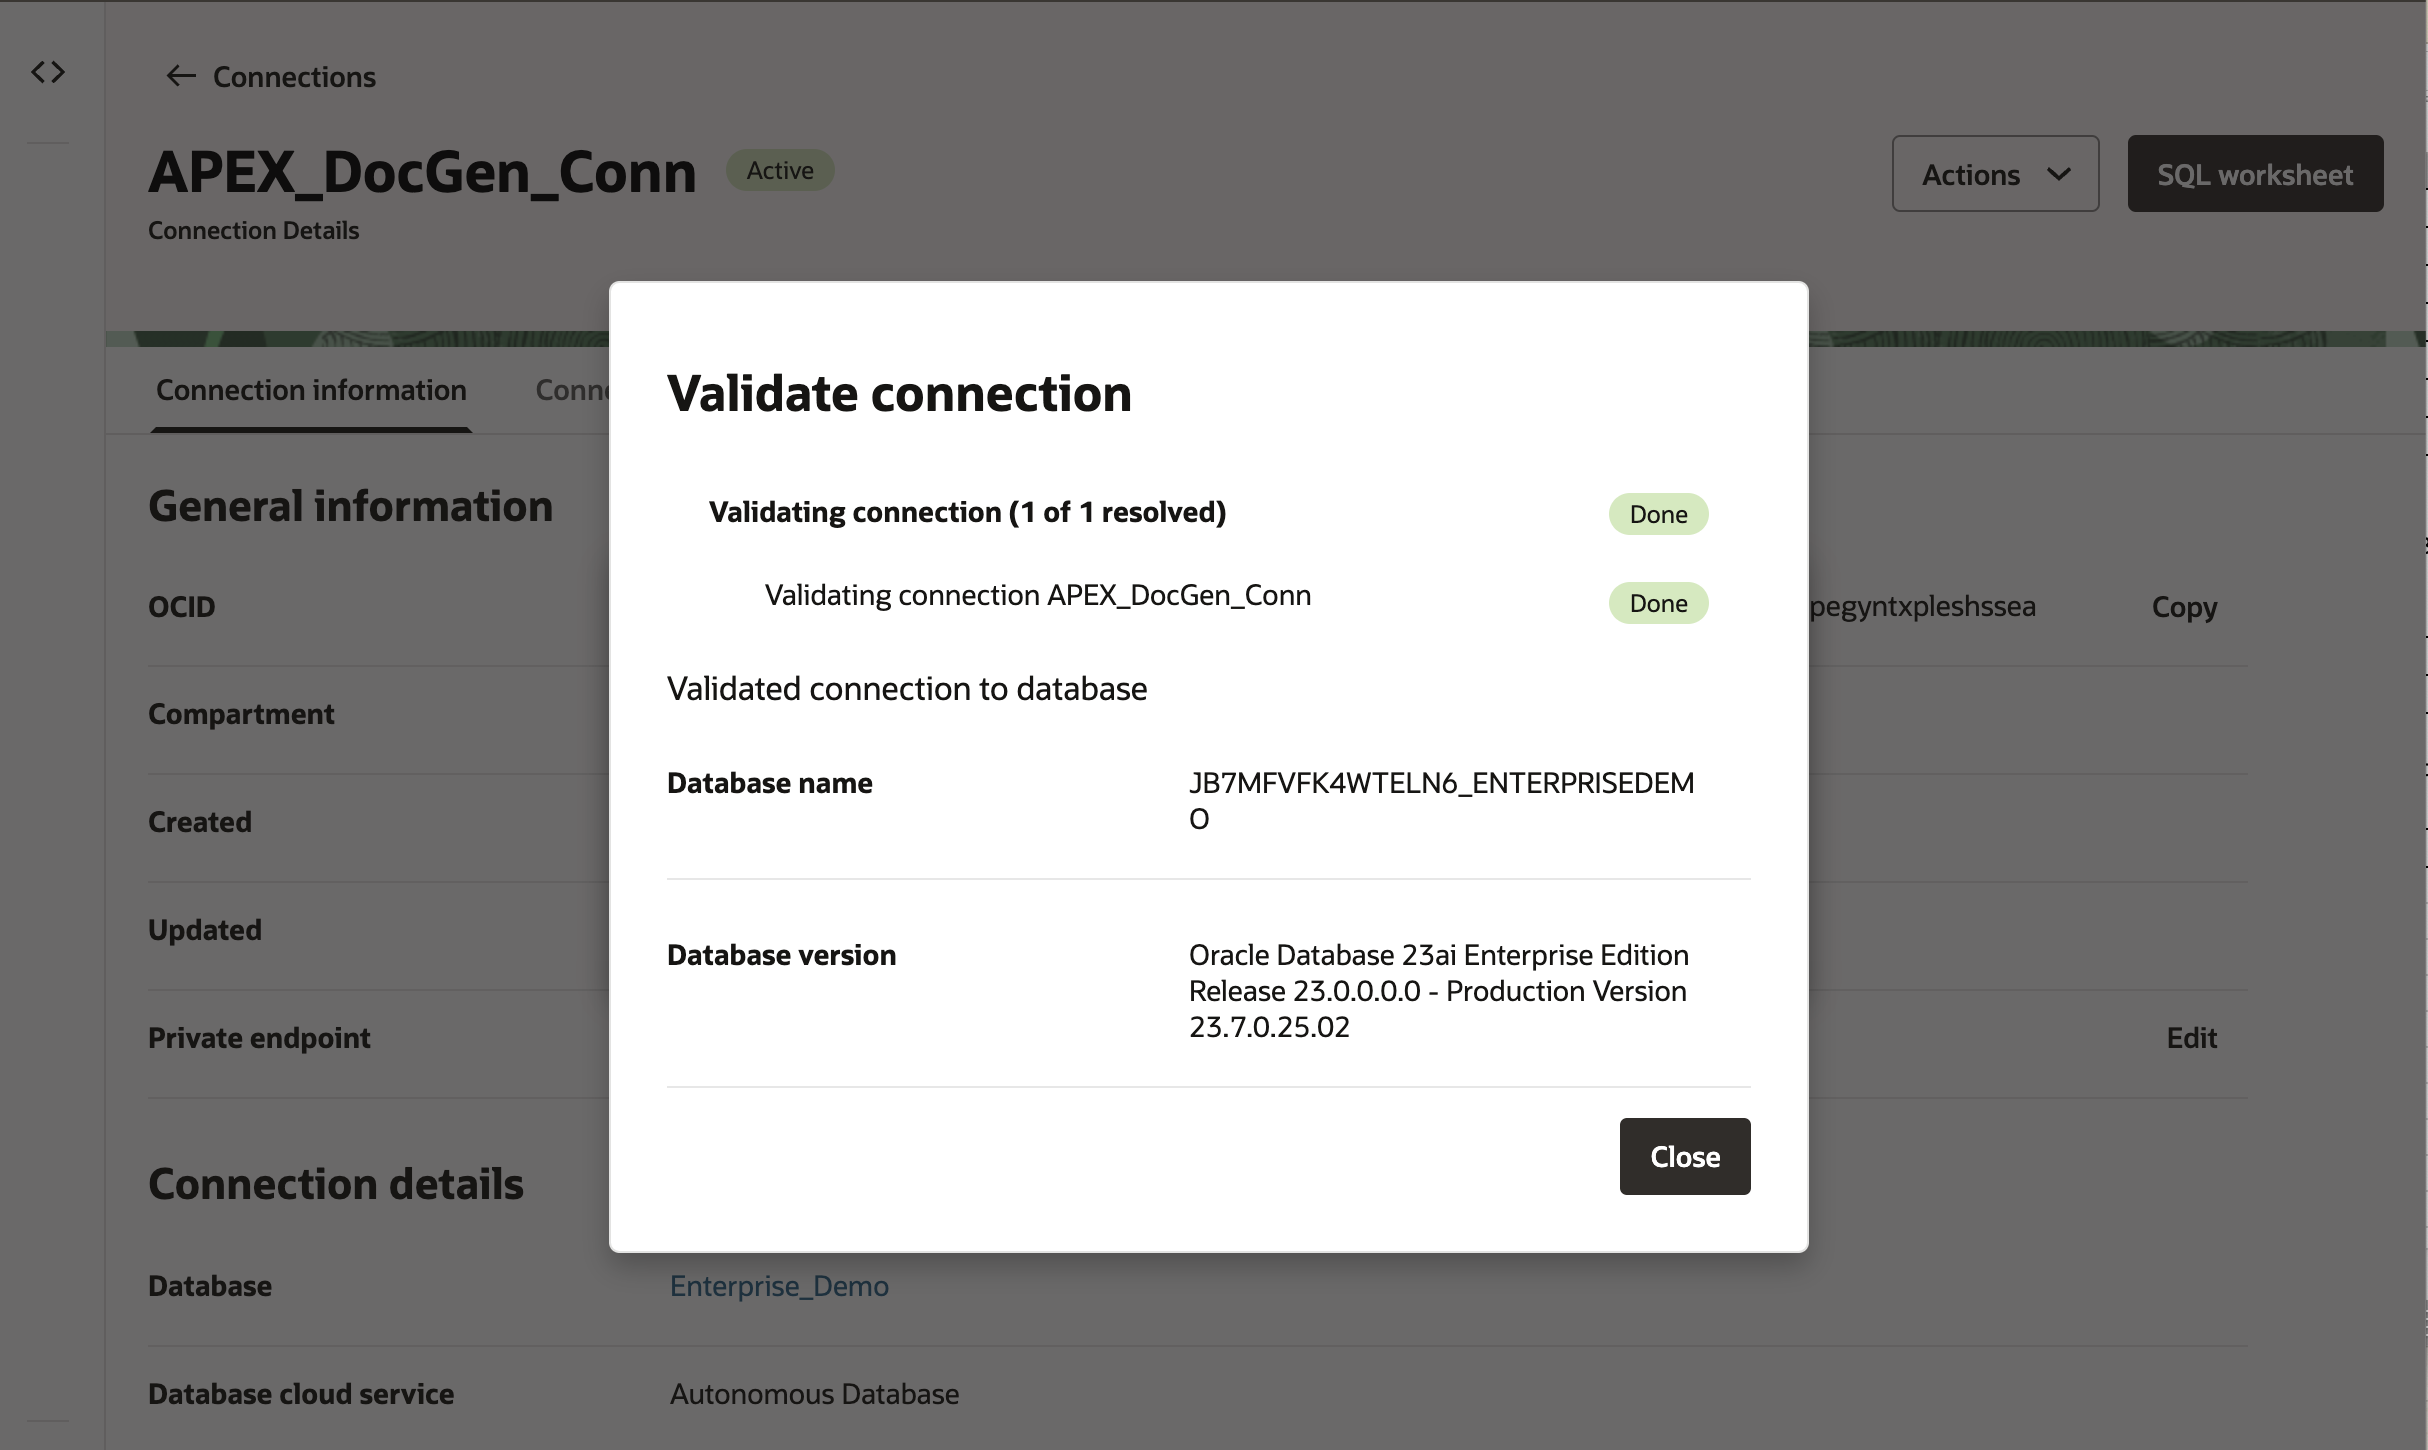
Note: If you don’t have a Password Secret or Wallet Content Secret, click the corresponding buttons to create one. - To validate the newly created Connection, Click on the Validate Button.
Configure the Document Generator Function for Your APEX Instance
An APEX Instance Administrator can configure the Oracle Document Generator pre-built function for the Oracle Autonomous Database from the OCI Console. Supported workload types include Data Warehouse, Transactional Processing, or JSON Database. The APEX workload type is not supported.
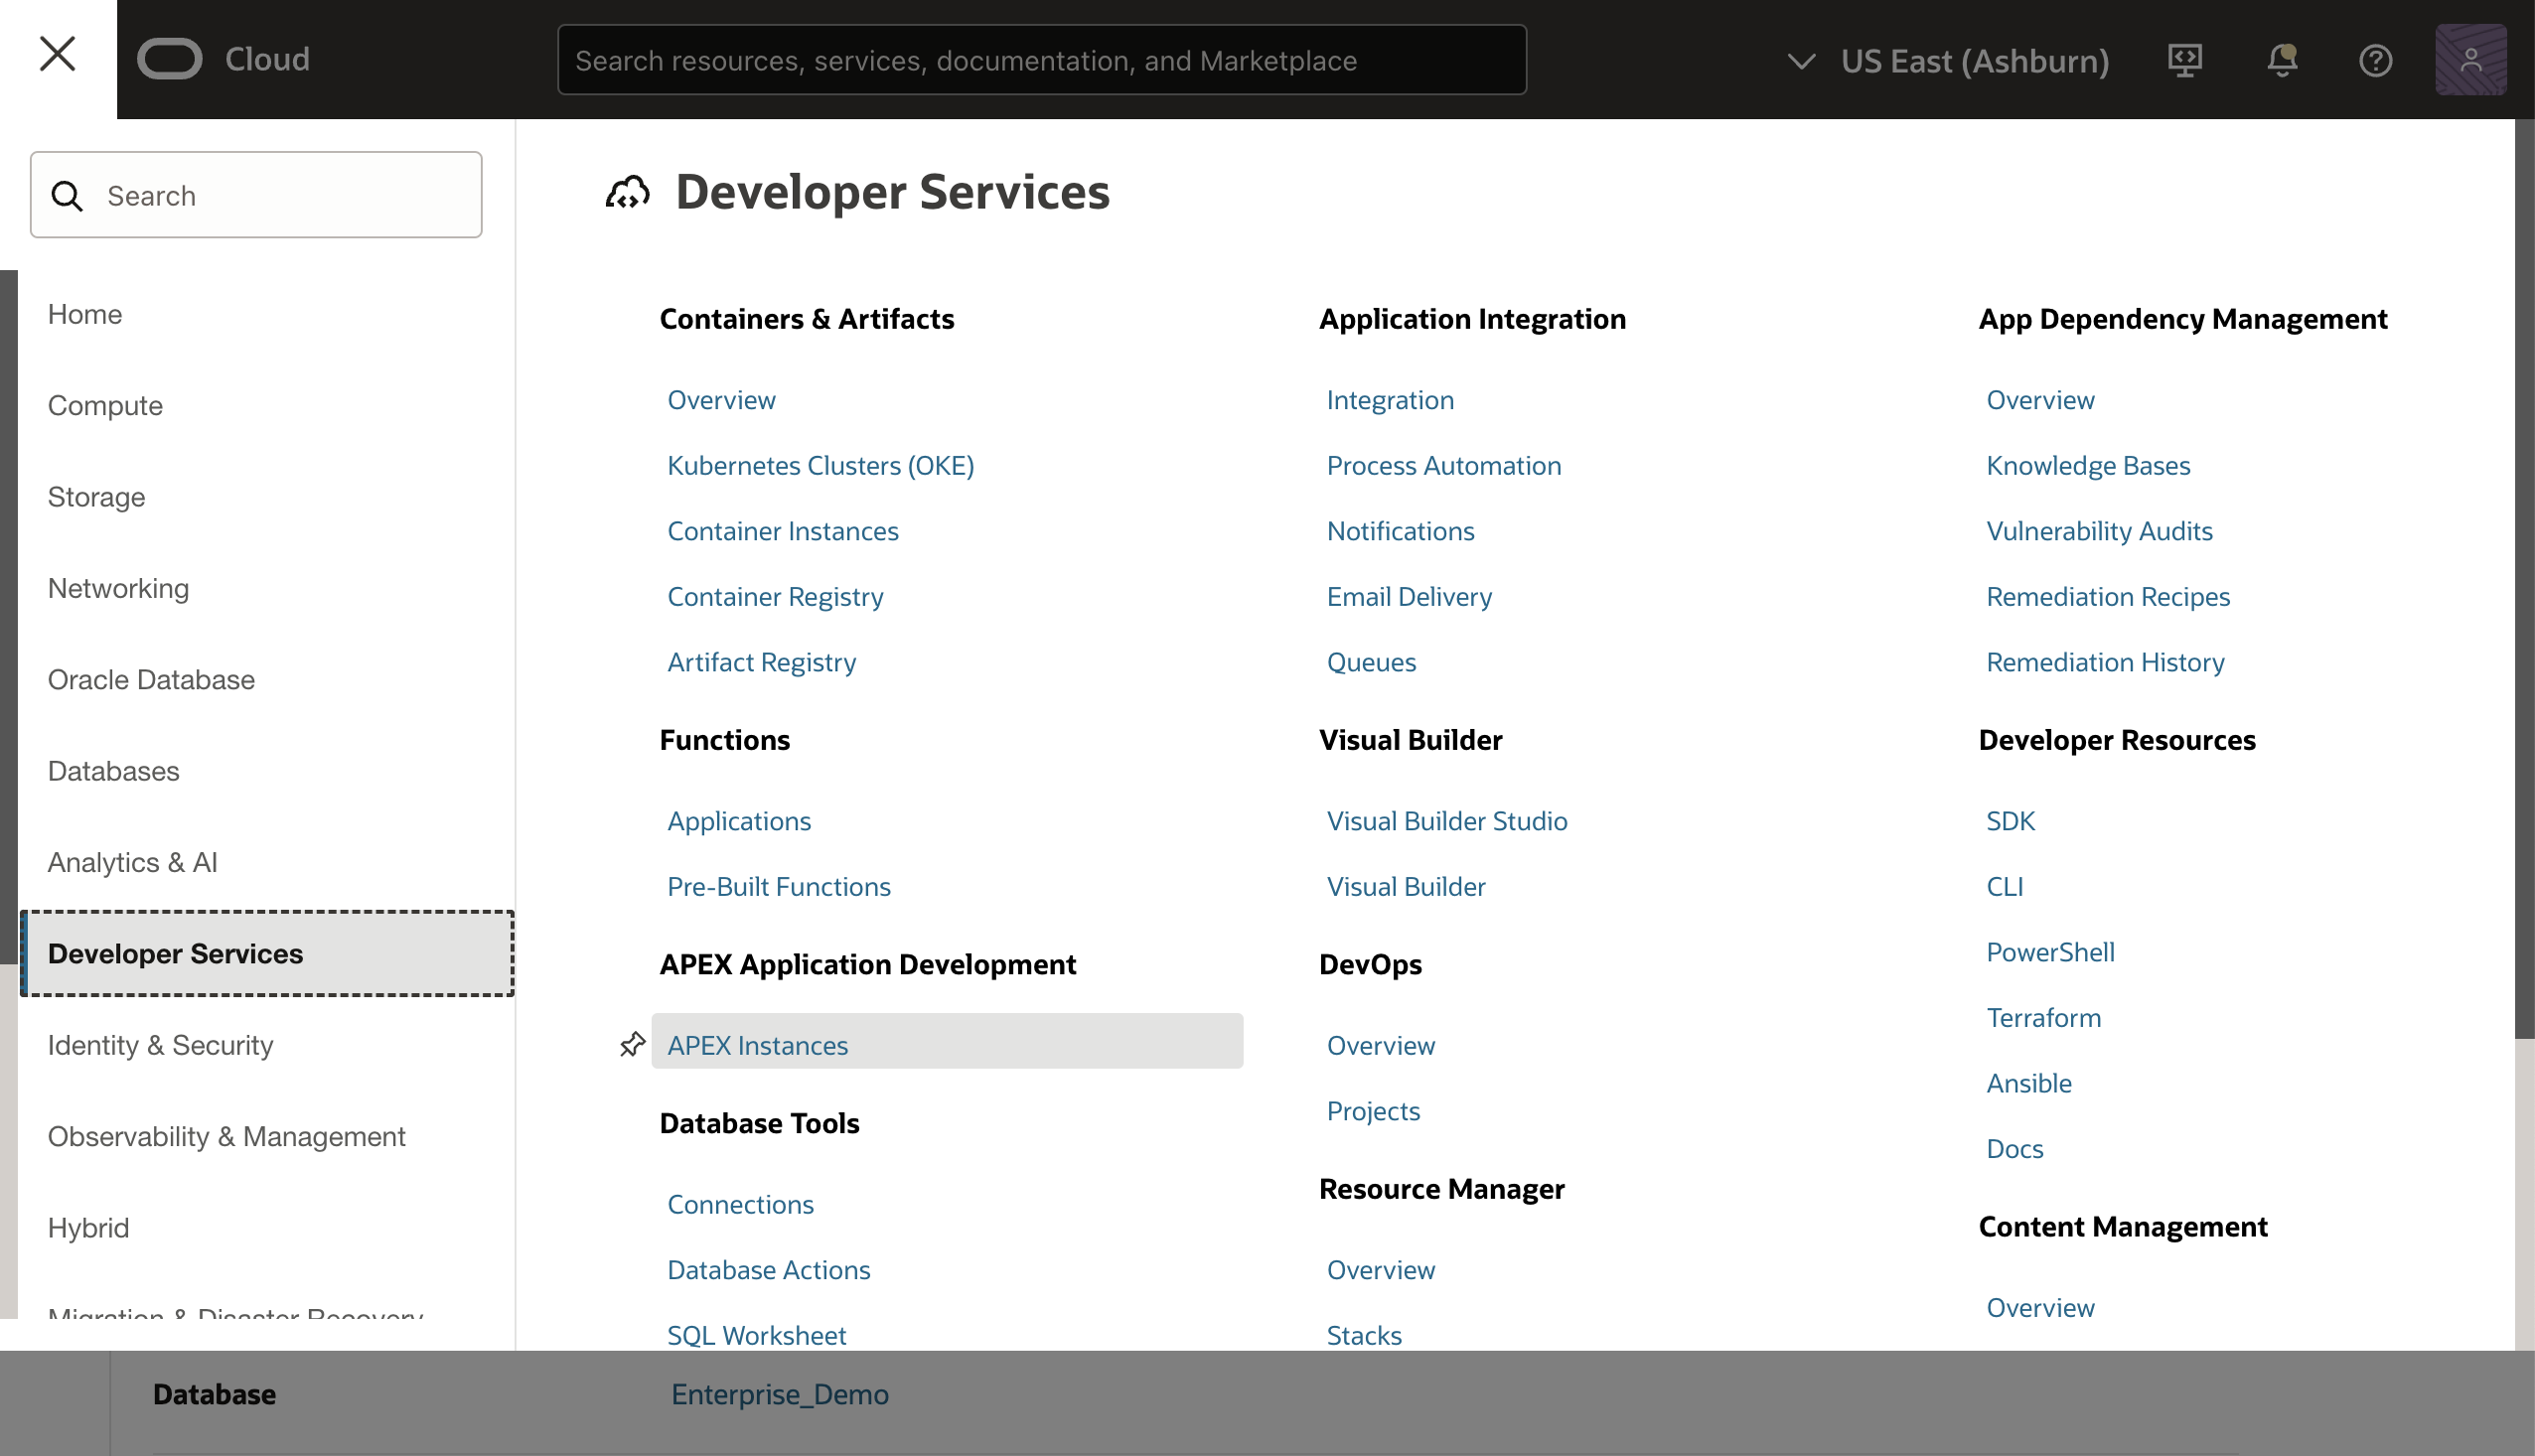
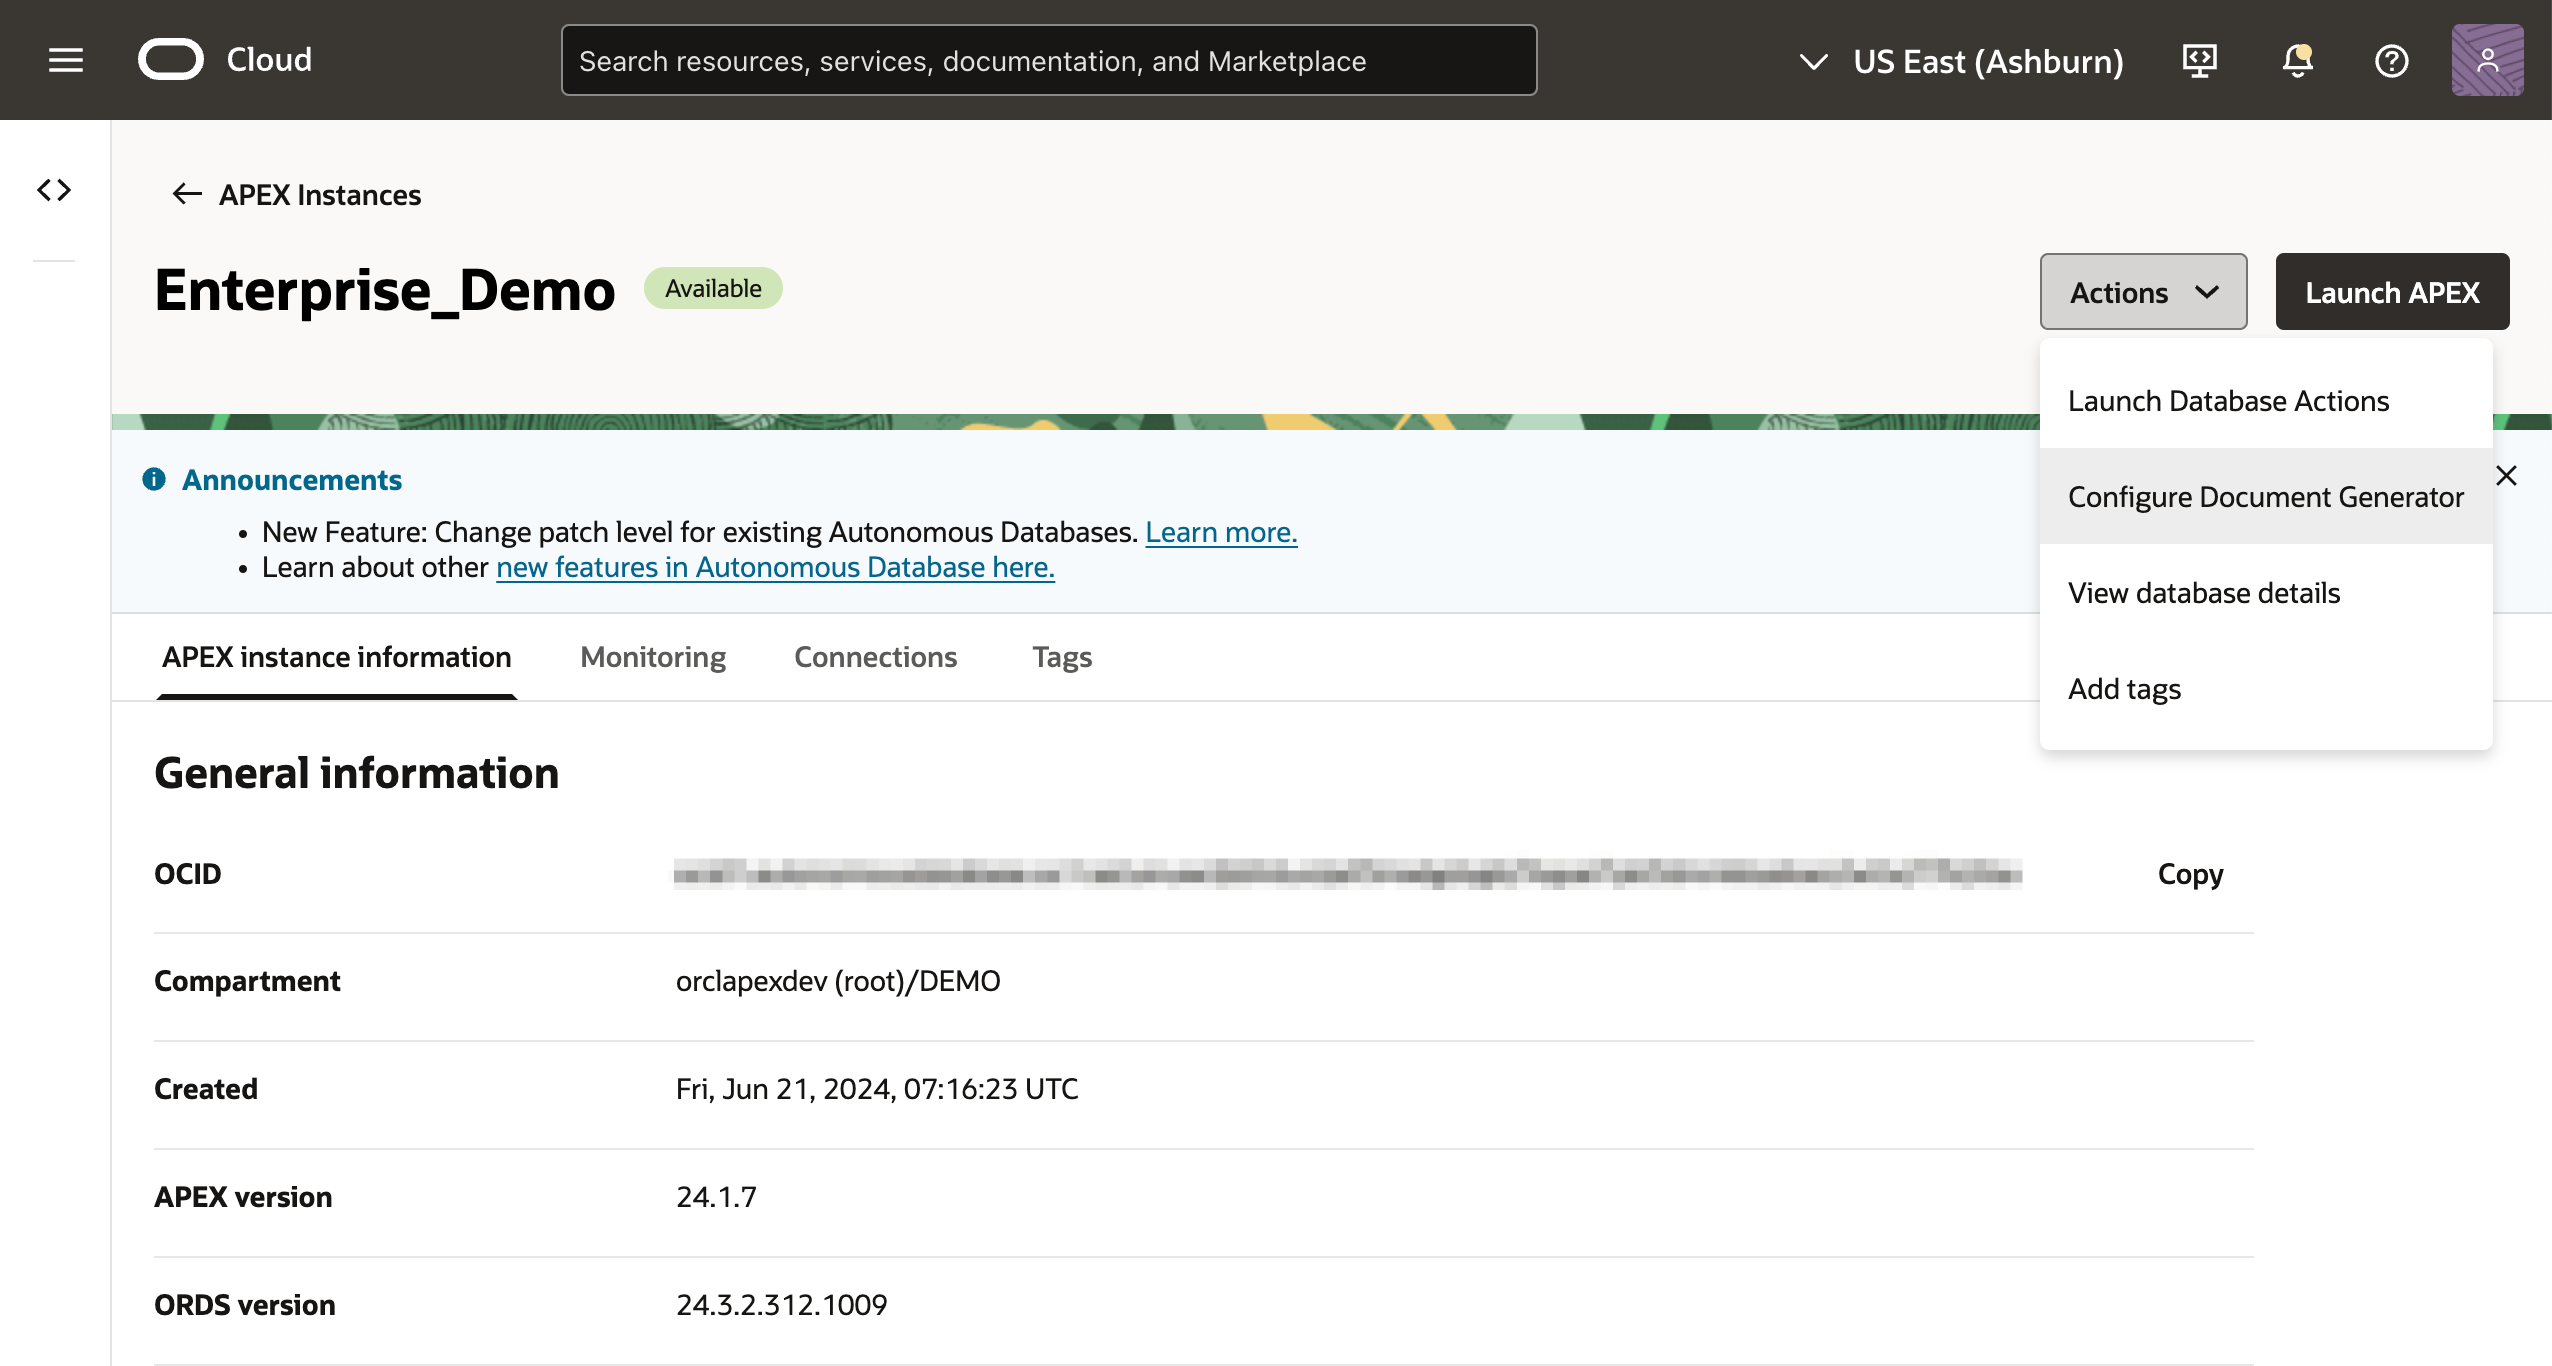
- Sign in to the OCI Console and navigate to Developer Services > APEX Instances.
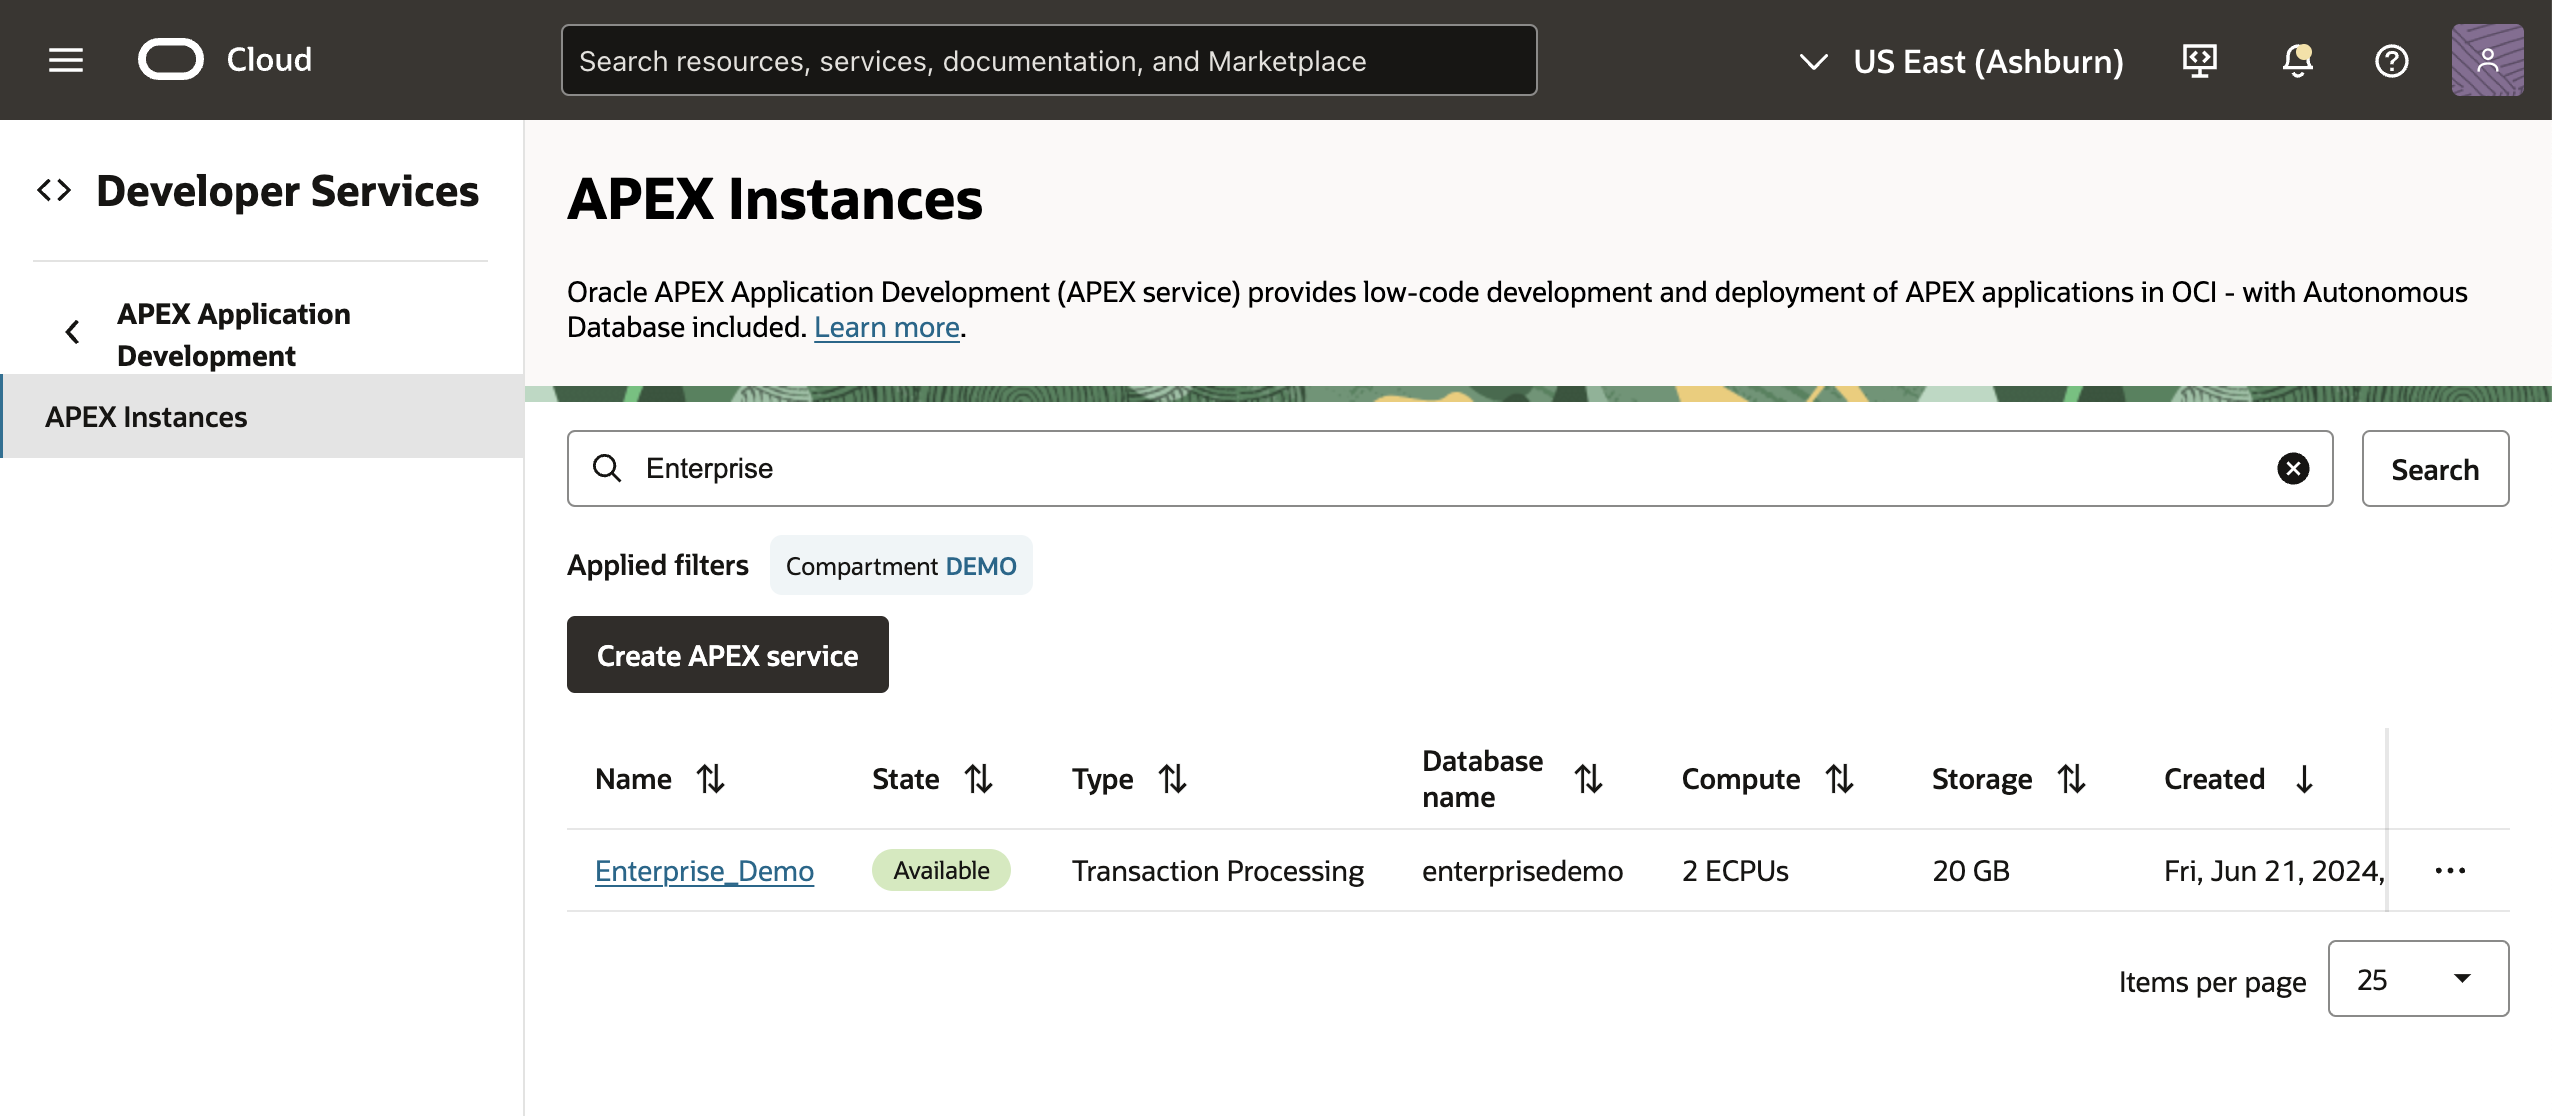
- Locate your APEX instance and select it.
- In the APEX Instance Details page, open the Actions menu and select Configure Document Generator.
- In the Configure Document Generator Wizard, Select the Compartment details of the Connection, Document Generator Function, and Object Storage Bucket. Then, select the Connection and Document Generator Function Details.

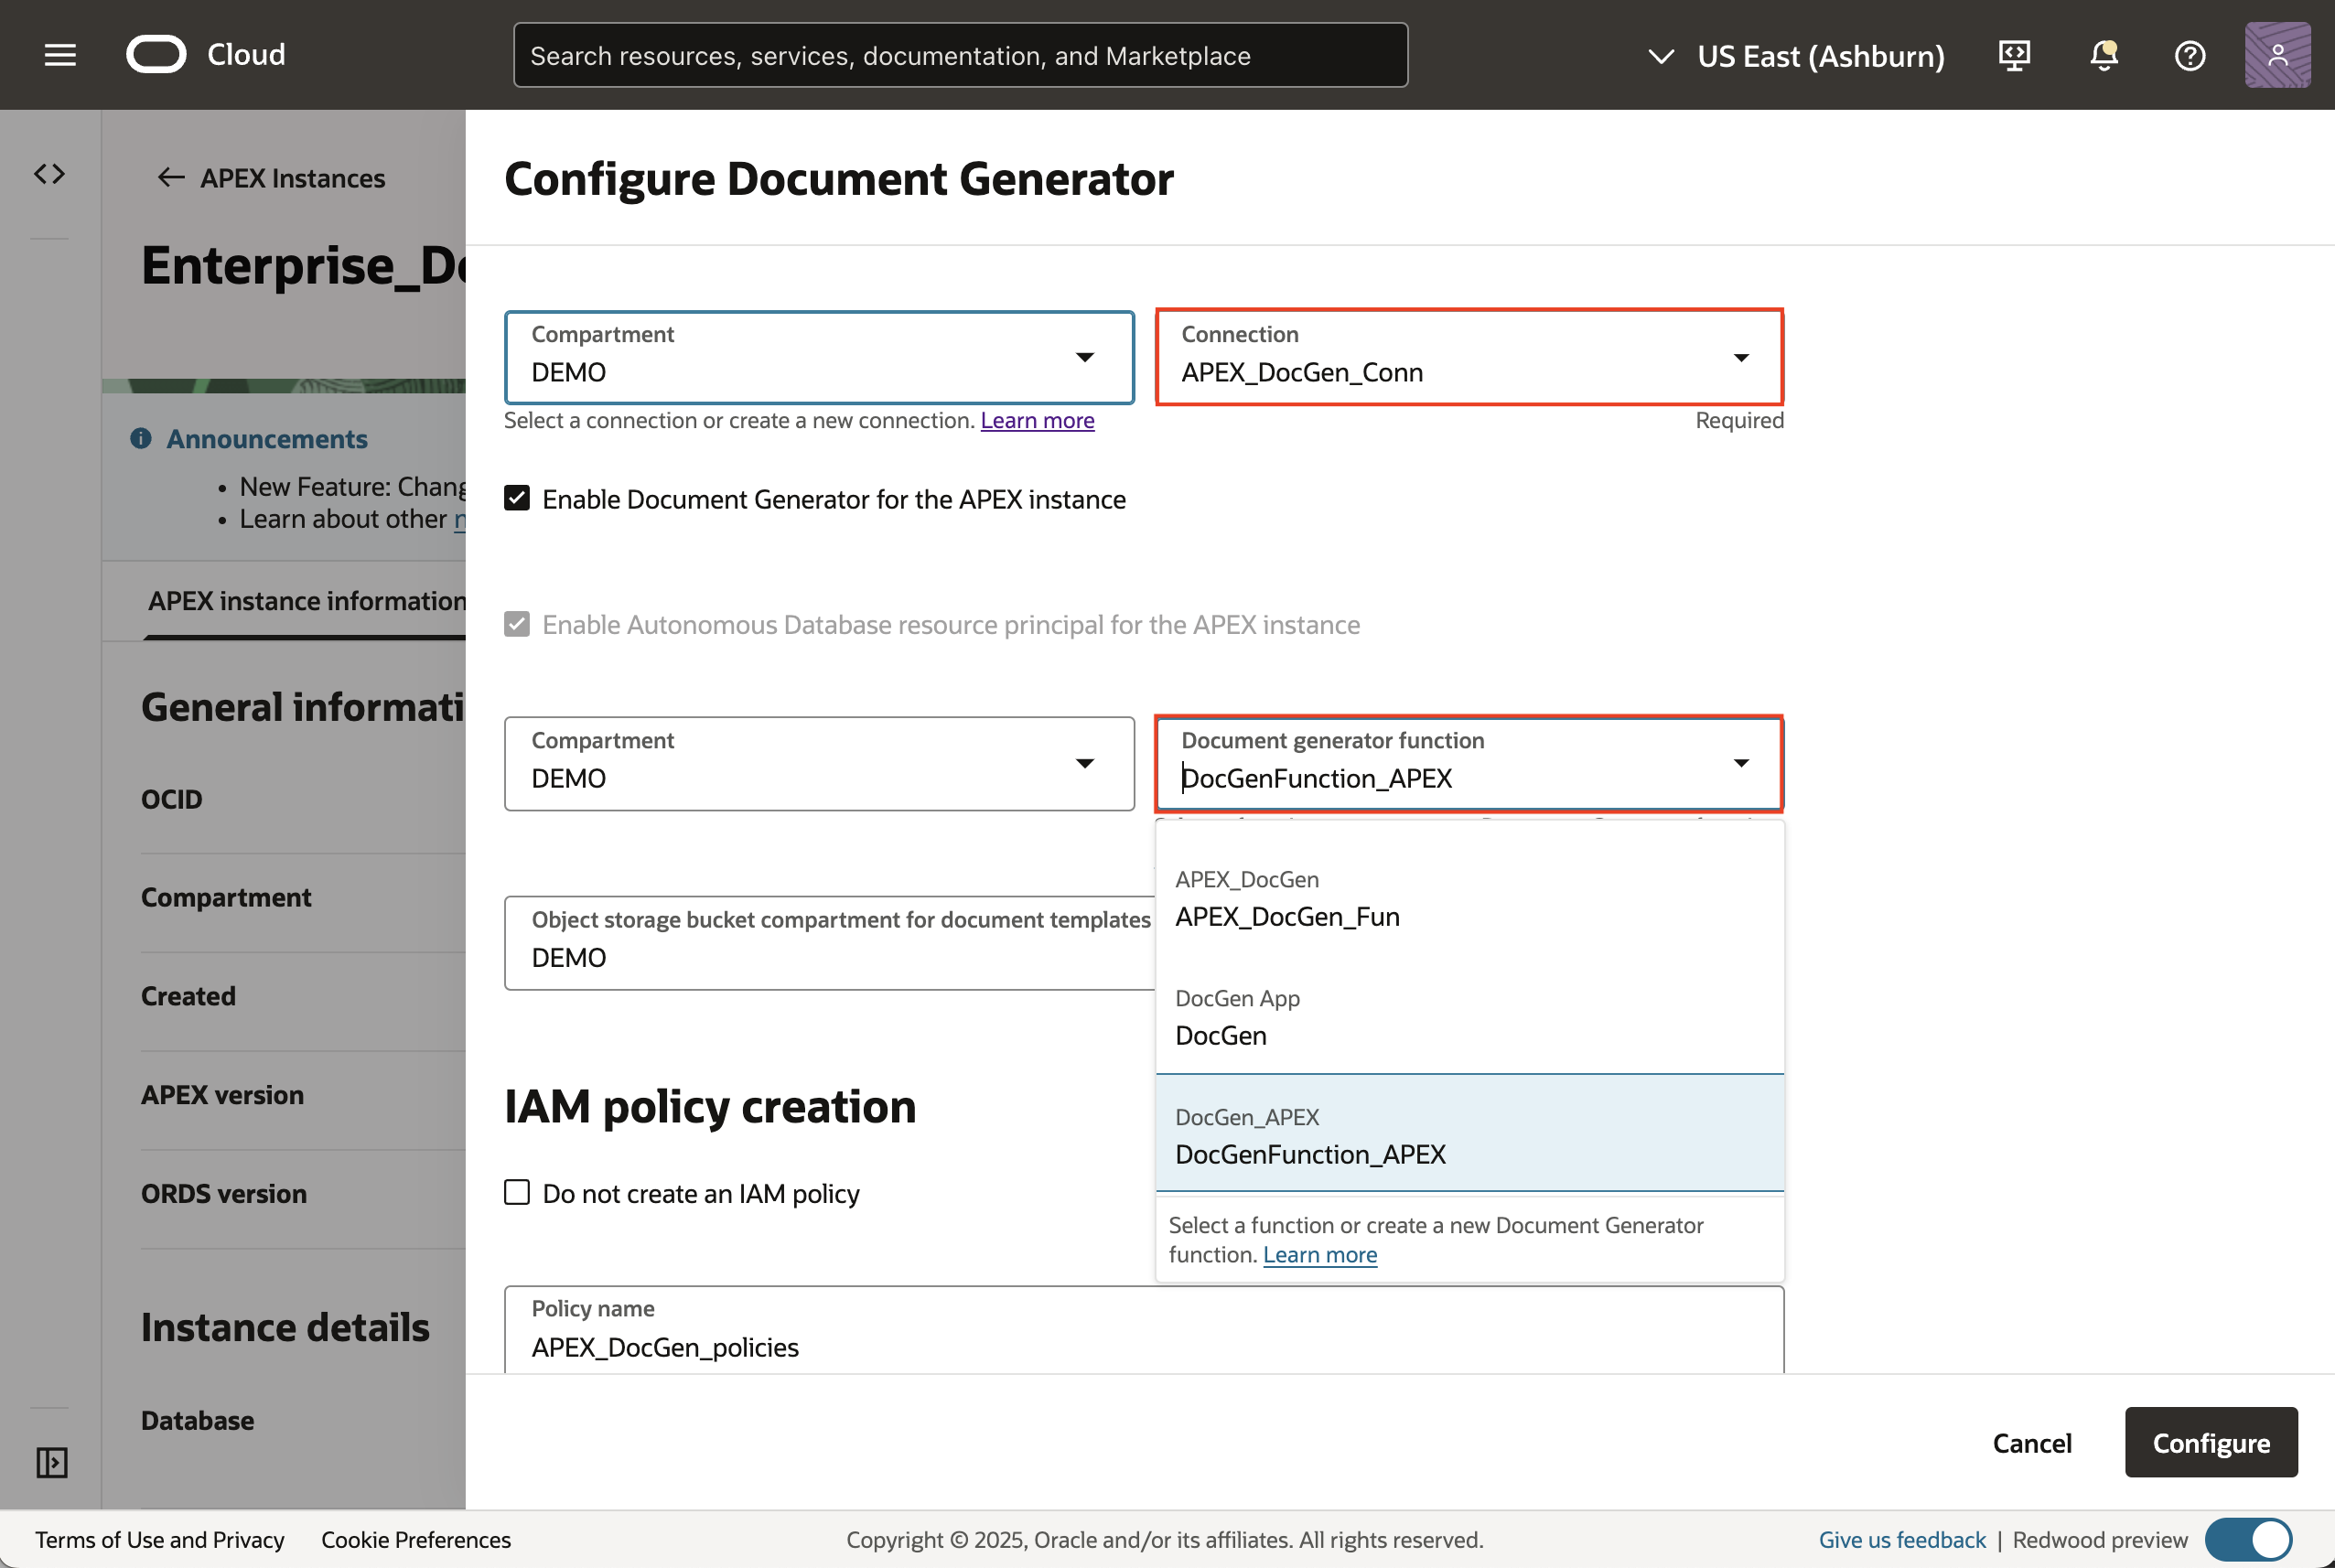
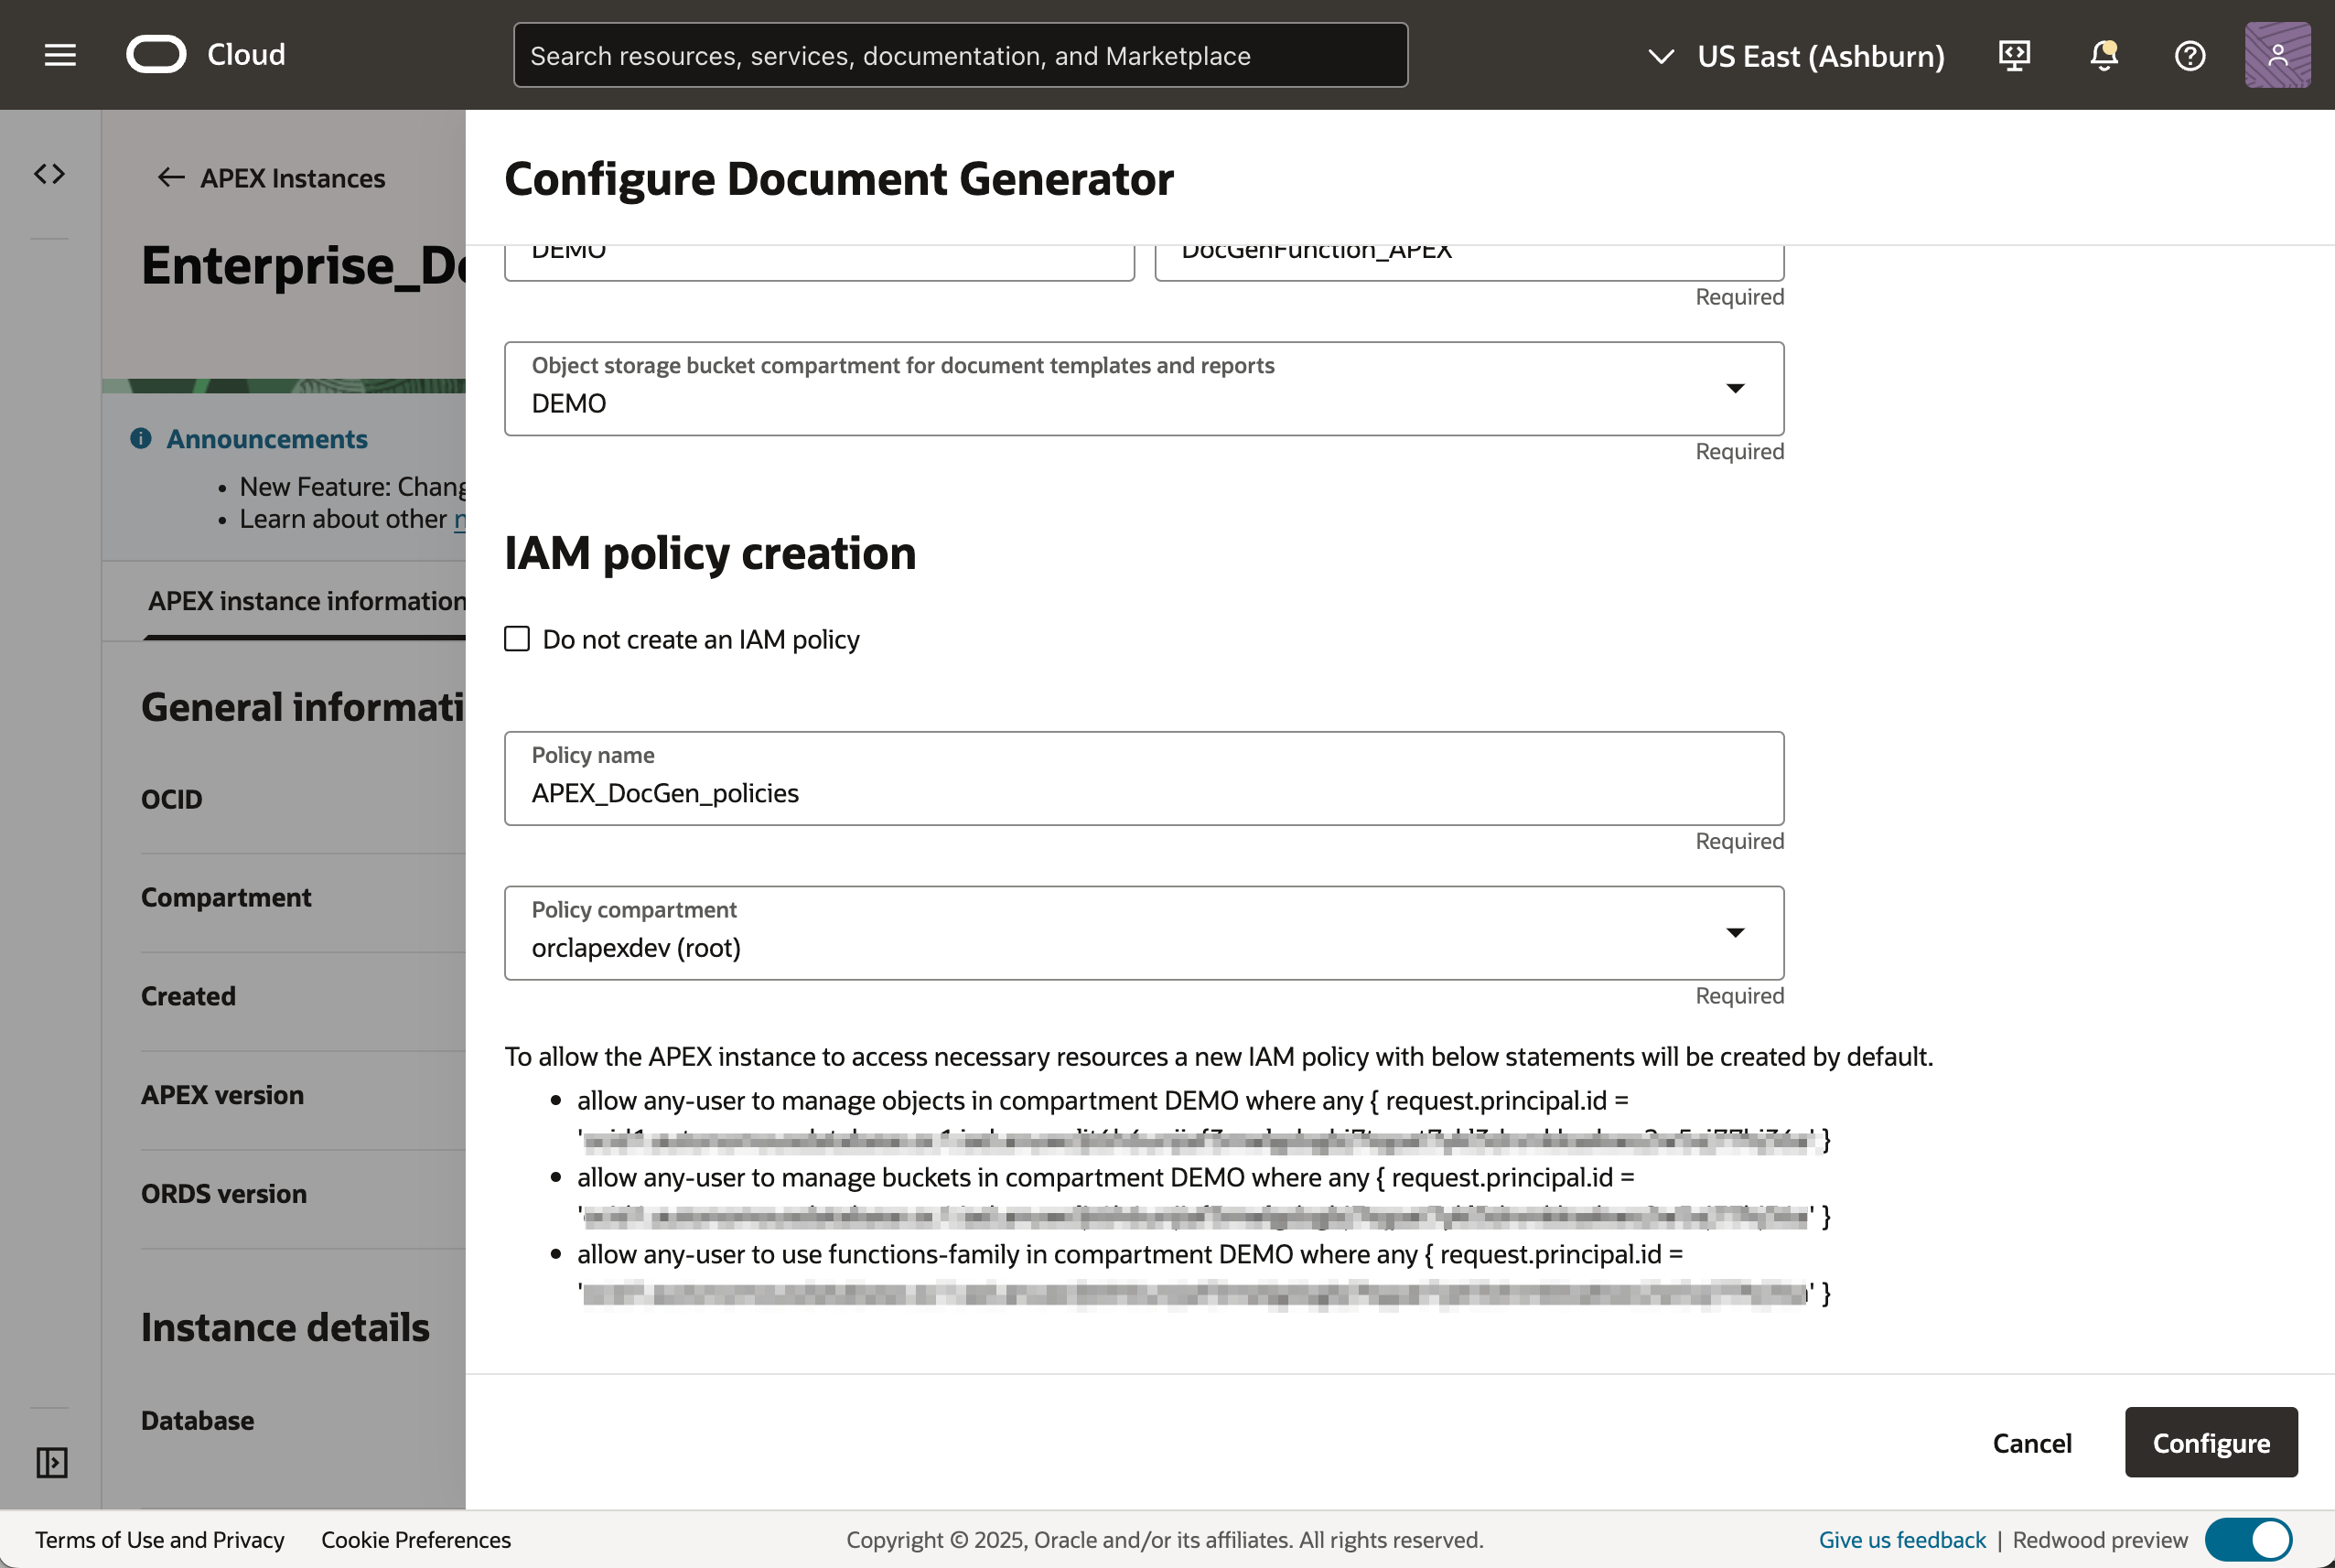
- Enter a name in the Policy Name field to create a policy group. If you don’t want to make the policy automatically, select Do not create an IAM policy. Optionally, change the Policy Compartment, then click Configure.
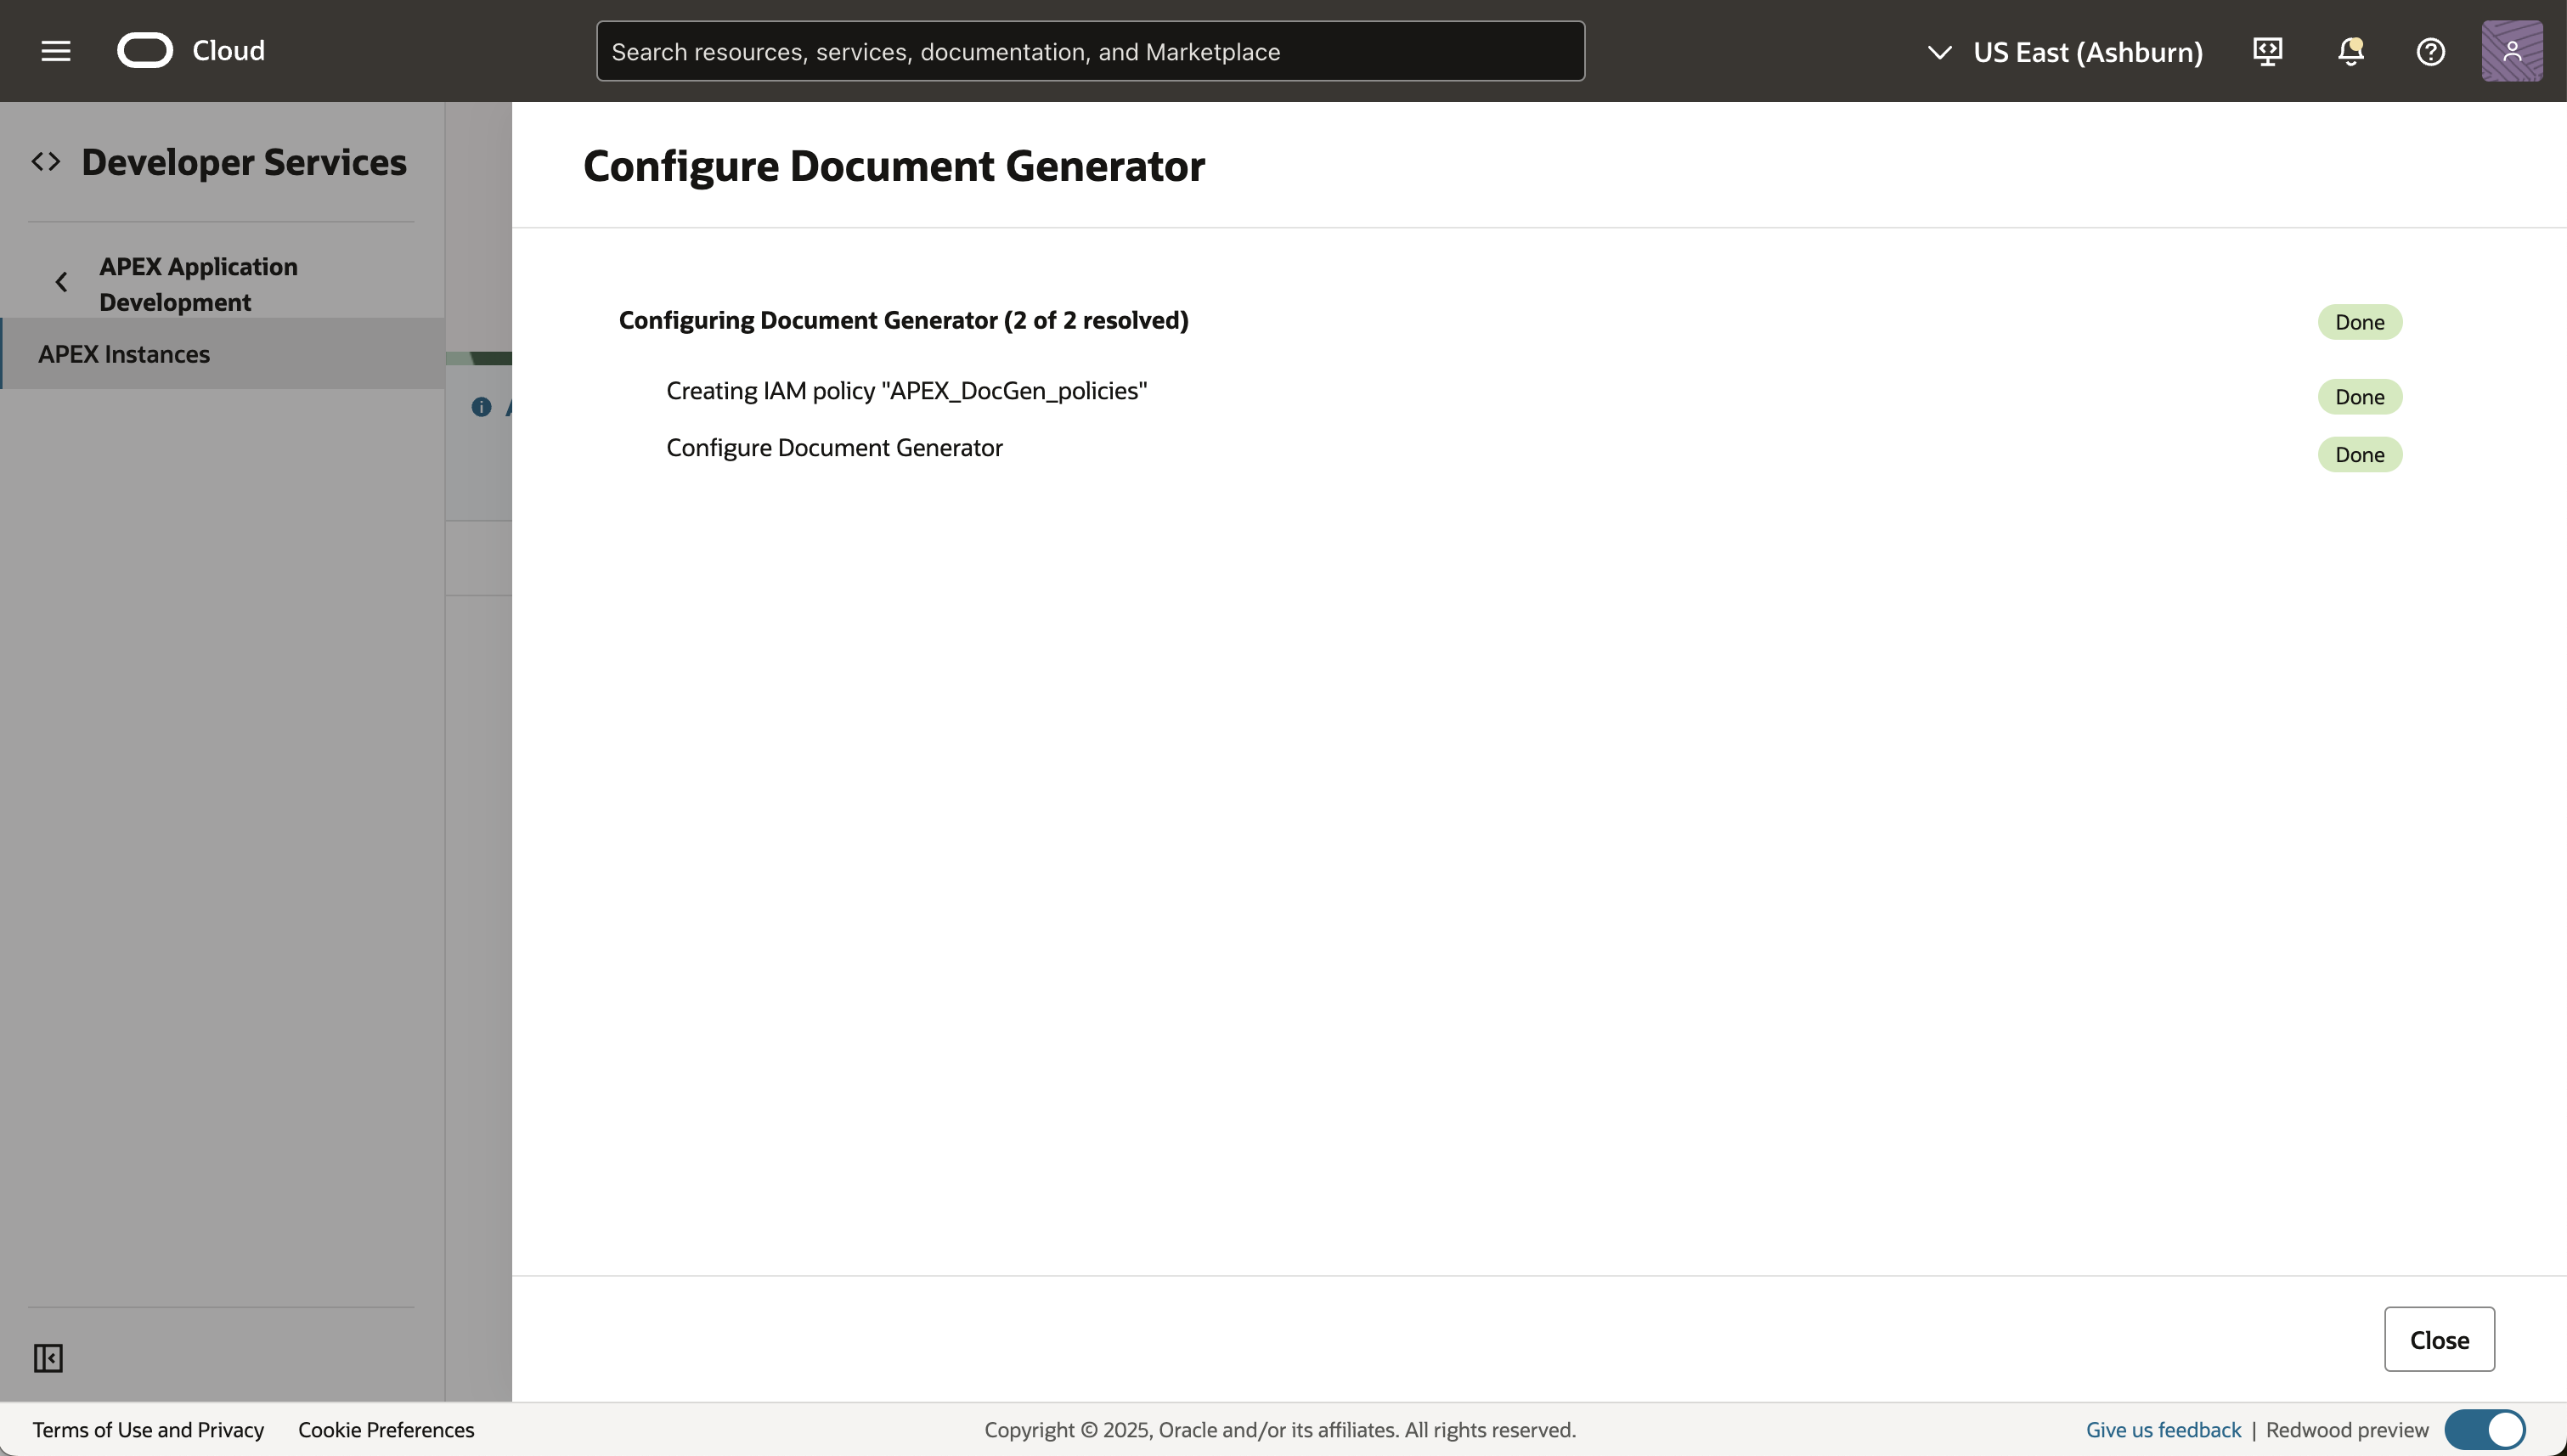
- If successful, a Done label will appear; otherwise, an error message will indicate issues. Click Close to exit the configuration.
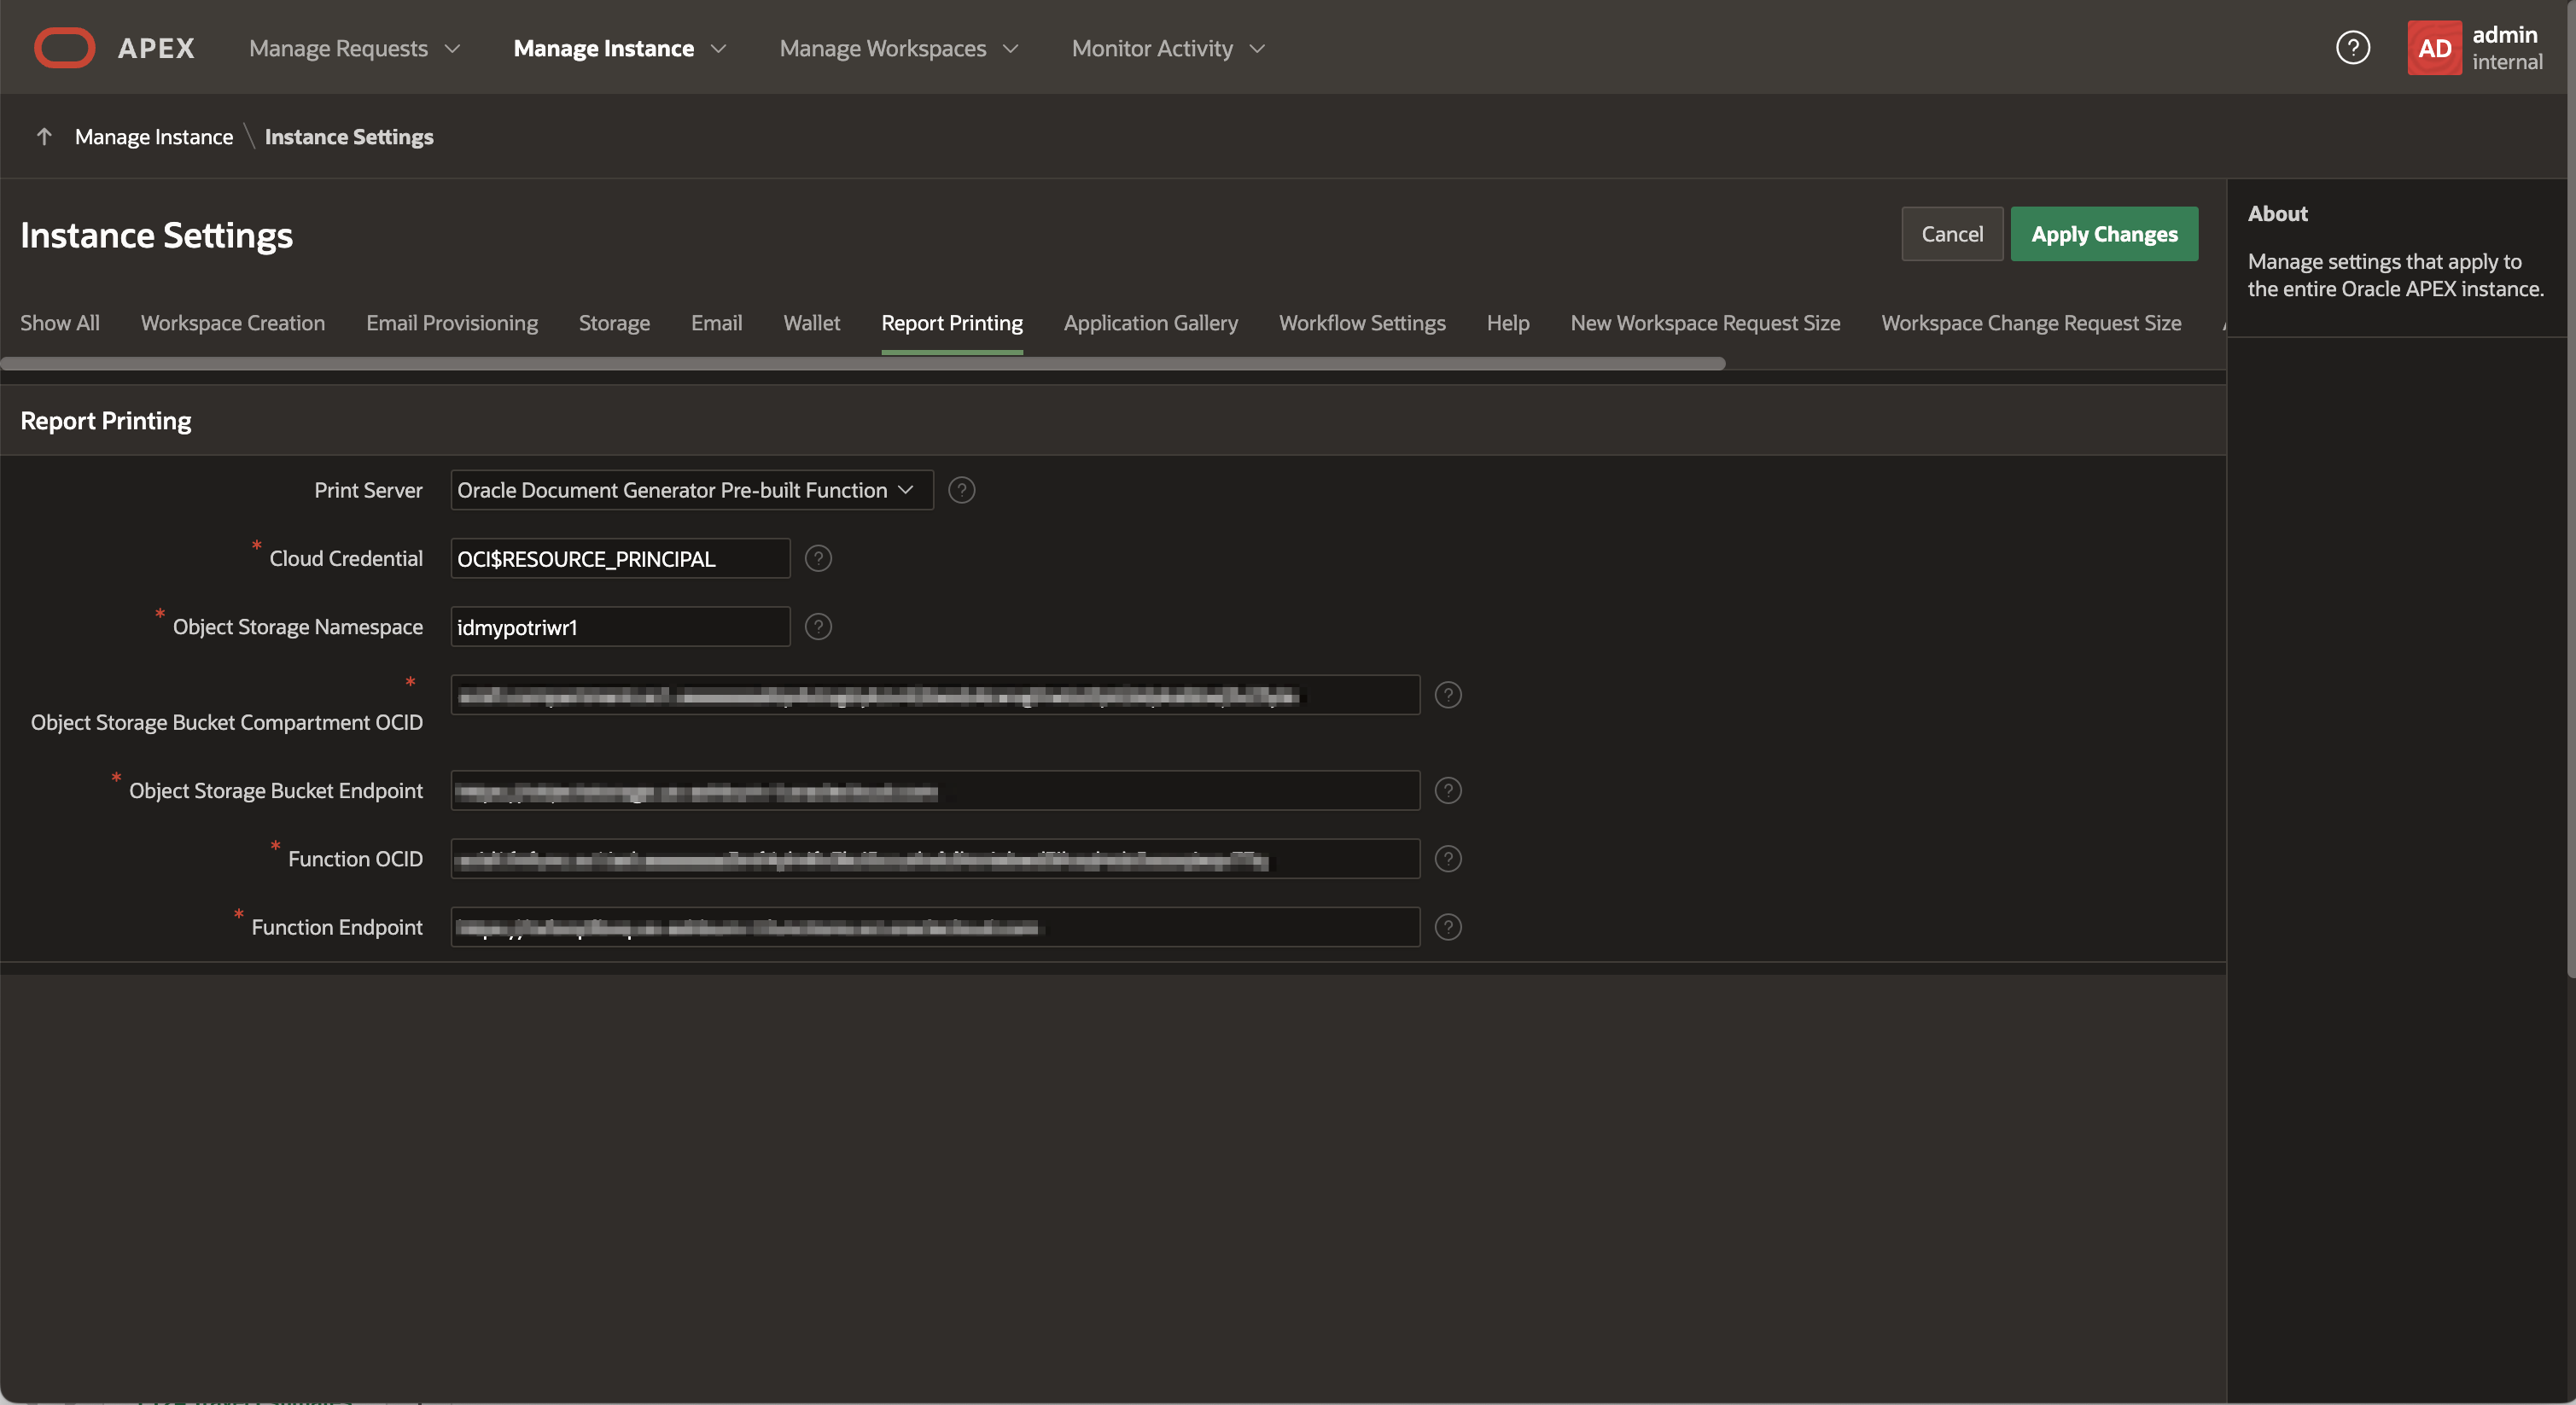
- To validate the configuration, Log in as an APEX Instance Administrator and navigate to the Report Printing Tab under Instance Settings. Notice that the print server was updated to the Oracle Document Generator Pre-built Function, and all the required details were successfully added.

Conclusion
By following the steps in this blog post, you can easily integrate the OCI Document Generator Function with Oracle APEX, allowing your APEX applications to generate dynamic documents effortlessly. With OCI Database Tools Connections and the new Configure Document Generator feature for APEX instances on OCI, the setup is quick and straightforward. This integration lets you create and deliver documents seamlessly, enhancing your application’s functionality with minimal effort.
Additional Resources: