Introduction
This is the third in a series of blogs that detail how to setup and use a LAMP Stack that makes use of MySQL HeatWave in the Oracle Cloud.
-
Part 1 will set the scene by detailing what a LAMP stack is and what deployment options are available in the Oracle Cloud. It will also set out the architectural vision for the LAMP stack this series of blogs will build.
-
Part 2 will build the infrastructure (network, application server, database server) in the Oracle Cloud.
-
Part 3 will install and configure the remaining LAMP stack software.
-
Part 4 will install additional software to assist in developing web applications.
-
Part 5 will consider how to make the stack more scalable, available and secure.
Predicates for completing the tasks in this blog
You will need to have completed Part 2 of this series of blogs and gathered the following information (as described in Summary and Next Steps of Part 2):
-
The public IP address of the application server
-
The Linux user account name (on the application server)
-
The private IP address of the MySQL Database Service instance
-
The name and password of the database’s administrative user
Database Connectivity – Install MySQL Shell
Whilst not part of the LAMP stack per-se, you will need a MySQL client in order to be able to upload and make changes to your database schema. MySQL clients that could be used include: the traditional MySQL client; MySQL shell; MySQL Workbench as well as phpMyAdmin. At the stage the most efficient of these clients will be MySQL Shell.
Step 1: connect to the application server
The following assumes that the public IP of the application server is 140.238.70.172
[opc@app ~]$
If you see a message similar to, Activate the web console with: systemctl enable –now cockpit.socket, then ignore it. Cockpit is a Red Hat tool that allows you to administer your server remotely over the web. It is not required to complete this series of blogs.
Step 2: install MySQL shell
By default the opc has the ability to elevate its privileges by running sudo. This will be required to install most software and make system-wide configuration changes (e.g. to the host firewall).
[opc@app ~]$
Step 3: Connect to the MySQL Database Service instance
In the following code we use MySQL Shell (command mysqlsh) to connect to the MySQL Database Service instance whose private IP address is 10.0.1.66. The user account is admin. Once connected a rudimentary test is conducted (SHOW DATABASES) and then the session is closed (using \q).
Please provide the password for ‘admin@10.0.1.66’: *********
SQL > SHOW DATABASES;
+——————–+
| Database |
+——————–+
| information_schema |
| mysql |
| performance_schema |
| sys |
+——————–+
4 rows in set (0.0007 sec)
[opc@app ~]$ \q
Bye!
[opc@app ~]$
Note in the above example the SQL prompt has been abbreviated for clarity, from MySQL 10.0.1.66:33060+ ssl SQL > to just SQL >
Webserver: install and test Apache
Step 1: Install Apache and configure systemd to manage it
For Red Hat operating systems (of which Oracle Linux is a variant) the Apache HTTP webserver package is httpd. On its own this will only serve pages using http. To use https you will also need to install the plug in module, mod_ssl.
The httpd package is configured to be managed by systemd, however, in the first instance you must explicitly enable and start it.
[opc@app ~]$ sudo systemctl enable –now httpd
[opc@app ~]$ httpd -v
Server version: Apache/2.4.37 (Oracle Linux)
Server built: Jun 22 2022 14:35:49
[opc@app ~]$
Step 2: Configure the host’s firewall
Before Apache can be used the host’s firewall needs to be configured. Open http and https ports using the firewall-cmd then restart (reload) the firewall. Check that the ports are open.
[opc@app ~]$ sudo firewall-cmd –zone=public –permanent –add-port=443/tcp
[opc@app ~]$ sudo firewall-cmd –reload
[opc@app ~]$ sudo firewall-cmd –list-ports
80/tcp 443/tcp
[opc@app ~]$
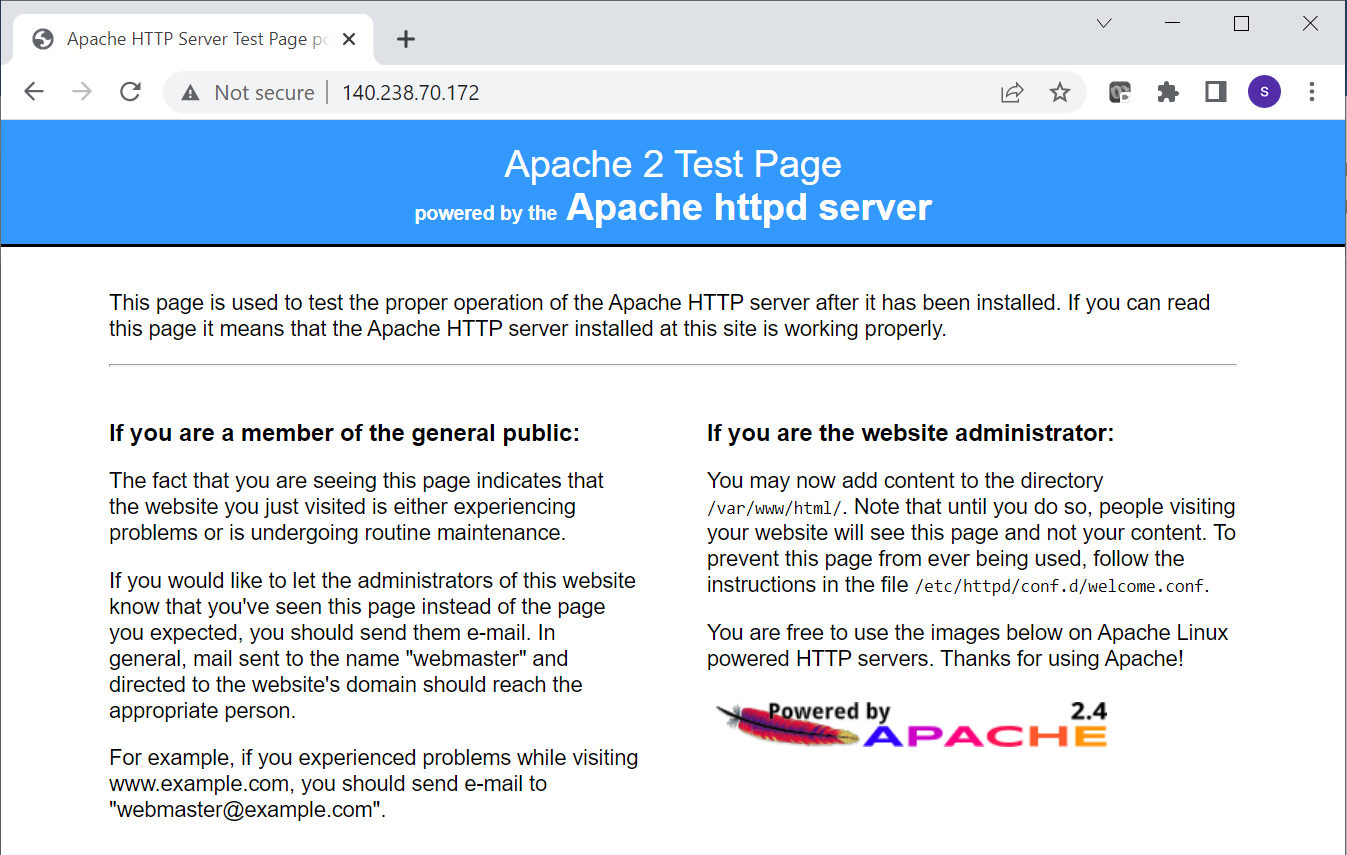
Step 3: Test Apache
In a browser, enter the URL http://<public-ip> (tip: make sure the http protocol is specified; browsers often want to auto-correct your entry to https). You should see a page that is similar to that shown below:
Step 4: Replace the Apache welcome page with your own home page
The default Apache welcome page is only temporary and should be replaced with your own content. In order to comply with the welcome page’s message to website administrators all the lines in the /etc/httpd/conf.d/welcome.conf page should be commented out. In the example below this is done using the operating system’s stream editing utility, sed. Once this is done, Apache should be restarted to avoid any issues with config files being cached in memory. Finally, an html file, index.html, needs to be created and written to the document root, /var/www/html.
[opc@app ~]$ sudo systemctl restart httpd
[opc@app ~]$ sudo -s
[root@app opc]# cat << EOF >> /var/www/html/index.html
<html>
<body>
<h1>Hello World!</h1>
</body>
</html>
EOF
[root@app opc]# exit
[opc@app ~]$
Now when the homepage (http://<public-ip>) is reloaded in the browser you will see:
Install and test PHP
Step 1: Install PHP and make it available to Apache
To install PHP 8.1 on a Red Hat variant operating system such as Oracle Linux requires us to install the remi repository and then enable the 8.1 distribution before installing the required packages. Note that we must restart Apache in order for Apache to pick up PHP.
[opc@app ~]$ sudo dnf -y module enable php:remi-8.1
[opc@app ~]$ sudo dnf -y install php-{fpm,common,mysqlnd,cli}
[opc@app ~]$ sudo systemctl restart httpd
[opc@app ~]$ php -v
PHP 8.1.8 (cli) (built: Jul 5 2022 21:55:55) (NTS gcc x86_64)
Copyright (c) The PHP Group
Zend Engine v4.1.8, Copyright (c) Zend Technologies
[opc@app ~]$
Step 2: Test PHP with Apache
To test PHP with Apache a small file called info.php will be created and installed in the document root:
[root@app opc]# cat << EOF >> /var/www/html/info.php
<?php
phpinfo();
?>
EOF
[root@app opc]# exit
[opc@app ~]$
In your browser enter the URL, http://<public-ip>/info.php . You should see a page that is similar to the following:
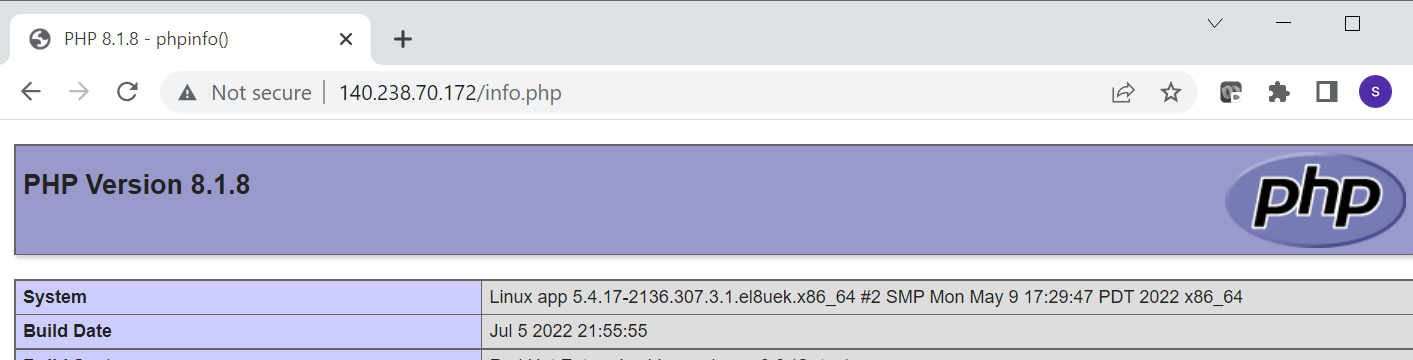
This page displays a lot of information about your server. Therefore, it should only be used for test purposes, after which it should be removed:
Better User Management
So far the work done to the document root has been completed as the root user. This is a rather naïve approach and one that presents risk through both misuse and malign use. Ideally, a separate group should be created for the purposes of web administration, and only those users tasked with web administration should be assigned to it.
Once a group has been created and users assigned to it, the ownerships and permissions on the document root can be changed accordingly. That is to say all users and processes can read from the document root but only root and users in the web administrators group can write to it.
The commands below detail how to implement this. Note that the opc user becomes a member of the webadmin group.
[opc@app ~]$ sudo usermod -a -G webadmin opc
[opc@app ~]$ sudo chown root:webadmin /var/www/html
[opc@app ~]$ sudo chmod -R 2775 /var/www/html
[opc@app ~]$
Note that the current opc user’s session will not allow the opc user to write to the document root because it will not be updated with the changes. Therefore, the opc user will need to log out and then log back in.
Summary and Next Steps
You have now built an entire LAMP stack and have proved that each individual component is accessible and working. In the next blog of this series we will use the stack to develop a secure application.
Continue to Part 4. You can also watch the recording below.