Exascale is the next generation of storage management that combines multitenancy, resource pooling, and elastic database infrastructure with the performance of database-intelligent Exadata storage and Remote Direct Memory Access (RDMA). This article series aims to get you started quickly by introducing some Exascale fundamentals. This first article walks you through infrastructure and user interface fundamentals.
Exascale works a little differently than what you might be used to as an Exadata administrator. Many of the Exadata user interfaces, like cellcli, communicate with local service processes directly and do not communicate with remote processes at all, which is why there are additional utilities, like dcli and exacli/exadcli, that enable you to run a command on one or more remote servers. Exascale uses a REST interface as its method of communication. The Exascale user interfaces use this REST interface to communicate with the cluster, and all of the servers (or more specifically, the Exascale server processes on the servers) use it to communicate with each other.
In this article, we will look at where to find and how to use the primary command-line user interface to manage Exascale, escli. We will also look at Exascale wallets, which contain most of the configuration and all the authentication information required to connect to and manage the Exascale cluster.
$ escli --help
 escli [--ctrl <ExaCTRL server>] [--wallet <auth-wallet-location>] [ <command> ]
     Connects to an ExaCTRL server and executes commands that can be used to manage a Exascale Cluster.
     If <command> is provided, ESCLI executes the command on the cluster and exits. Otherwise, ESCLI enters interactive mode, where you can enter commands at the prompt until you use the EXIT command.
 --ctrl       Specify the ExaCTRL server to connect to.
 --wallet     Specify the location of the authentication wallet. The user ID and the private key are read from the wallet and used to authenticate the user for this ESCLI session.Example:
 escli --ctrl cluster01host01 ls @DATA/
Exascale Shell (xsh)
The xsh utility is a command-line tool that is located on database and storage servers. You can use xsh to manage Exascale files and storage. The xsh utility is non-interactive, meaning you cannot log into it like escli. Commands in xsh are added as parameters. For example, to return a list of directories, execute the command is xsh ls. xsh uses the same wallet configuration to authenticate as escli. The following shows a list of all of the top-level directories, using the admin superuser account.
# xsh ls --wallet /opt/oracle/cell/cellsrv/deploy/config/security/admwallet -1
 @$BSTbsmmeta
 @$EDS_MDBKUP
 @my-db-vault
Configuration
Cluster Endpoint
The Exascale cluster is accessed through a highly available REST interface endpoint that is configured in the Oracle Exadata Deployment Assistant (OEDA).
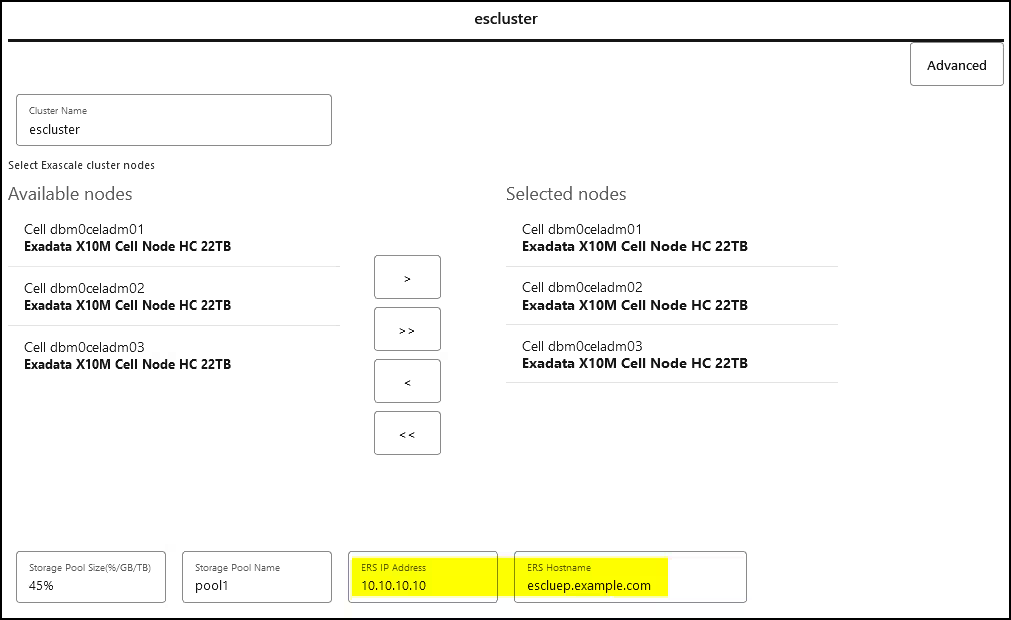
The endpoint can also be found in multiple places on the Exadata system after it has been configured. If you have privileged access to the storage servers, you can find the Exascale cluster name and endpoint in cellcli.
# cellcli -e 'list escluster detail'
          name:                   exacluster
          leaderHostName:         exaclusterep
          leaderUrl:              10.10.10.10:5052
The Exadata system will be deployed with multiple wallets on the storage and database servers. The details about the wallets can be found in the next section. Each wallet contains the endpoint for the Exascale cluster.
$ escli lswallet --detail --wallet /etc/oracle/cell/network-config/eswallet
 ...
 restEndPoint                         10.10.10.10:5052
 ...
User Accounts
Exascale has a system of user accounts enabling different users to perform actions and access data according to the user’s assigned privileges. Unlike most of the user interfaces you use to manage an Exadata system, the Exascale user interfaces do not have a password authentication capability; they use a shared key for authentication, similar to SSH. However, rather than using the shared key files directly like you would for SSH, the keys are stored in a wallet. The wallet also holds the username, trusted certificates, and several other pieces of information needed to connect, authenticate, and authorize the user or service.
Administrator Accounts
Each storage server will have two administrator user accounts—a superuser account called admin and a node administrator account that shares the hostname of the storage server. Each database server will have a node administrator account that shares the hostname of the database server.
Superuser Account (admin)
The admin user is the superuser account and only exists on the storage servers. All admin user wallets on the storage servers contain the same system-generated private key. The admin user can implicitly perform any system operation and effectively holds all system privileges. The admin user wallet is located at /opt/oracle/cell/cellsrv/deploy/config/security/admwallet.
Node Administrator Account (<hostname>)
The node administrator account name is the same as the hostname of the server on which it resides. Each storage and database server has a node administrator account. The node administrator account is used to run the Exascale software services. This account should not be used directly or modified in any way. On the storage server, the node administrator account wallet is located at /opt/oracle/cell/cellsrv/deploy/config/eswallet. On a database server, the node administrator account wallet is located at /opt/oracle/dbserver/dbms/deploy/config/eswallet.
User Accounts
Each database server is deployed with one of more user accounts. The number of user accounts created on each database server depends on the system deployment configuration details. The storage servers are not deployed with any user accounts, other than the superuser account. Exascale can be managed with the user accounts created during the deployment or with user accounts created by an administrator.
Default User Accounts
If the cluster was deployed with a single user account (oracle) that owns both the database and grid infrastructure installations (non-role-separated), there will be just one Exascale user account. If the cluster was deployed with a role-separated configuration, where there are two user accounts (oracle and grid), there will be two Exascale user accounts. The Exascale user account names are a concatenation of the operating system username and the grid cluster name. For example, on a role-separated configuration, if the cluster name is exacluster, the two Exascale user accounts will be oracleexacluster and gridexacluster.
In the case of a non-role-separated configuration, the user account wallet is located at /etc/oracle/cell/network-config/eswallet. In the case of a role-separated configuration, the grid user account wallet is located at /etc/oracle/cell/network-config/eswallet, and the database user account is located at $ORACLE_BASE/admin/eswallet (typically /u01/app/oracle/admin/eswallet).
Custom User Accounts
While default user accounts can be used to manage Exascale, you may want to create and use custom user accounts. Custom user accounts are created in three phases. The first phase is for the new user to create the shared key pair and wallet, and should be executed on the server where the wallet will be used. The second phase is for a privileged user to create the new user account in the Exascale cluster. The third phase is for the new user to connect to the Exascale cluster and fetch the trusted certificates.
Phase One
The phase one steps are executed in escli by the operating system user that will own this Exascale user account and on the server where the user account will be used. In this example, the username is user01 and the wallet location is /home/user01/esuser01wallet. When escli is executed without a wallet or a rest endpoint, only local commands can be executed. All of the commands in phase one are local commands.
Create the shared keys. This will create two files in the current directory called espriv.pem and espub.pem.
mkkey --private-key-file espriv.pem --public-key-file espub.pem
Create the wallet. This will create a directory called /home/user01/esuser01wallet, and the wallet files in the directory will be cwallet.sso and cwallet.sso.lck.
mkwallet --wallet /home/user01/esuser01wallet
Add the username to the wallet. This should be unique within the Exascale cluster. It does not have to match the name of the operating system user.
chwallet --wallet /home/user01/esuser01wallet --attributes user=user01
Add the private key to the wallet. The private key file was created in the first step.
chwallet --wallet /home/user01/esuser01wallet --private-key-file espriv.pem
The new user now has a wallet and the shared keys used for authentication. The private key file espriv.pem will not be used again and should be secured or deleted at this point.
If the new user will also be used to access escli on other servers, this same process will need to be executed on those servers.
The public key file espub.pem needs to be sent to the Exascale cluster administrator so it can be associated with the user account, which the administrator will create. If this process was executed on multiple servers, all of the public key files need to be sent to the Exascale cluster administrator.
Phase Two
The phase two steps are executed in escli by an Exascale user account with the user create privilege. On a newly deployed system, the admin superuser account on the storage servers will be the only user account with the user create privilege.
Create the new user.
mkuser user01 --id user01
Associate the new user’s public key with the user’s account.
chuser user01 --public-key-file1 espub.pem
If the new user account was created on multiple servers, all of the new user’s public keys need to be added to the new user’s account.
chuser user01 --public-key-file1 espub1.pem --public-key-file2 espub2.pem
If the new user does not know the REST endpoint, it will be shown when any authenticated user connects to the Exascale cluster in escli.
[root@cell01 ~]# escli
 Wallet: /opt/oracle/cell/cellsrv/deploy/config/eswallet/cwallet.sso
 User: admin
 ExaCTRL server address: 10.10.10.10:5052
Phase Three
The phase three steps should be executed in escli by the new user on each of the servers where the user account was created. The wallet can now be used to authenticate to the Exascale cluster.
The wallet does not yet contain the REST endpoint, so you will first have to specify it as a parameter to escli. You also need to specify the wallet as a parameter.
escli --wallet /home/user01/esuser01wallet --ctrl 10.10.10.10:5052
Add the trusted certificates to the wallet.
chwallet --wallet /home/user01/esuser01wallet --fetch-trust-store
Optionally, you can add the REST endpoint to the wallet so you don’t have specify it as a parameter to escli every time you connect.
chwallet --wallet /home/user01/esuser01wallet --attributes restEndPoint=10.10.10.10:5052
You can view the wallet details with the lswallet command and the user details with the lsuser <username> command.
@>lswallet --detail
 id                                   /home/user01/esuser01wallet
 pubKeyFingerPrint                    1234ABCD...
 restEndPoint                         10.10.10.10:5052
 trustStoreDigest                     ABCD1234...
 user                                 user01

 @>lsuser --detail user01
 id                                   user01
 name                                 user01
 category                             external
 privilege                            vlt_inspect
 pubKeyFingerprint1                   4321DCBA...
Next Steps
Exadata Exascale may seem a little daunting at first, but the same could be said for all game-changing features and products when they were first introduced, like container databases (CDBs), Smart Scan, Real Application Clusters (RAC), or even Exadata itself. Exascale brings lots of new functionality but is also complex. This series of Exascale articles aim to curb the complexity and give you a jump start into Exascale, starting with escli command-line management utility and basic authentication.
| User Interface | Storage Server Location | Database Server Location (Bare Metal and VM) |
| escli | /opt/oracle/cell/cellsrv/bin/escli | /opt/oracle/dbserver/dbms/bin/escli |
| xsh | /opt/oracle/cell/cellsrv/bin/xsh | /opt/oracle/dbserver/dbms/bin/xsh |
| Account Name | Account Type | Storage Server Wallet Location | Database Server Wallet Location (Bare Metal and VM) |
| admin | superuser | /opt/oracle/cell/cellsrv/deploy/config/security/admwallet | N/A |
| <hostname> | node administrator | /opt/oracle/cell/cellsrv/deploy/config/eswallet | /opt/oracle/dbserver/dbms/deploy/config/eswallet |
| oracle<cluster name> | user (non-role-separated) | N/A | /etc/oracle/cell/network-config/eswallet |
| oracle<cluster name> | user (role-separated) | N/A | $ORACLE_BASE/admin/eswallet |
| grid<cluster name> | user (role-separated) | N/A | /etc/oracle/cell/network-config/eswallet |