Connecting to an Oracle Autonomous Database instance via JDBC requires just a couple of steps which will be described in this post. If you happen to use Apache Maven or Gradle to build your project then you’ll be able to copy the configuration snippets shown next, if not you can still download the required JARs directly from Maven Central or the Oracle JDBC Drivers Maven Central Guide.
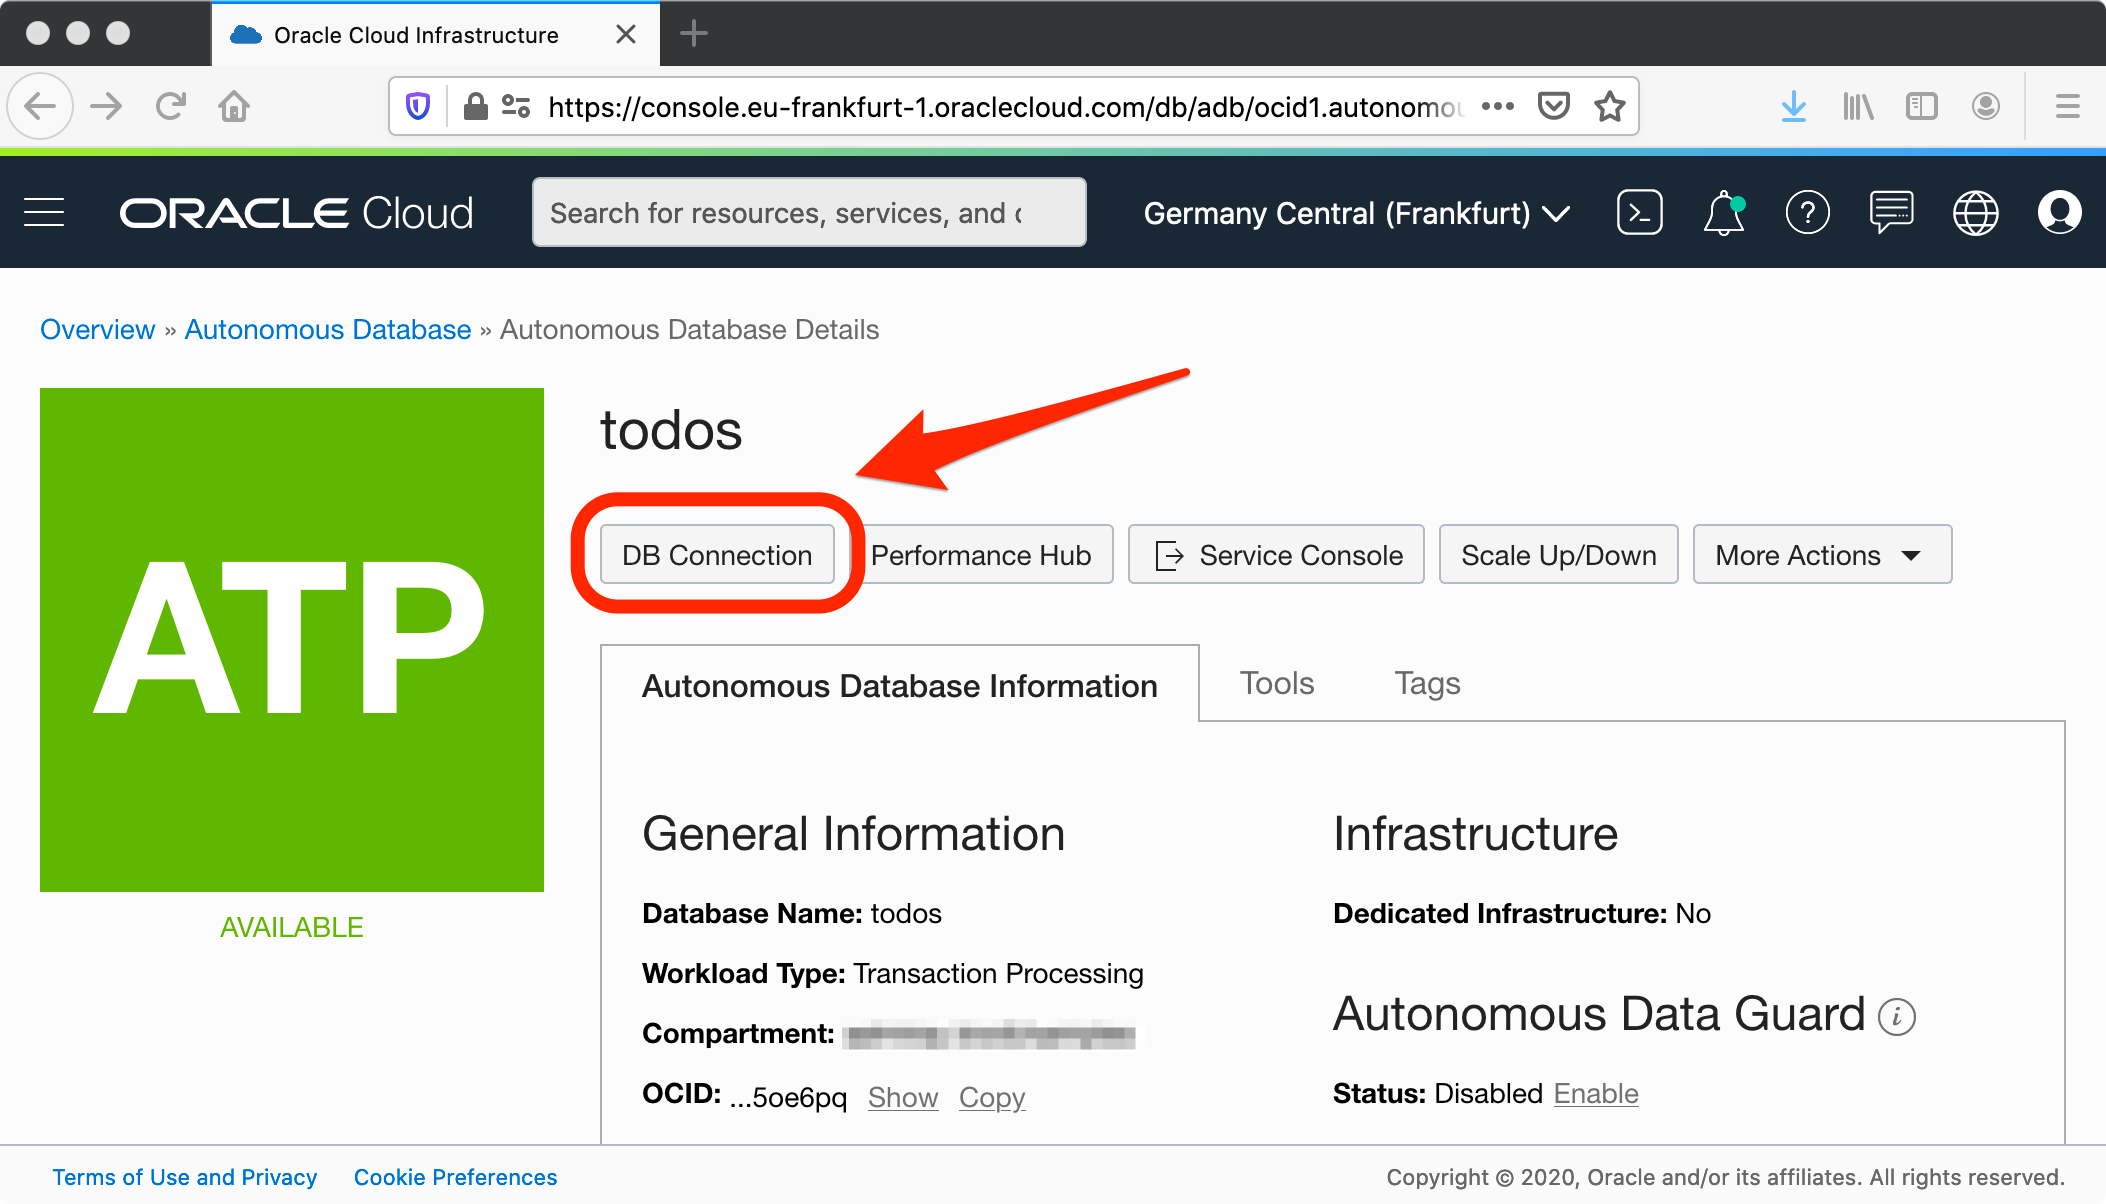
I’m assuming you may be already familiar with Autonomous Database and have an instance readily available to test with, but if that were not to be the case then you’re still in luck, the Always Free Tier of the Oracle Cloud gives you access to the full product, for free! You just have to browse to https://www.oracle.com/cloud/free/, create an account then proceed to the dashboard and create your first Autonomous Database instance, it’s that simple! Well now that we’ve got a database instance the first order of business is to download the required credentials to connect to it. Credentials are available via a wallet store which can be downloaded from the database’s dashboard as shown in the following screenshot.
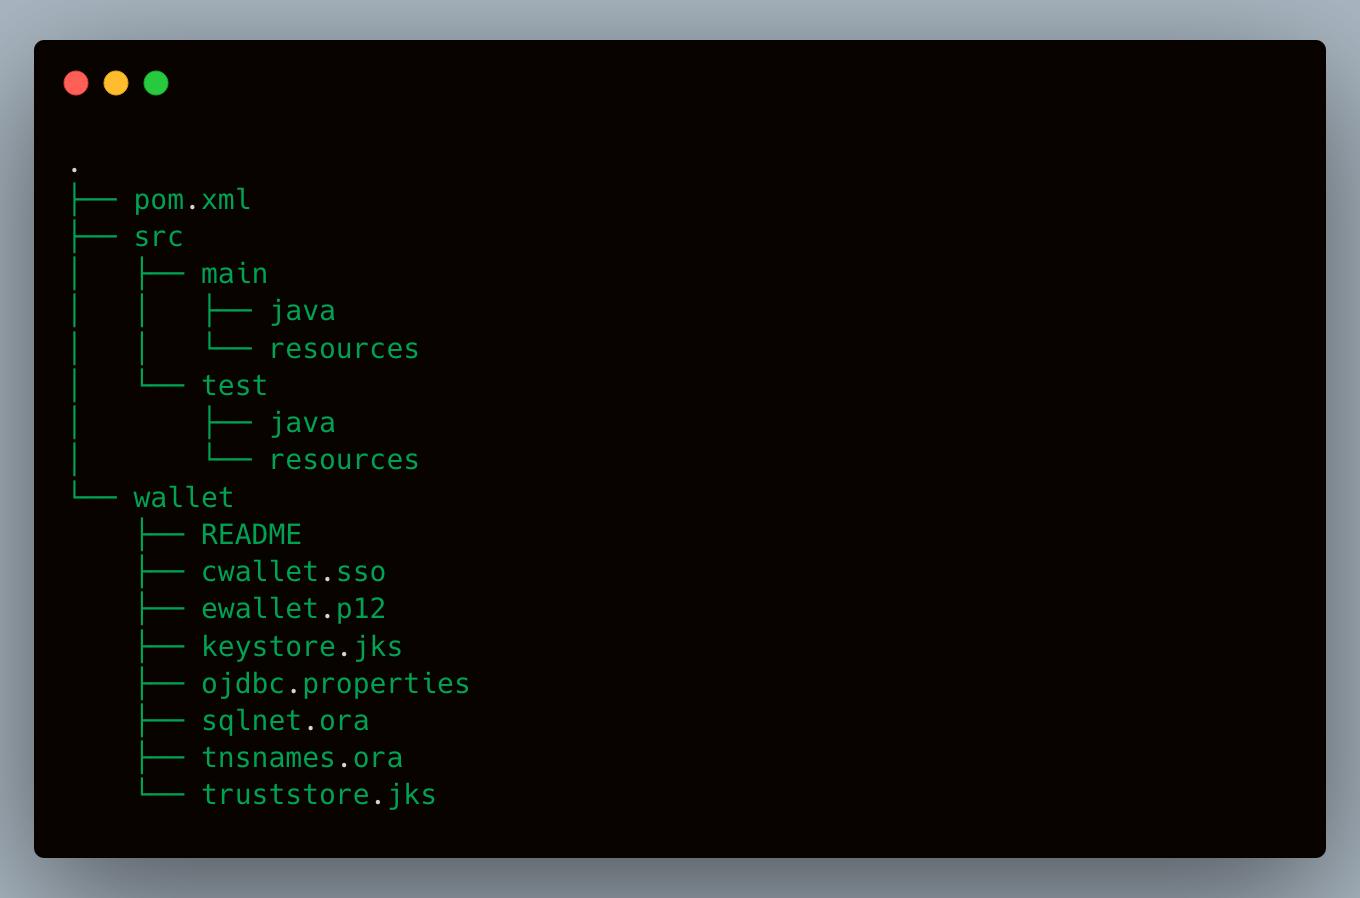
Unzip the wallet and place the contents at a location that will be reachable by the running application. Be careful not to commit these files to a source control repository with public access! If that were to be the case, generate a new wallet which in turn invalidates the previous credentials.
Alright, for the next step we’ll configure the build to pull down the required dependencies. We have a few options available since version 19.7.0.0 of the Oracle JDBC Drivers: we could a predefined set of dependencies (via the ojdbc8-production POM) or micromanage dependencies (via the ojdbc8-bom BOM). I’ll show those two options for both Apache Maven and Gradle. First, let’s check the direct use case by consuming the ojdbc8-production POM. This particular dependency defines all other dependencies that can be used to connect to both classic and cloud databases; refer to this particular POM dependency when in doubt on which dependencies should be used. For Apache Maven it’s enough to add the following dependency to your consuming POM
Gradle requires a similar configuration, with just one additional dependency as well
On the other hand, if you prefer to micromanage dependencies and only include those that you really need (ojdbc8-production defines all possible JARs which are not needed for all use cases) then you may configure a BOM dependency and only include dependencies as needed. For Apache Maven this task is done by importing a BOM in the <dependencyManagement> block and adding the required dependencies in the <dependencies> block, as shown next.
Gradle is capable of importing BOM dependencies as well, though the build tool prefers the term “platform” instead of BOM. You may import platforms using the platform() or enforcedPlatform() methods, the difference strives in that the former allows version updates whereas the latter enforces strict versions. The following snippet shows how the configuration looks like
The third step is now to figure out the name of the service we’ll use to connect to the database. Service names can be found in the tnsnames.ora file as part of the wallet’s contents. Typically these service names are the composition of the database name (in my case “todos”) and any of the following: “high”, “medium”, “low”, “tpurgent”, and “tp”. I’ve chosen “todos_tpurgent” for this example. With this information, we can now configure the connection URL, username, password, and any other properties required by the connection pool (such as UCP or other). These properties could look like the following
This snippet does not assume a particular library or framework, please refer to the specific settings as required by your library or framework of choice. And now for the final step, we must let the application know the location of wallet contents. This can be done in a couple of ways as well
- Hardcoded in the connection URL.
- Via the TNS_ADMIN environment variable.
- Via the oracle.net.tns_admin System property.
I chose the third option as that is the most flexible when running the application in development, testing, and production mode from the IDE or command line. Thus for a launcher class it’s enough to define the following code
This assumes the application is launched from the root directory of the project which also contains the unzipped wallet contents. You may of course use a different System property key and pass it as part of the command line or IDE launch configuration.
Additional configuration settings and other details are available at Java Connectivity with Autonomous Database page.
Credits:
Image by composita