Are you tired of juggling between multiple tools and losing precious time in context switching? Introducing the Slack-ADB Power Couple!
In this article you will learn how to send an alert message, triggered by an Autonomous Database event, into a slack channel using a webhook link. We’ll assume that you already have a webhook link for slack (you can find more details here).
Using OCI Notifications service with Autonomous Database
OCI Notifications service enables you to set up communication channels for publishing messages using topics and subscriptions. In Step 1 through 7, you’ll learn how to create a notification topic, and then create a rule that triggers a message when a database is stopped.
Step 1: Sign in to OCI Console and Create a Notification Topic
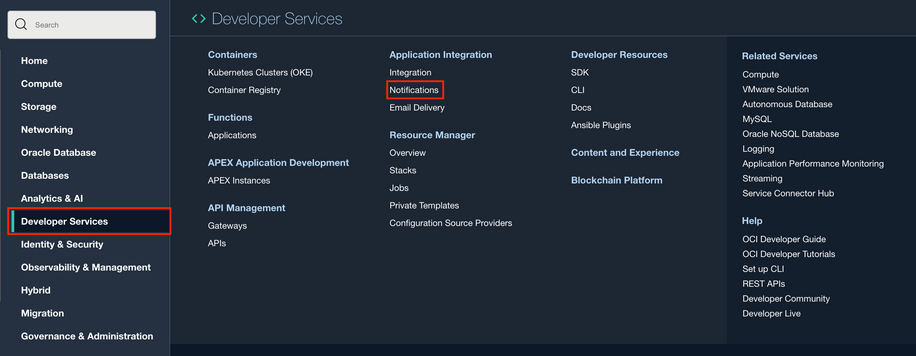
First, create a Notification topic. From OCI Services menu, click Developer Services -> Notifications
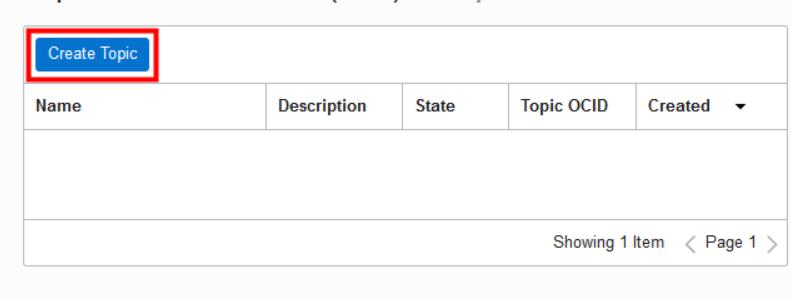
- Click Create Topic.
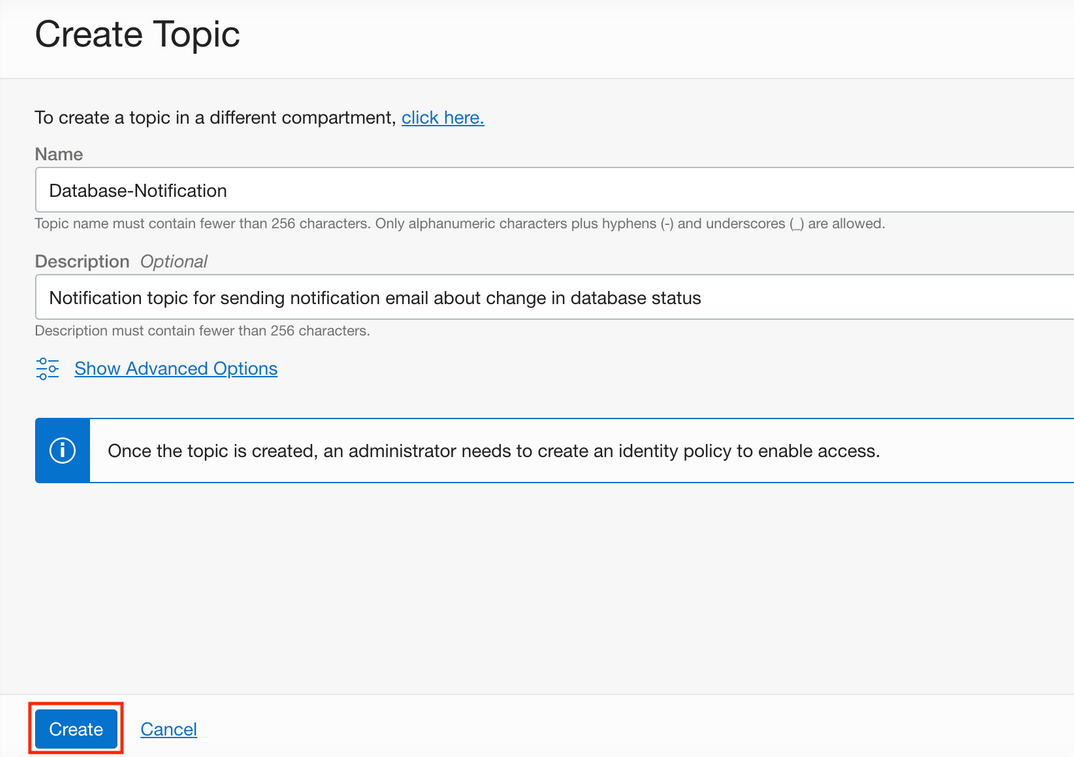
Fill in the dialog box:
- Name: Provide a name
- Description: Provide a description
Step 2: Create a Subscription to the Topic
Now that you have created a notification topic, create a subscription to that topic so that you can receive alerts when a condition changes (you will create a rule with conditions in a following task.)
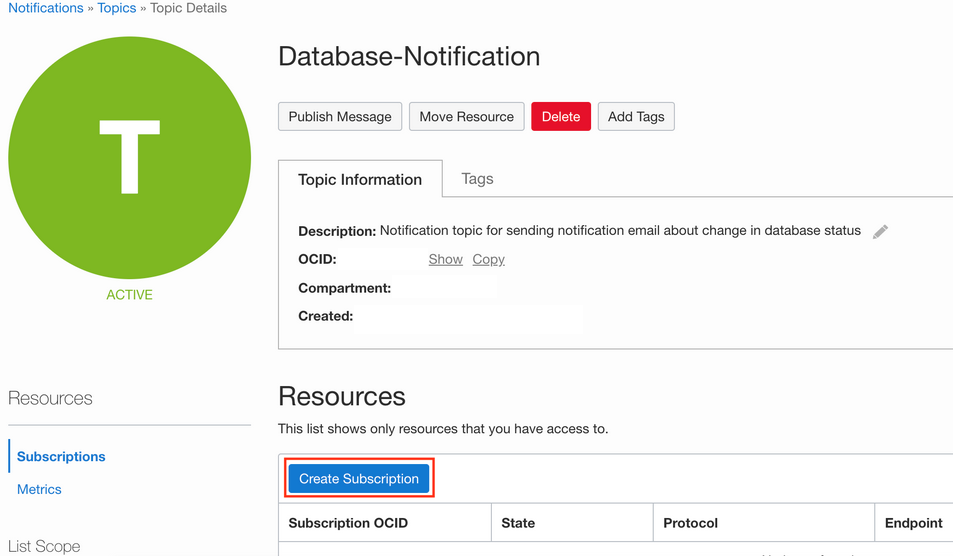
- Click the topic Name. Click Create Subscription.
-
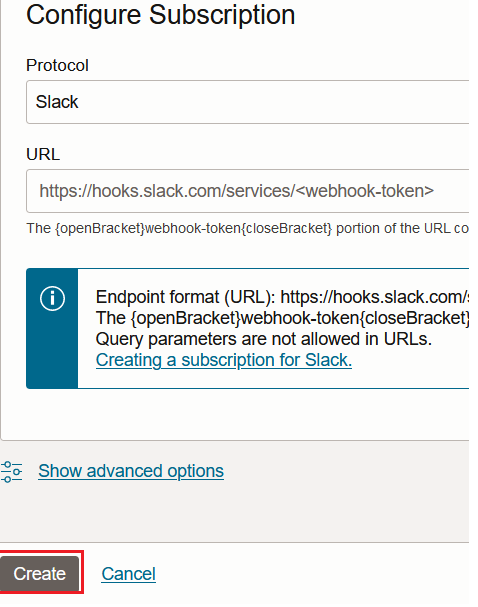
Fill in the dialog box:
-
PROTOCOL: Slack
-
URL: Provide your WebHook URL
-
-
Click Create
-
The Subscription Details screen will be displayed with subscription status showing Pending confirmation.
Step 3: Respond to the Verification message
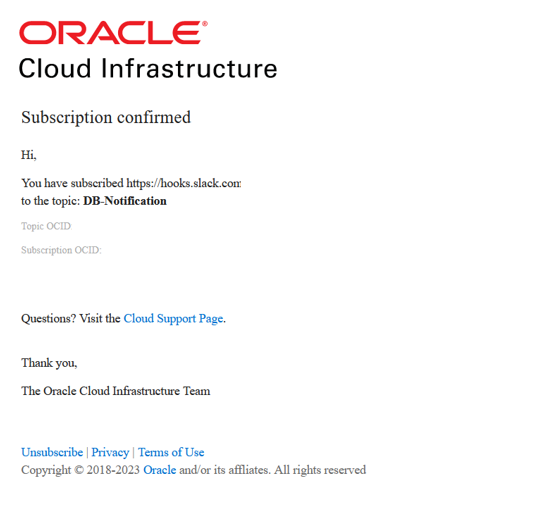
- You will receive a message notification in Slack of your subscription. Go to Slack and click on the Confirmation URL.
- A browser tab will open, confirming that you have subscribed your webhook to the topic: Database-Notification.
Step 4: Verify that Subscription Status Has Changed from Pending to Active
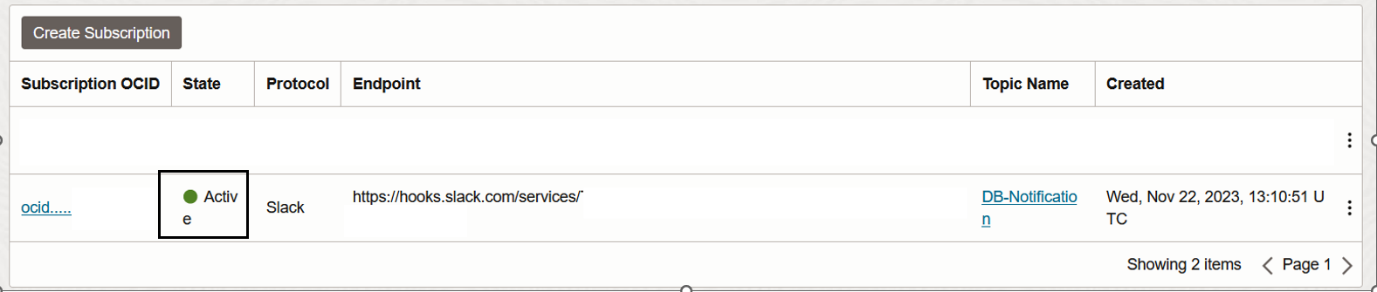
Your verification will change the subscription status from pending to active.
- Switch back to OCI console window and verify the subscription status changed to Active. You may need to refresh your browser.
- You are now subscribed to a Notification topic. Next you will define an event with conditions that, when met, will publish messages to this Notification topic.
Step 5: Define an Event with Rules that Will Publish Messages
Let’s define an event that triggers a Slack notification when an Autonomous Database is stopped.
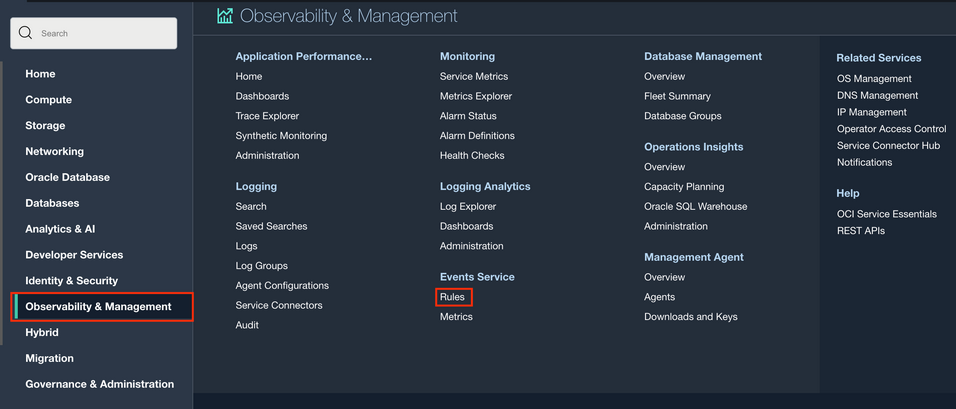
- From OCI Services menu, click Observability & Management > Rules.
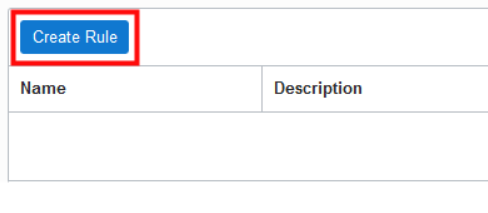
- Click Create Rule
-
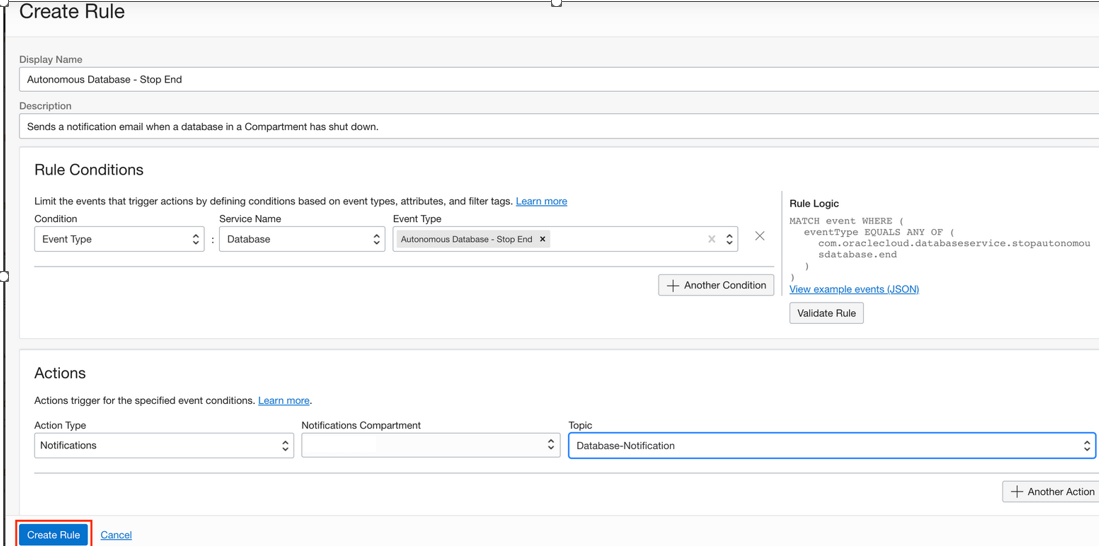
Fill out the dialog box:
- DISPLAY NAME : Provide a name, such as the event type that you will be choosing; like Autonomous Database – Stop End.
- DESCRIPTION : Provide a description.
-
Under Rule Conditions
- Condition: Event Type
- SERVICE NAME: Database
- EVENT TYPE : Choose Autonomous Database – Stop End from the drop down menu.
-
Under Actions
- ACTION TYPE: Notifications
- NOTIFICATIONS COMPARTMENT: Choose your compartment.
- TOPIC: Choose the topic created earlier, Database-Notification.
-
Click Create Rule
You have configured a Notification service and tied an event to it with a specific compartment. When a database is shut down, a notification will be sent to the Slack channel associated to the webhook.
Step 6: Trigger the Event
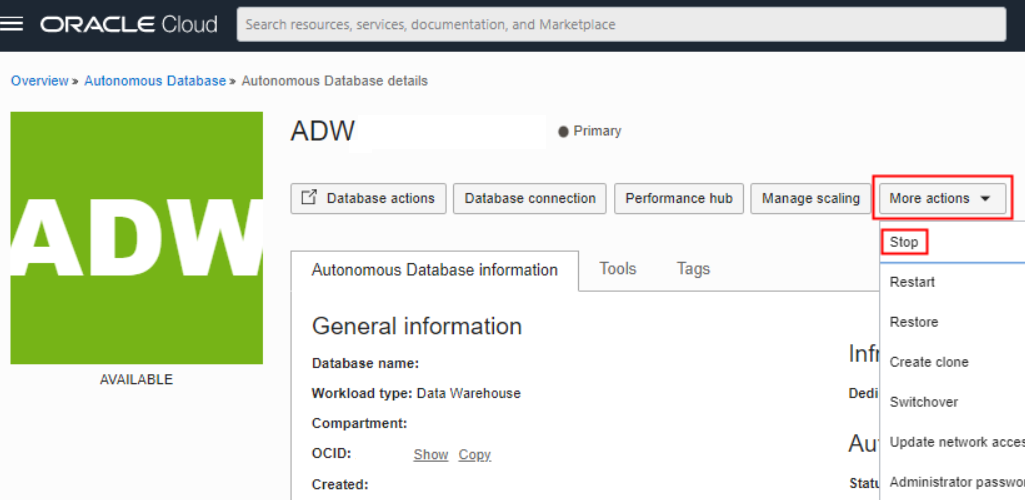
Now, shut down the Autonomous Database to trigger the notification.
- Navigate to your Autonomous Database’s Details page. From the More Actions drop-down menu, select Stop.
-
In the confirmation dialog box, click Stop.
-
Wait until the database status changes to STOPPED.
Step 7: Verify that a Notification Was Sent
Check the slack channel you specified to verify that a notification was sent.
- Go to the specified slack channel and verify that a notification of the database stoppage has been sent.

Summary
This is just one of many ways that you can integrate managing Autonomous Database into your existing workflows. The service lets you manage the database “by exception”; your Autonomous Database happily does its work and simply notifies you when you need to act. Learn more about how to be successful with Autonomous Database by going to the Getting Started page. You’ll find links to demos, documentation, workshops and more.