Graphical processing unit (GPU) cards were originally created for manipulating images. Over time, their efficiency at processing large amounts of data in parallel has extended the benefits to other data-intensive use cases, such as machine learning and deep learning, modeling, simulations, video encoding, and streaming.
Today, we’re excited to announce the general availability of graphical processing unit (GPU) shapes support with Oracle Container Engine for Kubernetes (OKE). You can now configure your Kubernetes clusters with GPU instances to run applications that rely on GPU hardware assisted processing.
How does Oracle simplify the use of GPU with Kubernetes?
The massive parallel computing functionality of NVIDIA GPU is accessed using Compute Unified Device Architecture (CUDA) libraries. Different GPUs, such as NVIDIA Tesla Volta and Tesla Pascal, require specific versions of the CUDA libraries. With OKE, you can add node pools with bare metal or virtual machine GPU shapes to your Kubernetes clusters. All the nodes are provisioned automatically with the right CUDA libraries.
When you deploy an application that relies on GPU in your Kubernetes cluster, you simply specify the number of GPU your application requires in the Kubernetes Pod specs. The cluster kube-scheduler automatically schedules the pods on your GPU nodes. Conversely, an application that doesn’t require any GPU is automatically scheduled on regular non-GPU nodes.
Getting started
If you don’t have yet an Oracle Cloud Infrastructure (OCI) account, request a free trial.
-
Log into your OCI account.
-
Open the navigation menu. Under Developer Services, go to Kubernetes Clusters (OKE) and click Create Cluster.
-
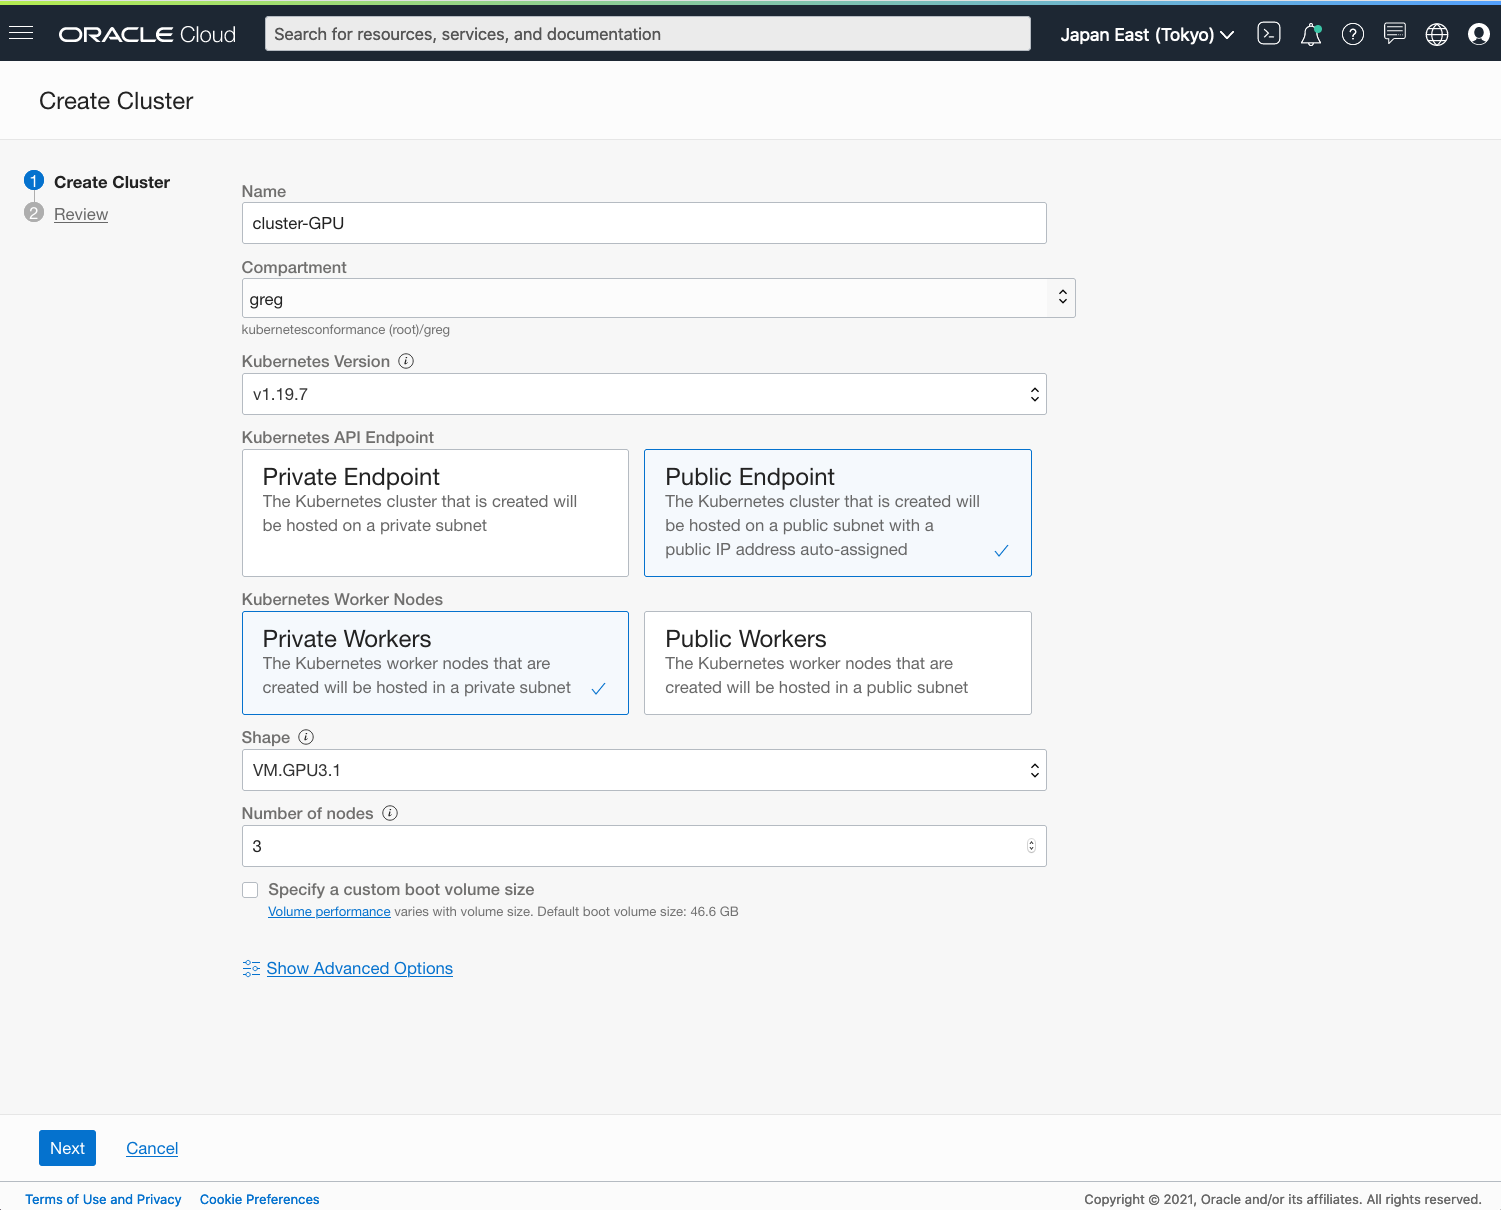
In the Create Cluster dialog, choose Quick Create, and click Launch Workflow. For the shape, select a GPU shape, such as “VM.GPU3.1,” or the latest bare metal GPU shape “BM.GPU4.8.” Click Next, and click Create Cluster.
-
After creation, select your cluster, and click Access Cluster. In the dialog window, select Cloud Shell Access, click Launch Cloud Shell, and run the “oci ce cluster create-kubeconfig” command.
-
In Cloud Shell, edit gpu-workload.yaml with the following content. This manifest deploys the cuda-vector-add image and runs it on one GPU.
apiVersion: v1 kind: Pod metadata: name: gpu-workload spec: restartPolicy: OnFailure containers: - name: cuda-vector-add image: k8s.gcr.io/cuda-vector-add:v0.1 resources: limits: nvidia.com/gpu: 1 -
Run the following command to deploy the manifest:
$ kubectl create -f ./gpu-workload.yaml
You’re now running a Kubernetes workload that uses a GPU!
Want to know more?
To learn more or get hands-on experience, use the following resources:
-
Learn about GPU support with OKE.
-
Access OKE resource center for product details and testimonials.
-
Latest GPU announcement by Oracle
-
Get started with Oracle Cloud Infrastructure today with our Oracle Cloud Free Trial.