Plug-ins for visualizations in Oracle Analytics Cloud are a great way to extend the functionalities of your dashboard. Recognizing that you can’t make a visualization for every possible scenario, you can build custom plug-ins. Custom plug-ins allow you to add extended capabilities to your dashboard and add more value to your workflow. Oracle Analytics Cloud provides SDKs for building and changing custom plug-ins. To invoke SDK mode, you download and install Oracle Analytics Desktop (OAD) on your local machine.
Follow these steps.
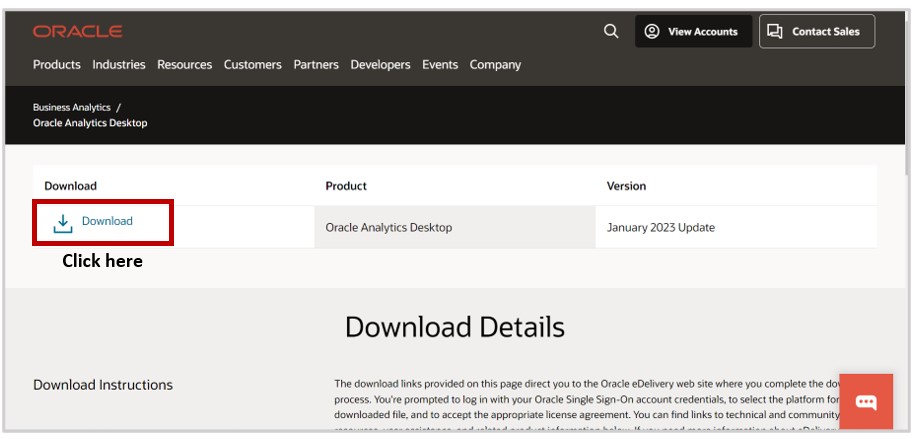
Step 1:Download the latest Oracle Analytics Desktop version by clicking here.
Click Download.
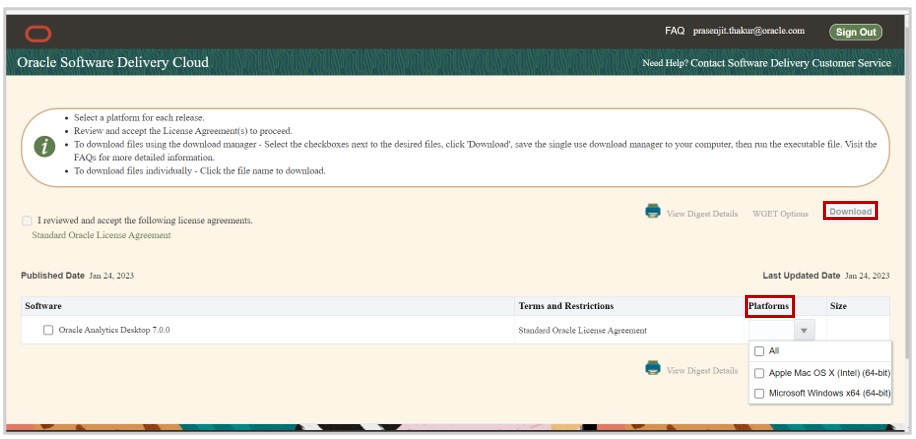
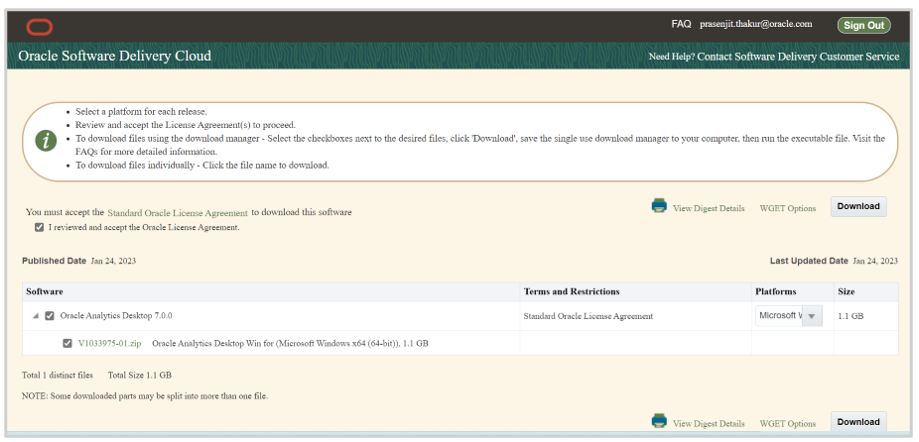
Select the Platforms option and click Download.Select either Microsoft Windows or Apple Mac OS.
c. When the file is downloaded, install Oracle Analytics Desktop.
By default, it gets installed in this folder: C:\Program Files\Oracle Analytics Desktop.
Step 2:Set up the environment variables.
On the Windows taskbar, right-click the Windows icon and select System.
In the Settings window, under Related links, click Advanced System Settings.
On the Advanced tab, click Environment Variables.
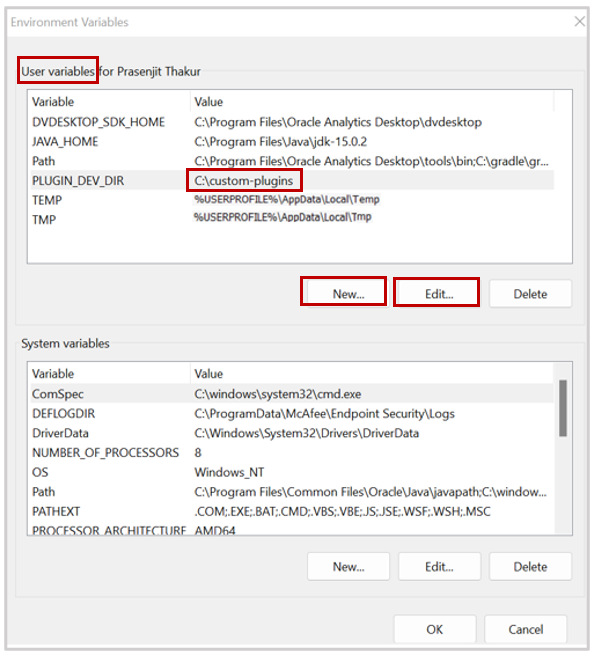
Click New to create an environment variable. Click Edit to modify an existing environment variable.
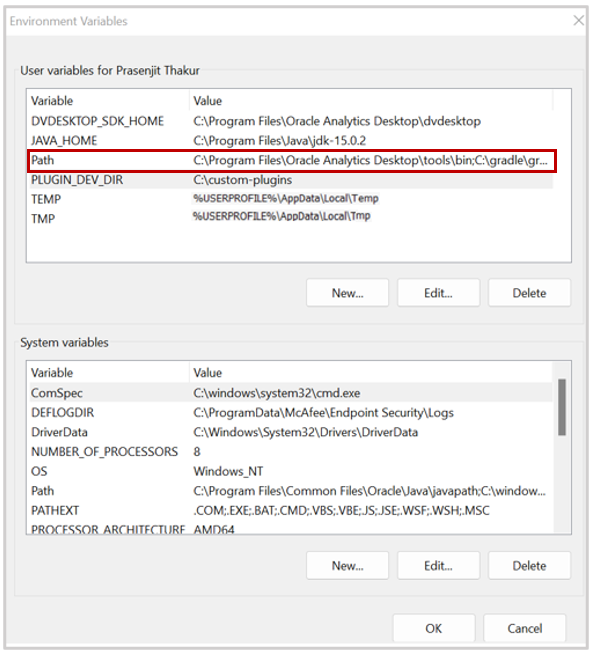
If the paths of User variables – DVDESKTOP_SDK_HOME, JAVA_HOME, Path, PLUGIN_DEV_DIR, TEMP, and TMP don’t exist, create them by clicking New.
You can create a PLUGIN_DEV_DIR directory here: C:\custom-plugins. You can modify an existing environment variable by clicking the Edit option.
Here is a brief description of the user variables:
DVDESKTOP_SDK_HOME: the path where the OAD dvdesktop application is located.
JAVA_HOME: the path where the JDK is located.
Path: the path where gradle bin files are stored.
PLUGIN_DEV_DIR: the folder where all your plug-in related files are located.
TEMP: the path to local temporary files.
TMP: the path to local temporary files.
After creating or modifying an environment variable, click Apply and then OK to have the change take effect.
Step 3:Create a “Hello Viz” custom plug-in.
a. Open the command prompt window.
b. Create the plug-in development environment by entering the following command:
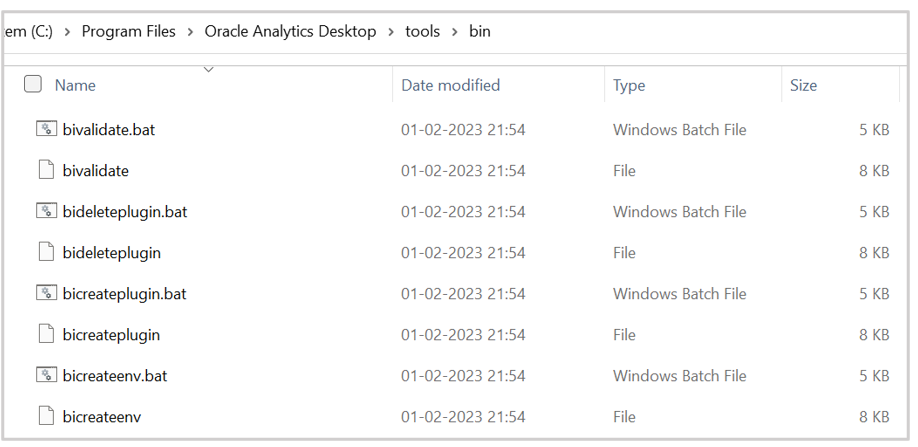
The bicreateenv script is in the <installation directory>\Oracle Data Visualization Desktop\tools\bin directory.
Check if the scripts exist in this path. By default, the scripts are located here: C:\Program Files\Oracle Analytics Desktop\tools\bin.
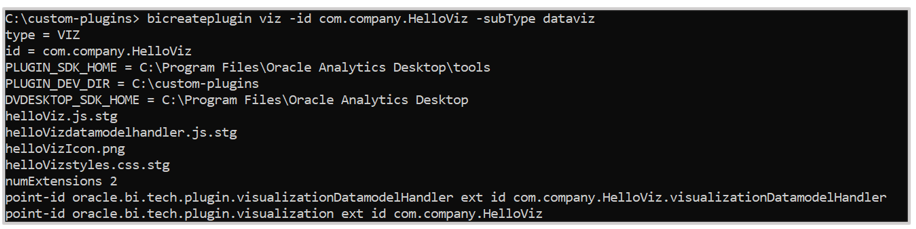
c. Create the visualization plug-in: Running this command creates the following files in the plug-in development directory:
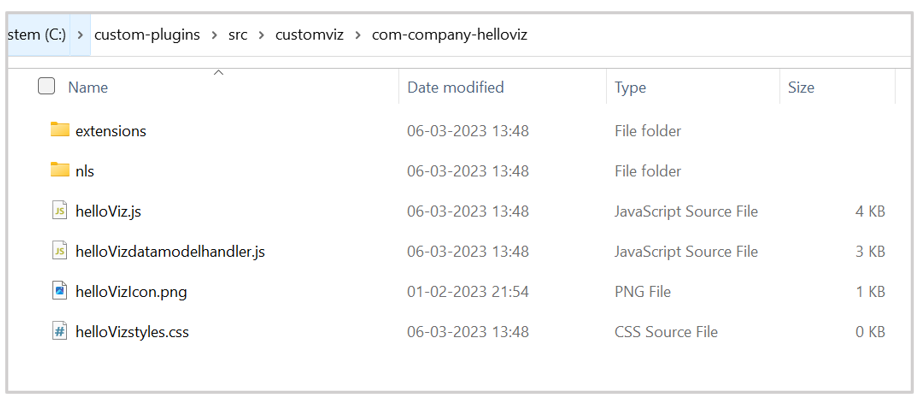
The “src” folder should contain three files:
helloVizstyles.css is the stylesheet where all styles for the new visualization are stored.
helloViz.js contains the default visualization implementation logic for a functional plug-in that you can customize.
helloVizdatamodelhandler has the logic for mapping the logical data model to a physical data layout.
The .css, .js , and Datamodelhandler files are stored here: C:\custom-plugins\src\customviz\com-company-helloviz.
Before moving to the next step, close the Oracle Analytics Desktop applicationif it’s still running.
d. Open Oracle Analytics Cloud (OAC) in SDK mode:
To open OAC in SDK mode, download and install Gradle on your local machine.
Set Environment Variables for the user variable Path as shown in this figure:
By default, the Gradle files are stored in C:\gradle\gradle-<version>\bin
Run the following commands in a command window:
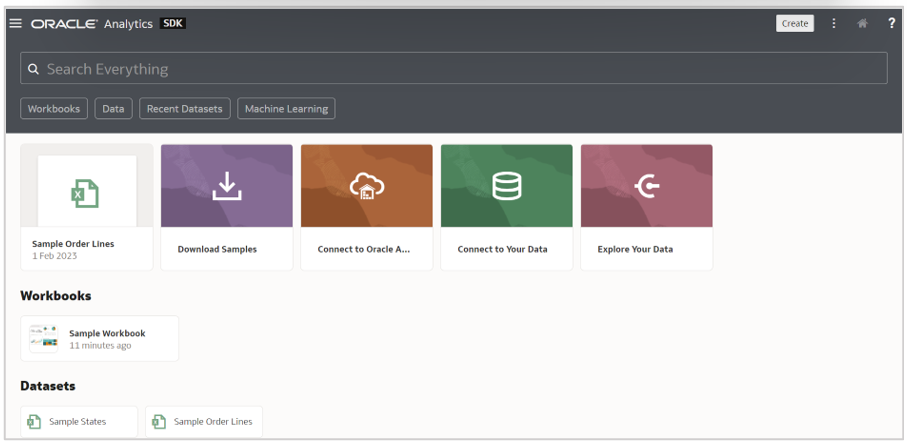
Once completed, it automatically opens OAC in SDK mode in a browser.
If OAC doesn’t load, click the hidden icons arrow in the taskbar and then select the OAC icon.
Right-click and select the Copy URL to Clipboard option.
Paste the URL in any browser and press Enter to open OAC in SDK mode.
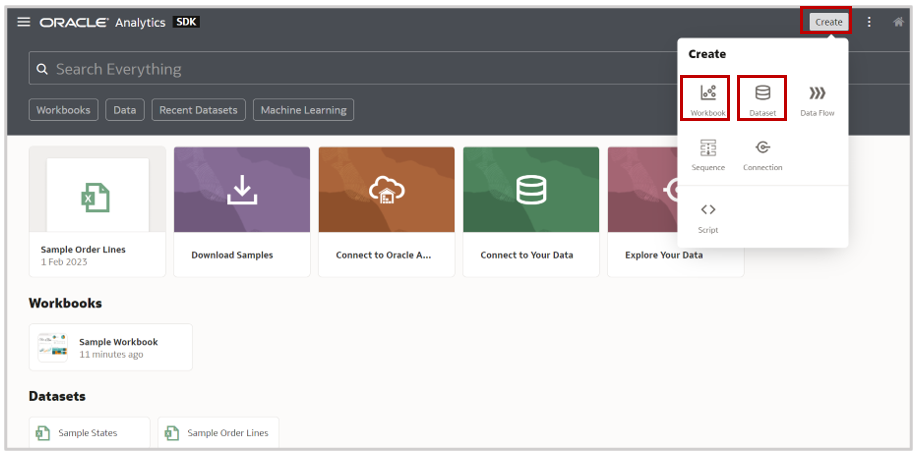
e. Click Create and select Workbook to create a workbook.
f. Add a dataset.
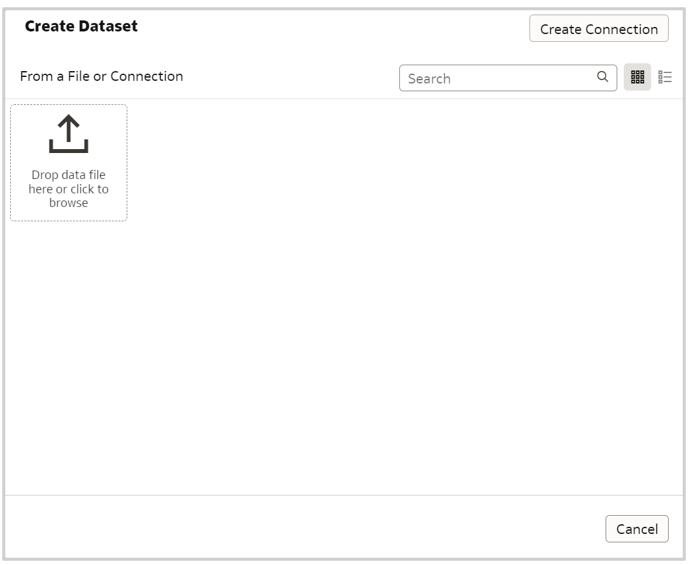
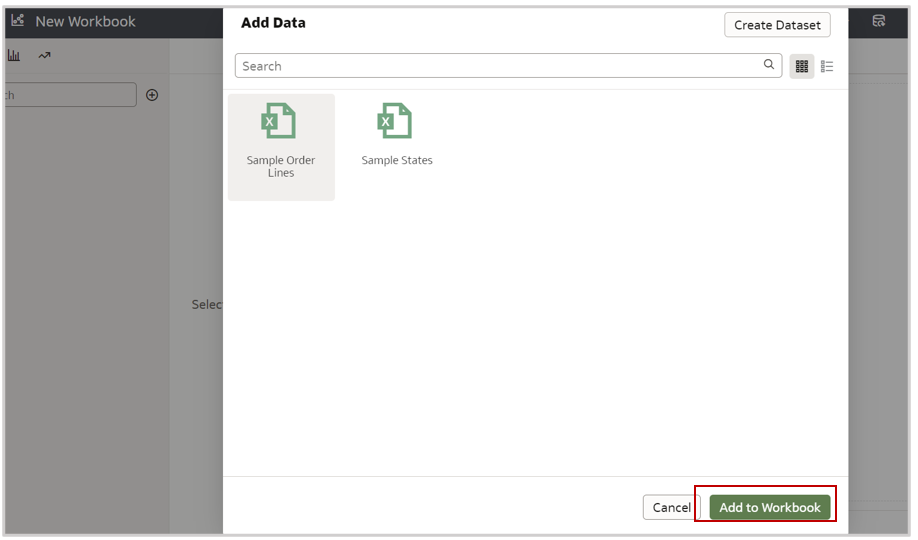
You can use any dataset of your choice. To upload a dataset, click Dataset and select Upload Dataset.
Select the dataset and click Add to Workbook.
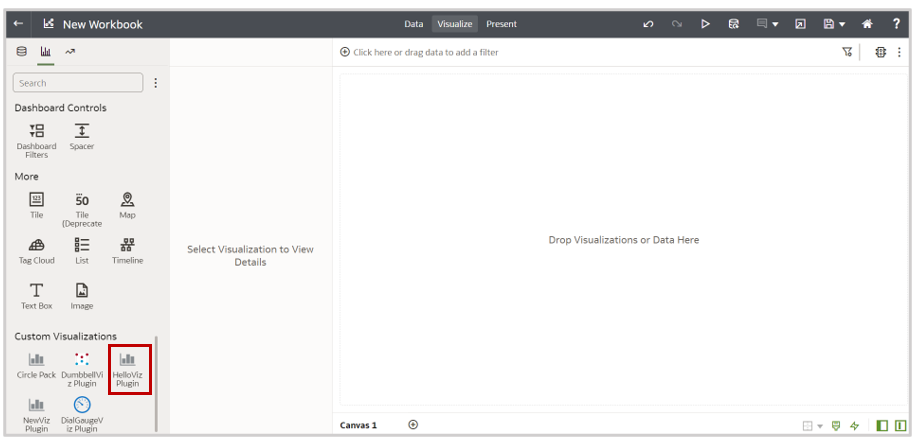
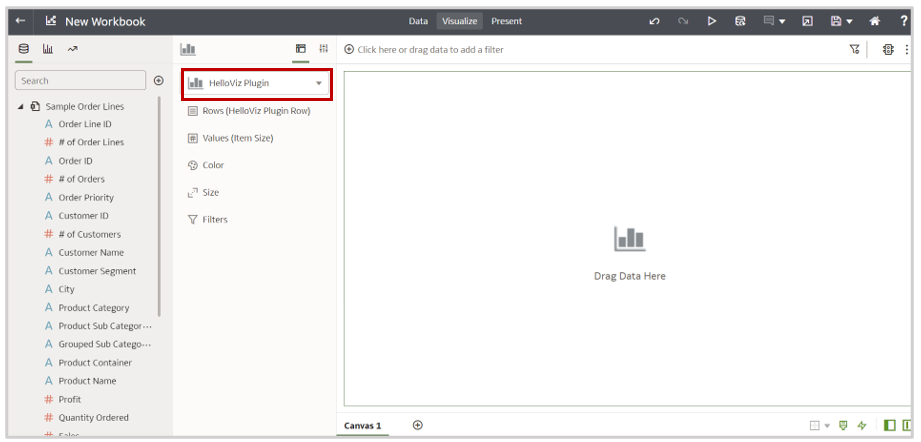
g. Drag and drop the Hello Viz icon into the canvas.
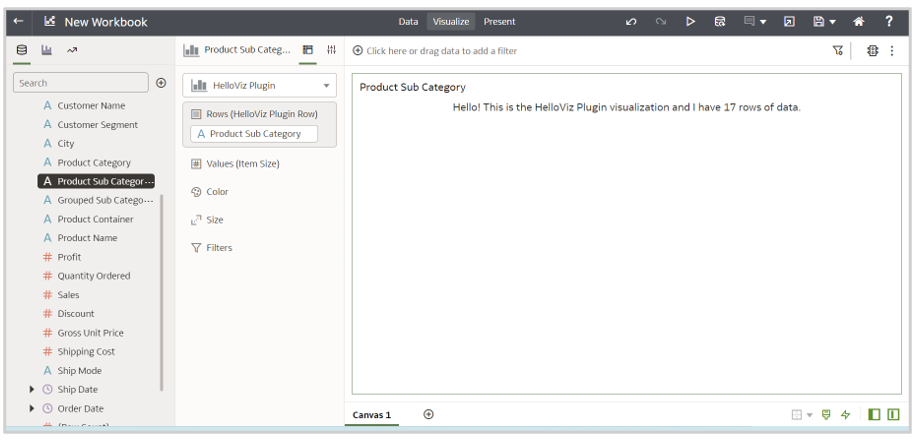
Now you can drag and drop any columns to any grammar to see the expected output, as shown in the following figure.
There you go! You can use the Hello Viz plug-in in your dashboard.
Additional Tips:
You can find all the custom plug-ins on your OAC instance using these steps:
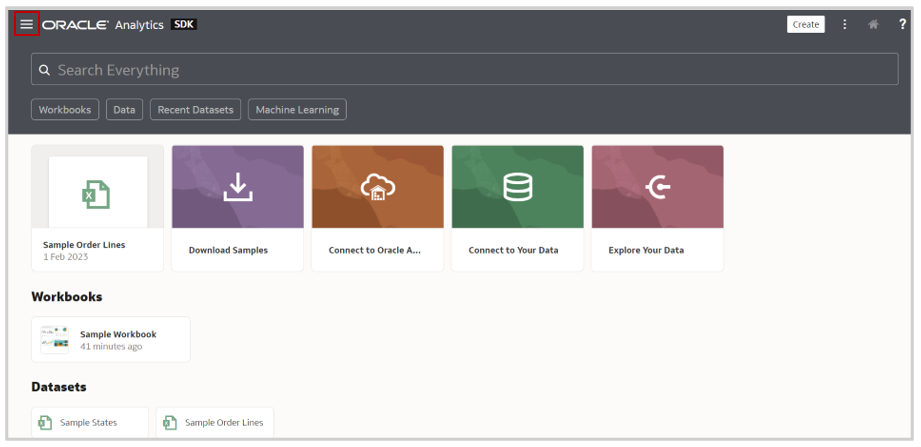
Click the hamburger icon at the top-left corner.
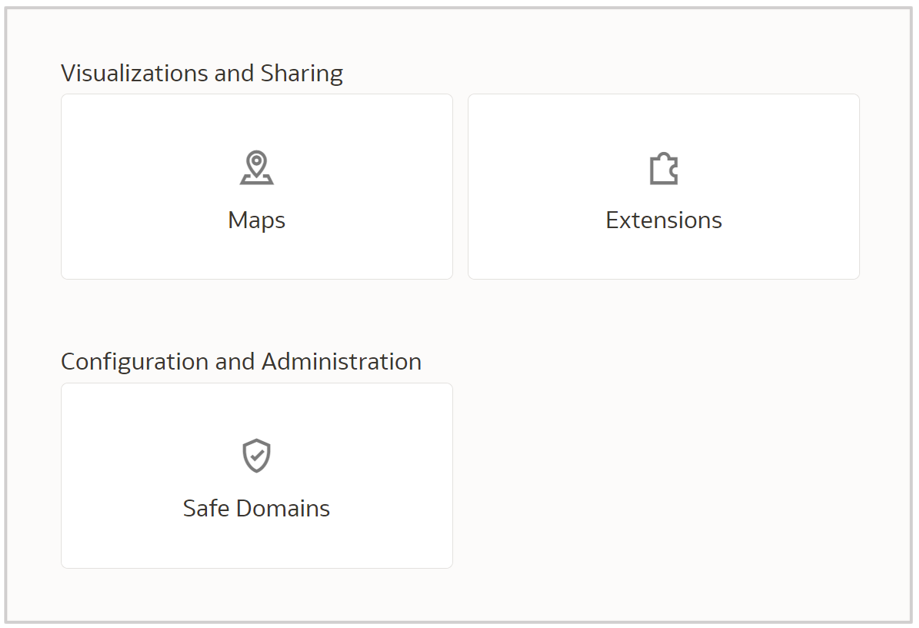
Select Console.
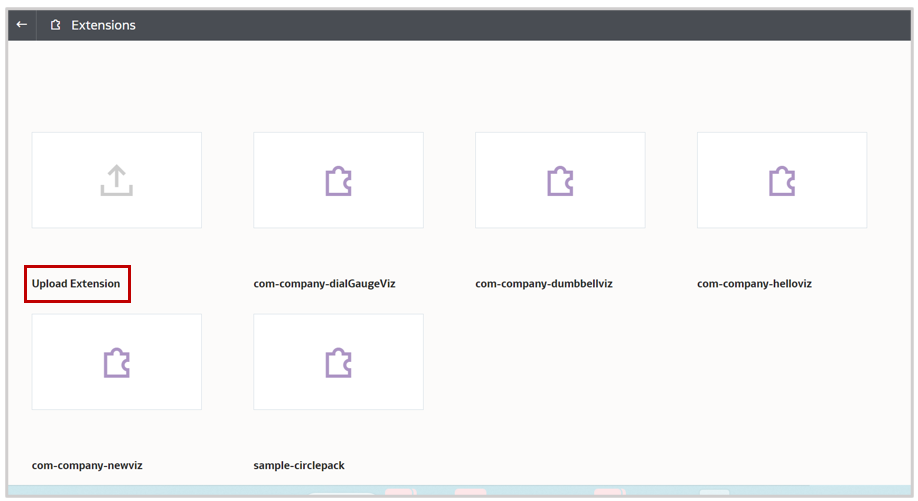
Click Extension.
Now you can see all the plug-ins that you created.
Call to Action
In this article, you learned to create custom plug-ins on OAC. You saw the step-by-step process to install OAD, which is required to invoke OAC SDK mode, set up the system environment variables, and create a Hello Viz plug-in. Use these tips to create custom plug-ins and enhance your OAC dashboard capabilities.
In my next article, I’ll explain how to modify only a few lines in the Hello Viz script to enhance its functionalities. I’ll explain more about the content of the three files in the src folder and how you can edit those to extend the capabilities of your dashboard.