Introduction
- Enterprises are rapidly leveraging Oracle Cloud Infrastructure (OCI) as part of their hybrid cloud strategy. This strategy brings new challenges such as accessing resources in private subnets. In this blog post, we investigated a solution to access such private resources from the internet using a public load balancer.
- In Oracle Analytics Cloud (OAC), Oracle Analytics publisher can deliver content directly to printers. However, the printers should be configured with IPP protocol.
- In Oracle Analytics Cloud you can enable IPP printing through a private printer running from a Common UNIX Printing System (CUPS) server or directly via IPP.
- Depending on the nature of your business, you might be dealing with confidential customer information, and you have a requirement to setup a private printer to guarantee that your documents are properly disturbed to the authorized user in the same way that secure printing does it for individual users entering their PIN.
- Private printer restricts printer usage to unauthorized users, prevent unauthorized direct connections and protect against hacker threats.
- The primary advantage of CUPS is that it is a standard and modularized printing system that can process numerous data formats on the print server. With this feature, it is possible to directly print PDF files from Reports Server and it also simplifies network printing.
- A Direct IPP printer is set up the same way except for one difference. Instead of going through the CUPS server, you set up the URI to point to the server and IPP port directly. The URI would be entered in the following format, ipp://<PRINTER_FQDN>:631
Assumptions
- All names and addresses used in this post are for examples only.
- Oracle Analytics Cloud (OAC) with Private end point is configured and running.
- Private and Public Load Balancers are configured and running.
- Routing tables and Security List rules are updated correctly.
- Private printer configured and running from a CUPS server

To analyze if OAC can reach the printer, you can run an analysis using Network path Analyzer.
Refer this blog to see how you can test the network connectivity between OAC and Private printer.
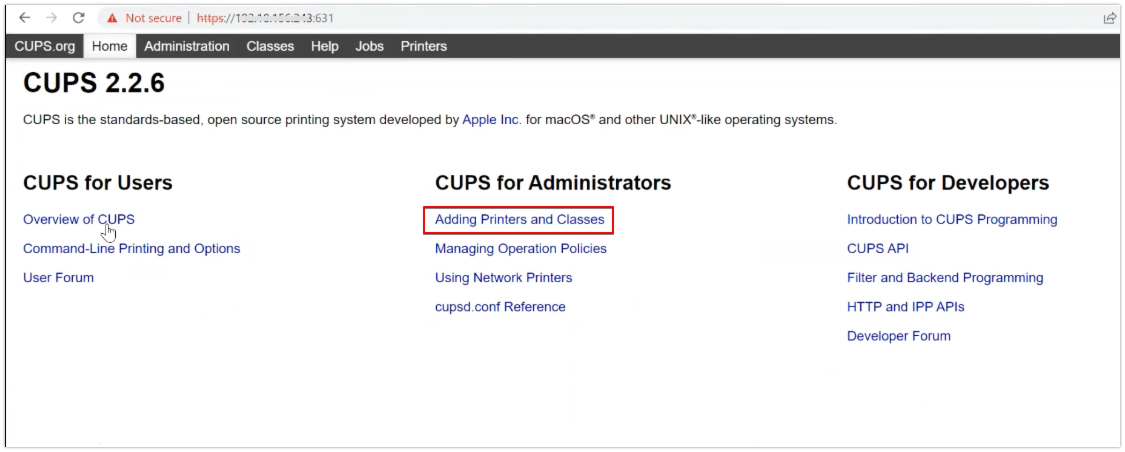
For details on CUPS server installation and Configuration, refer here
Once CUPS server is configured, you should be able to access it via https://hostip:port
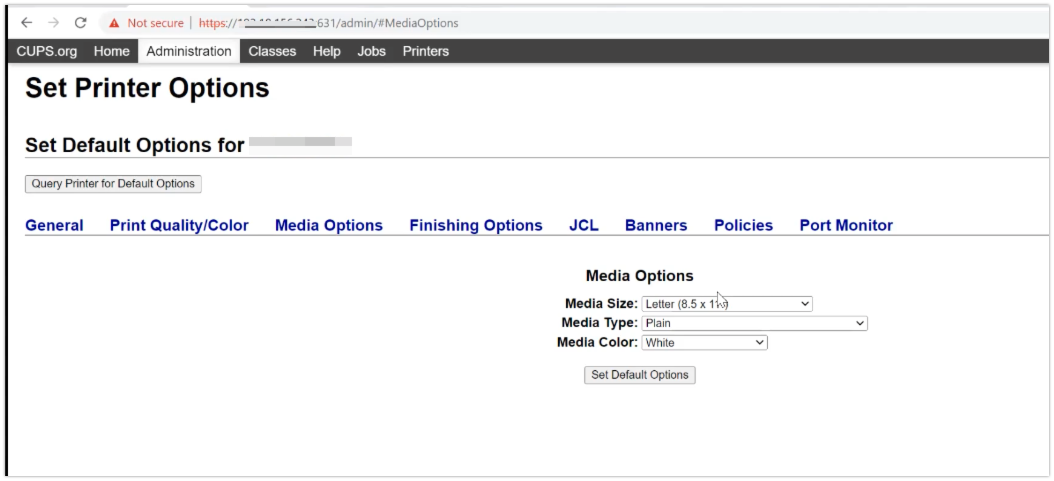
You can also set the options for the printer from Administration tab
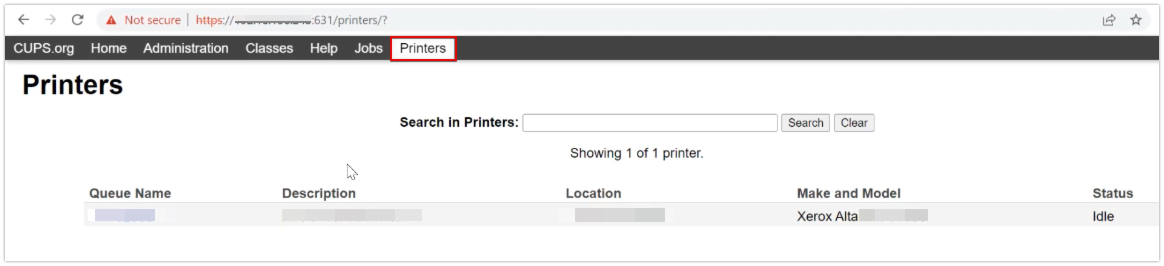
Once the printer is added to CUPS you should be able to view it from Printers tab
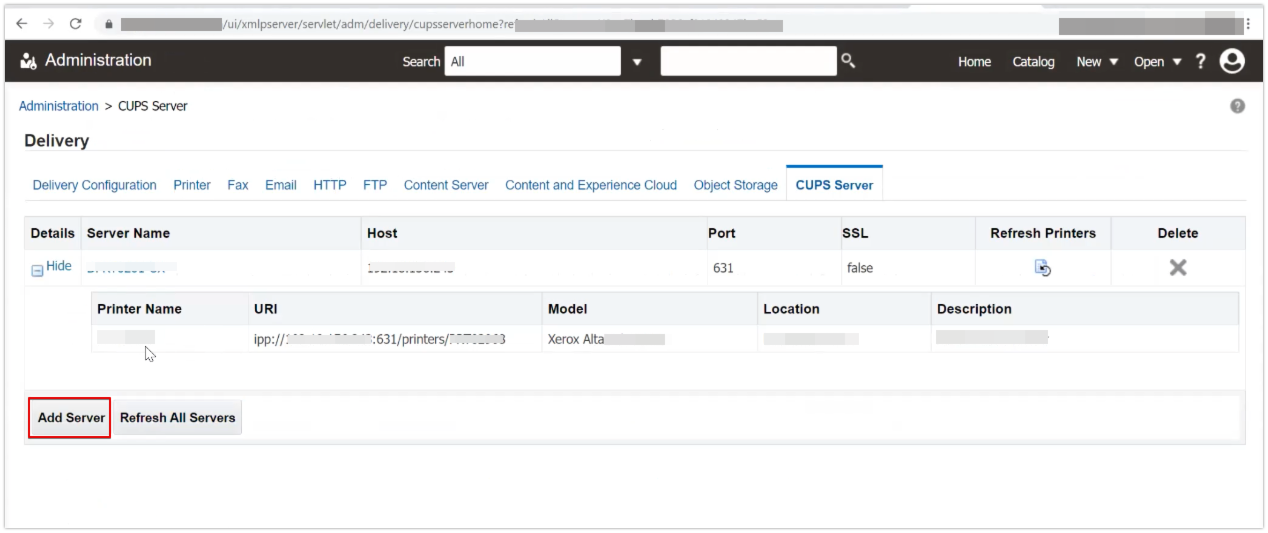
Next step is to add CUPS server at Oracle Analytics side:
To add a CUPS server:
- From the Administration page, select CUPS to display the list of servers that have been added.
- Select Add Server.
- Enter the Server Name and Host and Port for the CUPS server.
Once your CUPS printer is set up, complete the following:
Log into the Oracle Analytics Publisher console.
- Click Sign In.
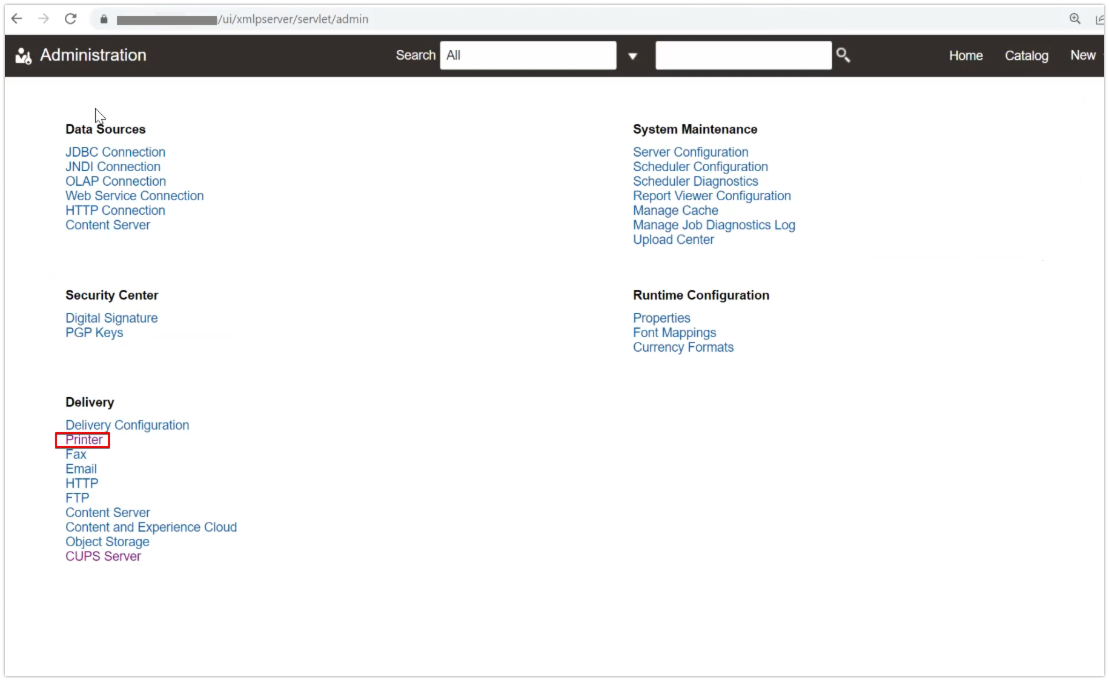
- Click Administration.
- Click the Printer tab.
- Click Add Server.
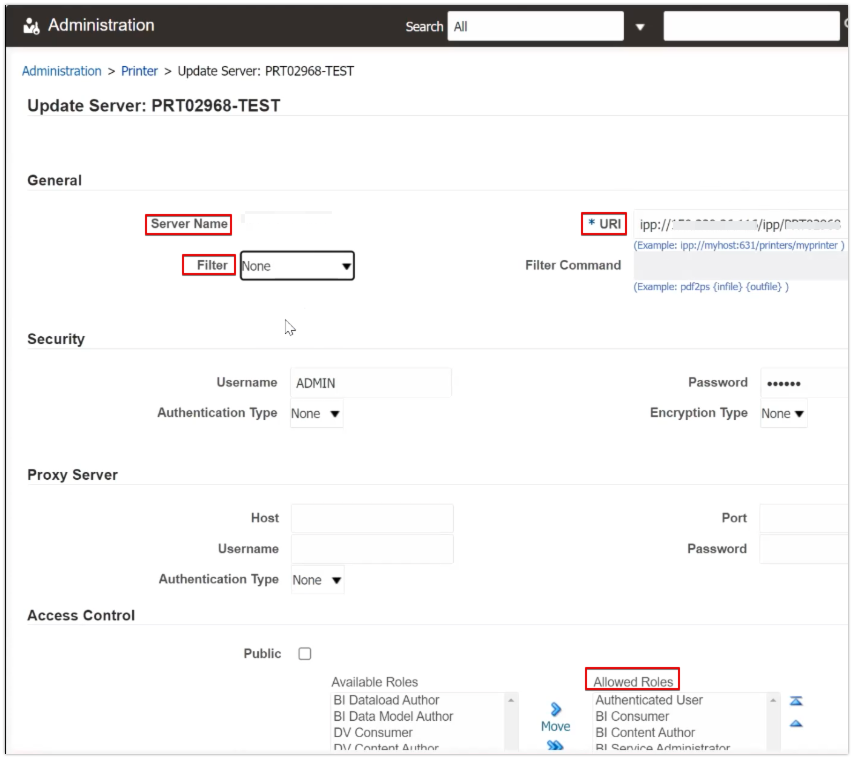
For a CUPS or direct IPP printer:
- Enter the Server Name. You will need to enter this into Transportation and Global Trade Management Cloud later, so make note of it.
- Enter the URI for your server. For CUPS the form is ipp://<CUPS host>:631/printers/<printer name>.
IPP uses the TCP port 631 for printing, so any firewalls between the client and the server must be configured to allow bi-directional traffic on that port. Please consult your network administrator if you think any configuration changes are necessary.
- Check with your system administrator for any Filter requirements.
- It is required to use SSL Encryption. Select SSL for the Encryption Type in the Security section.
- It is also required to protect the Printer/Print Server using User Authentication. Please enter the corresponding details in the Username, Password, and Authentication Type fields. The Authentication Type must be Basic or Digest.
- Click Apply.
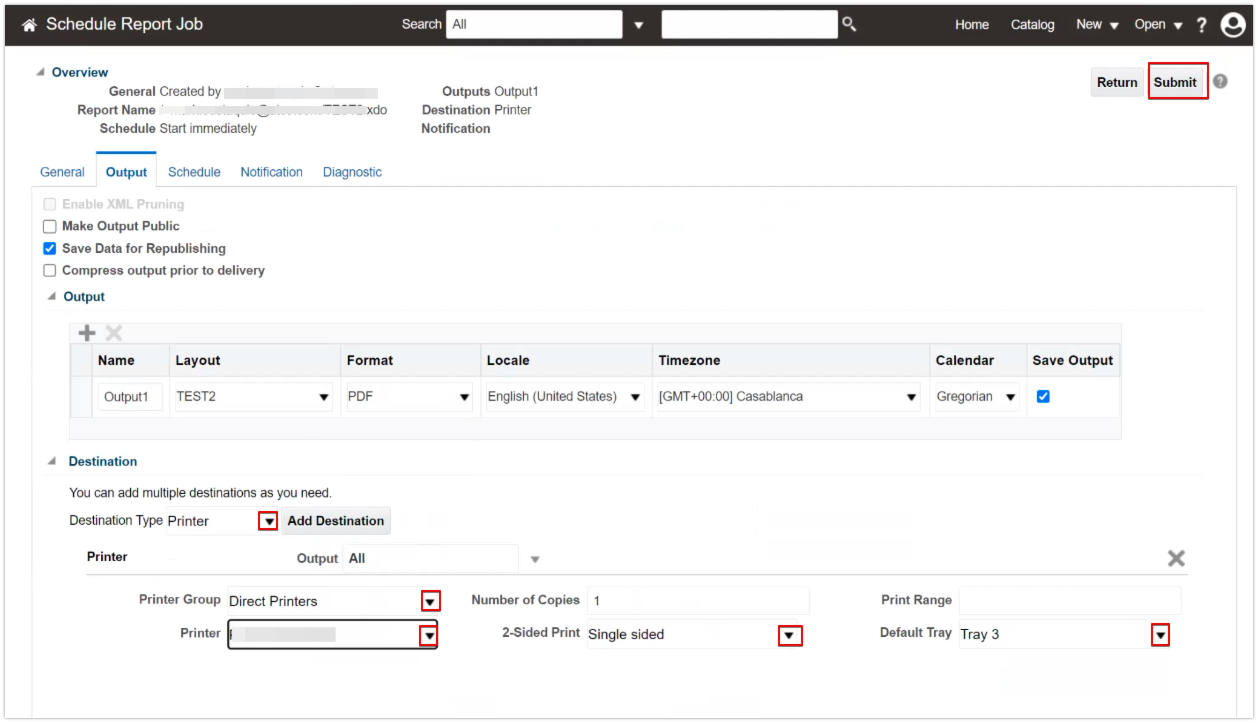
Schedule Report Job and submit it to test if the print operation is successful
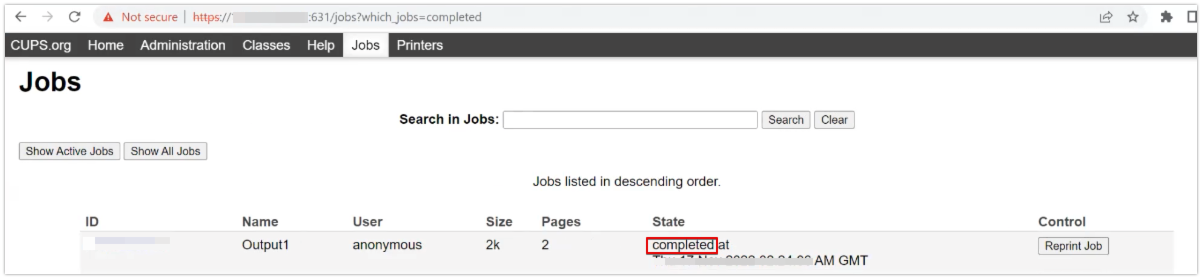
You can also monitor the print Job status from CUPS server
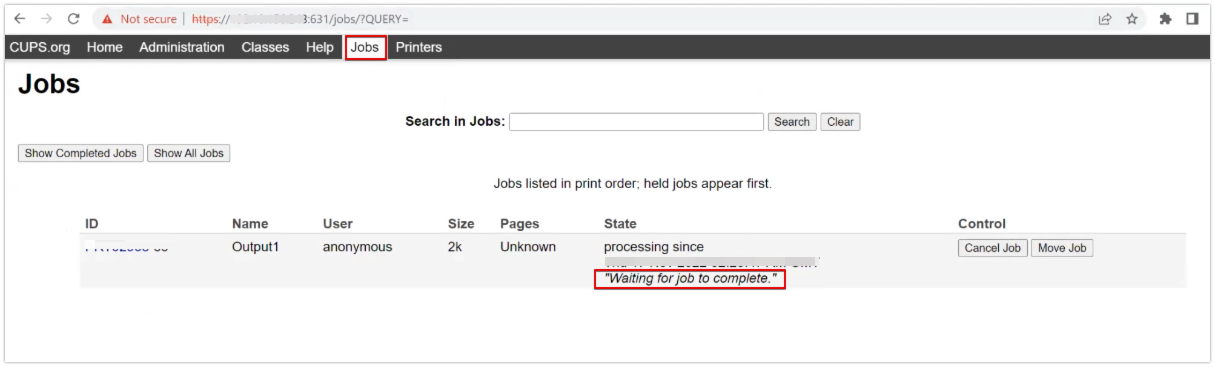
In few seconds, you should see a the state as completed
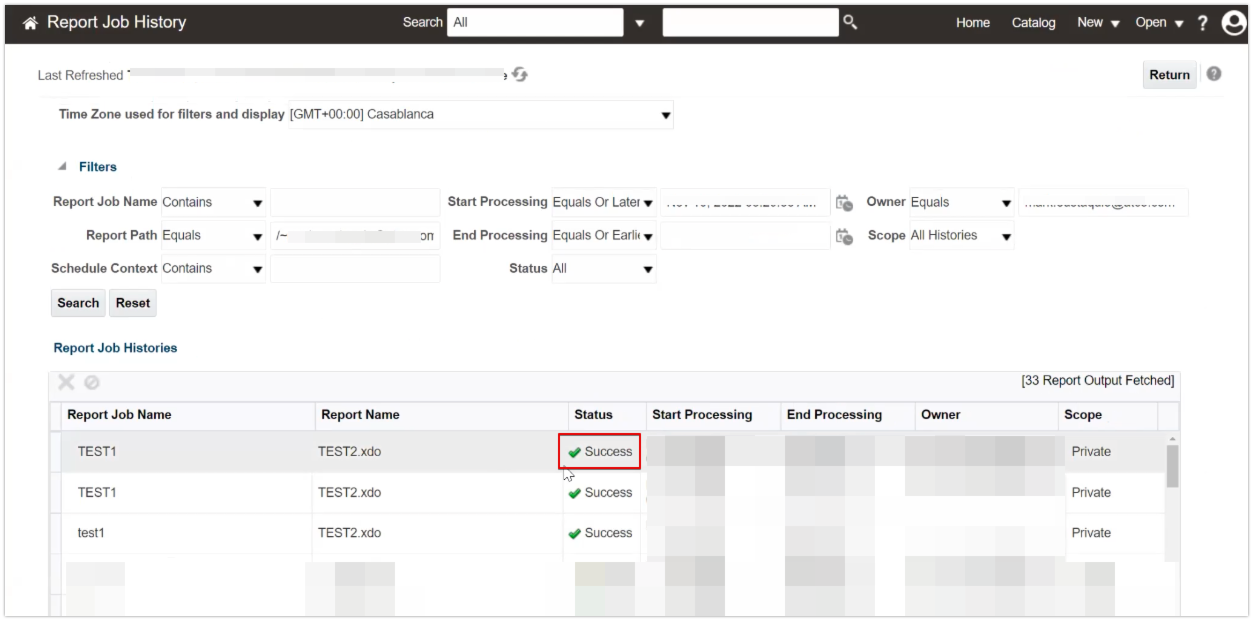
From the Publisher report Job History, you should also see Status as Success
Summary
In Oracle Analytics Cloud, you can enable IPP printing through a private printer running from a CUPS server or directly via IPP.
View the following for more information on the CUPS server, OAC, and Analytics blogs:
CUPS
Documentation
Public-Private LBR Combo
Oracle Analytics Cloud
This is part of a series of best practices for Oracle Analytics